Big things are coming to the workshop. Really big things! We’ve got a massive machine on its way, and one of our rooms is about to become our fibreglass factory line for the tiny house trailer habitat. We’ve been here for three months and still haven’t properly unpacked, so this week we finally started making the place ours.
The dream for our main room is super organised workbenches all the way around, tool chests, drawers, worktops, wall mounting and plenty of 3D printed organisation. But before any of that, there was a pair of steel plates in the floor that we’d been wondering about since the day we moved in.
If you would rather watch than read, jump straight to the video.
Supposedly, under those plates was an inspection pit, the kind you stand in while a vehicle is driven over the top so you can work on it from underneath. I had a suspicion it was full of concrete and dirt. He was mostly expecting spiders.
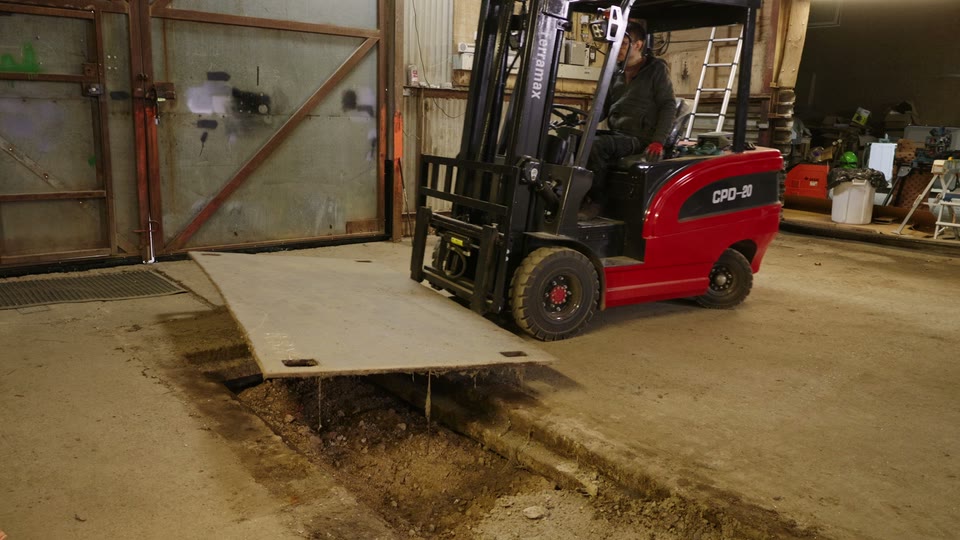
The plates are thick sheet steel (around 18mm, we reckon), so lifting them was a two-person job. Pete jimmied under the edge with a crowbar while I slowly drove the forklift forks in underneath. There turned out to be hardly any spiders, which was a relief.
What there was, was concrete. Lots of it. At the other end of the workshop there used to be a second pit that someone had filled in badly, without floating the concrete, leaving a big mound and cement smeared all over the floor around it. It looks like whoever did that job tipped their leftovers into this pit too. One end is solid concrete and the other is loose rubble, and the whole thing looks a bit like a grave for a very tall man.
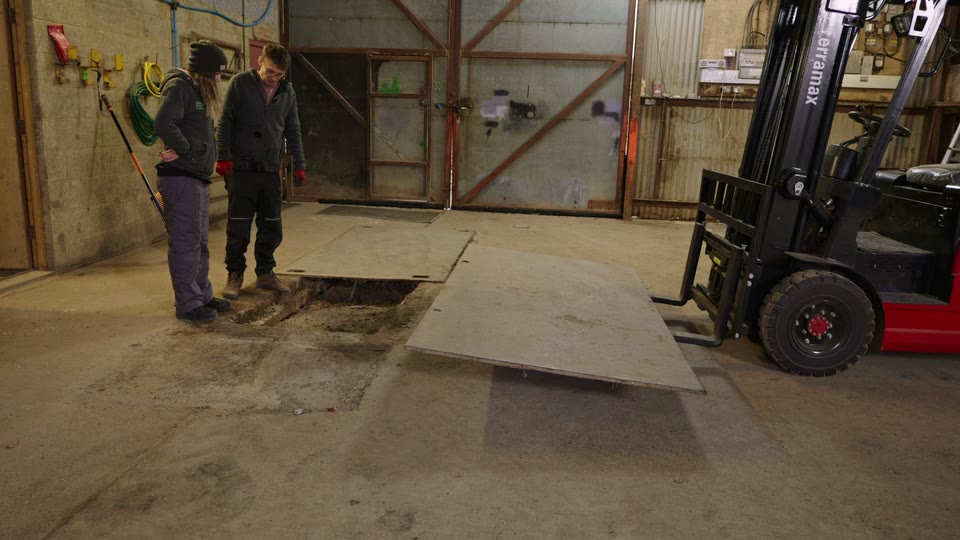
Getting it out would need a jackhammer, so that’s a problem for another day. We moved the plates onto some boards so they’re easy to shift in future and carried on with the floor.
Our landlord has been really kind about the bad concreting job and offered to sort it out, but that would mean cutting out all the concrete and redoing it. With the mess and the delays that would cause, we’ve decided to crack on and work with it as it is.
With the room clear, it was much easier to picture how it’ll work. The big machine will take up most of one end. The trailer will sit in the centre and slowly get built up from the ground, and the space under the nice light at the end will be where we piece all the parts together.
That blue area is going to be our little workshoppy space, with workbenches and tool chests all the way around and a big table in the centre for making parts, designing things and building things. Basically our own Blue Peter studio!
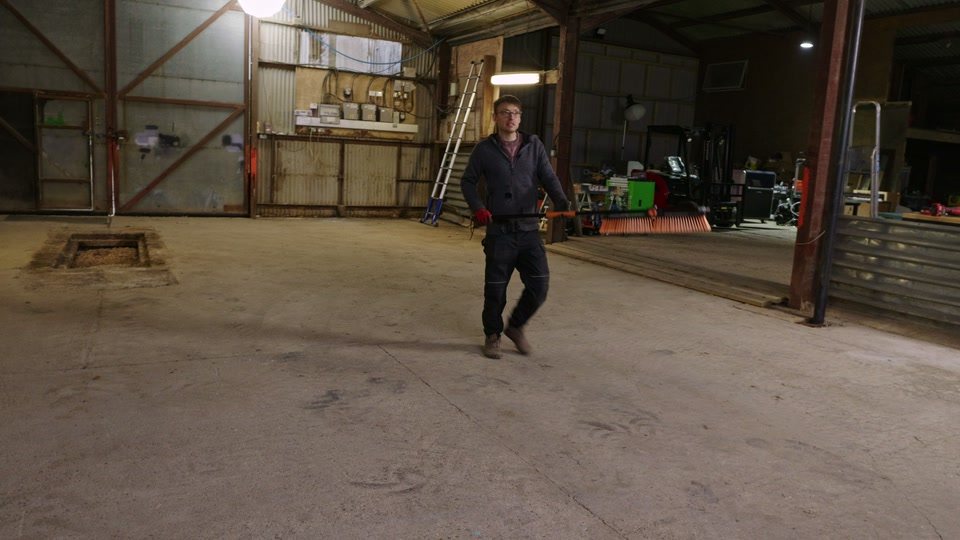
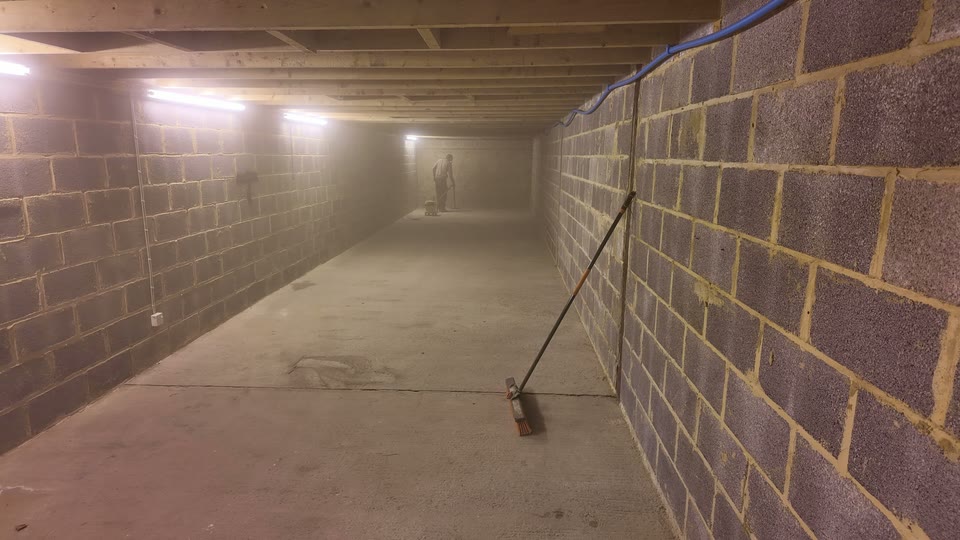
The next job was sweeping and sealing the concrete, to stop moisture and dust coming up through it before anything precious moves in.
We were wearing masks for this, because we recently had workmen in replacing some of the asbestos sheets on the roof and we didn’t know how well the floor had been cleaned afterwards. It’s a good job we’d already done half of the room when we first moved in. Back then, Pete took an angle grinder to that terrible concrete mound and smoothed it all off, then we swept, pressure washed and scraped up all the smeared cement. That side was ready to seal after a quick vacuum.
The other side was a different story. Something had leaked there for a very long time, and it had left a thick cake of oil and mud. We tried scrubbing and degreaser and got nowhere. It’s roughly 30 years of engine grease and oil, and in places it was literally an inch thick. We did get enough of it off that the floor is more level now, which is something!
Some areas also had old paint on, and we had no idea how the sealer would react with it, so we just went for it. For the record, the sealer looks suspiciously like watered-down PVA glue. We really hope it isn’t, because it was very expensive.
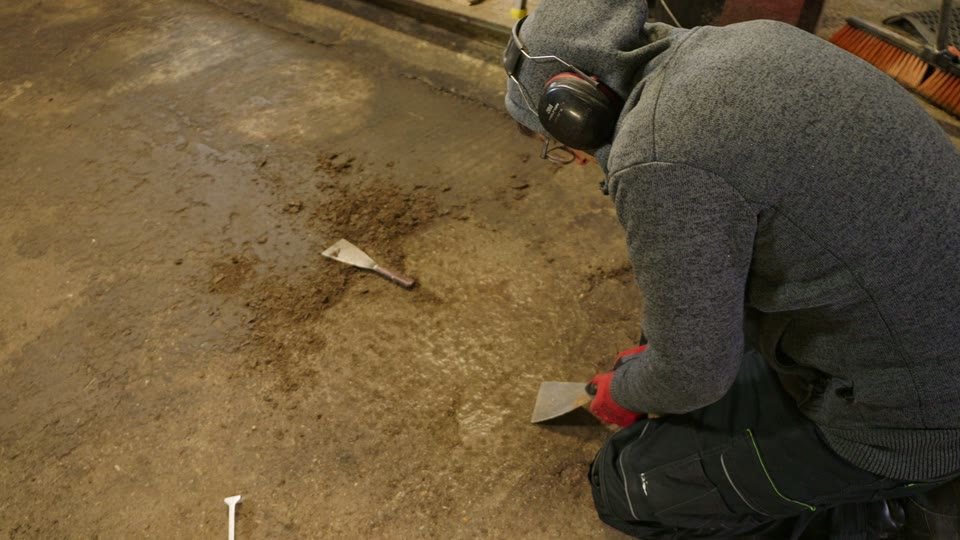
So what are we doing about the grease? Putting a CNC table on top of it and pretending it isn’t there. Good plan.
A while ago we asked you to guess what the big machine was. Lots of you said a CNC plasma table, which was close! It’s actually a massive CNC router table, for cutting wood and fibreglass, and it can handle aluminium too (just not steel).
This is a full-on industrial machine, 3 metres by 2.5 metres and weighing a ton and a half. It has massive dust collection, a vacuum bed that sucks the material down flat, industrial software and its own dedicated computer. It is not a sensible hobby-level CNC at all, and we couldn’t be more excited!
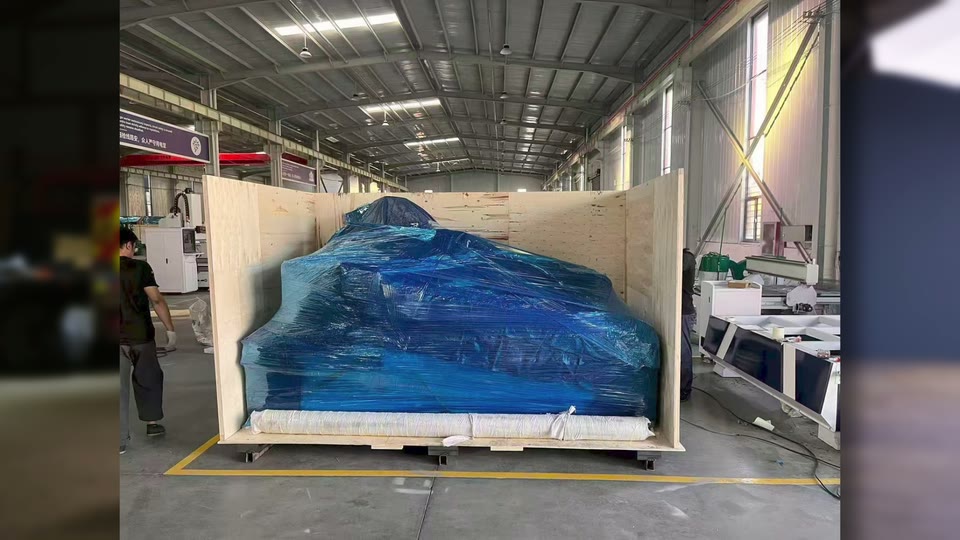
It’s been an interesting experience buying all this from China. All of the materials for the habitat are coming from China too, and they’re somewhere on a big ship right now. They keep getting delayed by bad weather and congestion, but they should be here around mid-November.
The side room is 18 metres long, and we don’t need all of it to be a fibreglass factory. So we’re planning a partition, with the new area becoming a storage room with racking. In one corner of that, we want a little bathroom with a sink, a bit of storage and a toilet.
The toilet is a full composting toilet, and it’s enormous. It’s so tall you need a little step to get up onto it! After we talked about having a composting toilet in the tiny house bathroom layout recently, quite a few of you told us they’re not pleasant to live with. This one is quite different to the separating toilets you usually see in van builds, where liquids and solids go to different places.
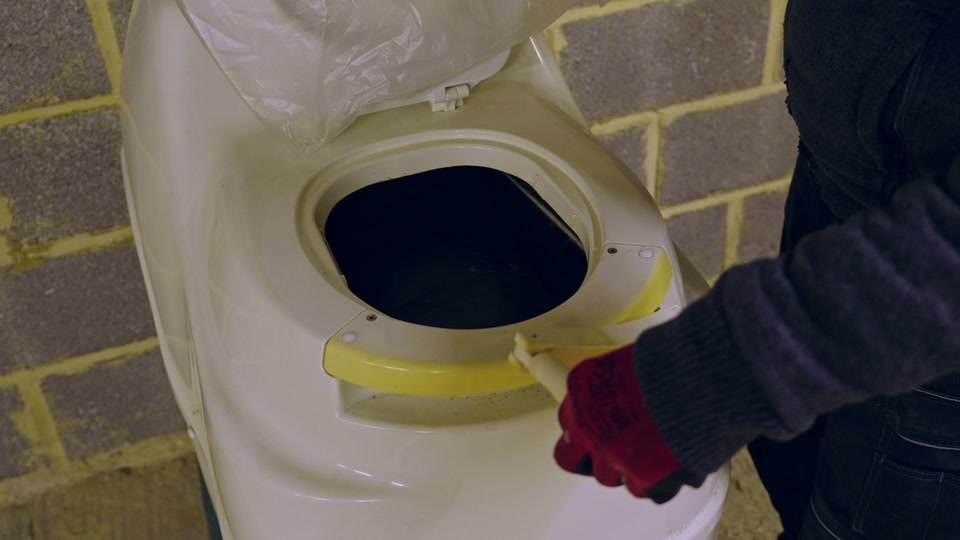
Everything goes into one big drum. A hot plate evaporates off the liquids, which is why there’s no need to separate them, and you’ll never end up with a bucket of wee to empty. Every now and again you churn the drum with a handle, and eventually it all becomes actual compost. That drops into a drawer underneath when it’s ready, and it’s completely fine to use on the garden at that point.
The catch is that the hot plate means it constantly draws power. It also needs an exhaust vent, so we’ll run a little chimney up into the loft space. Apparently you don’t smell a thing.
This one actually came out of Pete’s mum and dad’s boat, which means we can live with it at the workshop for a while before deciding whether one goes in the tiny house trailer. If you’re squeamish, it might not be the toilet for you!
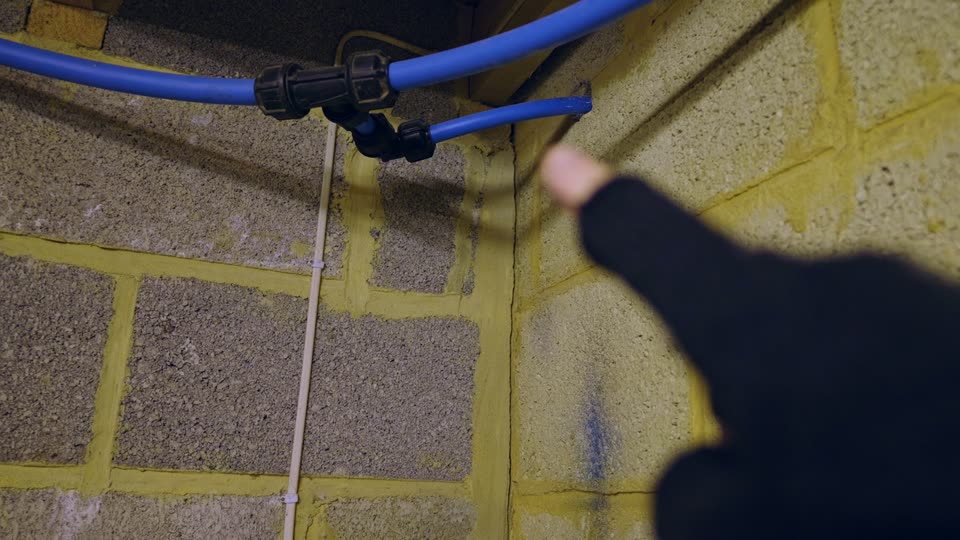
The workshop is fed from a borehole, and the water comes into the building through a pipe in this corner. One branch goes out to a hose and the other runs through to the office. The plan is to change the direction of the T, bring a line down the wall and fit our own filter system with a UV bulb.
There is some filtration on the borehole already, but we don’t know how often it gets looked after, and the neighbours who share the same water recommended adding our own.
Speaking of water pipes, we recently checked ours over with a thermal camera from Rision. They kindly sent us another one, so we’re giving it away to one of you for free as a thank you for all your support. Grab a free ticket here.
The habitat is going to be built from lots of insulated panels, each with an inner and an outer skin, which then go together like big chunks of Lego. The problem is that fibreglass and epoxy need about a day to cure. Making one panel at a time would mean one panel a day for something like two months.
So along one wall we’re setting up four stations. We’ll lay up a panel at the first, move on to the next, and so on, with each one curing while we work on the others. That way we can get into a rhythm over several days and churn out loads of the same part.
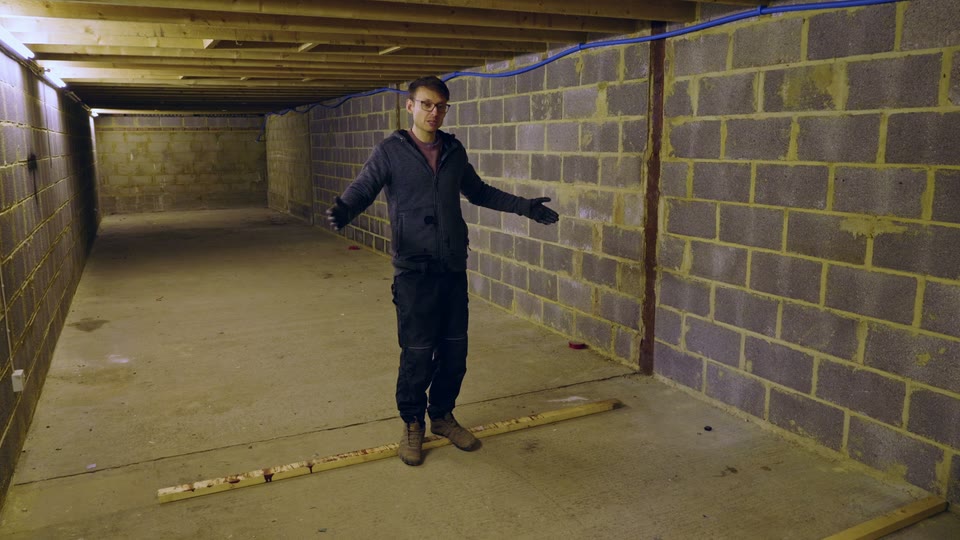
The epoxy also needs the room to be much warmer than it is right now. A few of you suggested lining the room with the insulation we’re getting for the habitat, but it’s a limited amount and we’d hate to damage or dirty it. Insulating the room properly would cost around £1,500, and for that money we can run electric heaters for the few months the build will take. It feels a bit wasteful, but it’s actually cheaper in the long run and will save us a lot of time.
We’ve spent hours and hours on these floors this week, and it’s starting to feel like a real workshop. We’ll see you next time for the factory build!
It’s a pit set into the floor that you stand in while a vehicle is parked over it, so you can work on the underside without a lift. Ours turned out to be filled with concrete and rubble.
An industrial CNC router table from CATEK, 3 metres by 2.5 metres and weighing around a ton and a half, with a vacuum bed, dust collection and its own computer. It cuts wood, fibreglass and aluminium, but not steel.
Sealing stops moisture and dust coming up through the concrete, which matters when you’re working with fibreglass and epoxy and running precision machinery.
Instead of splitting liquids and solids, everything goes into one drum. A heated plate evaporates the liquids and the rest is churned into compost, though it does draw power constantly.
Epoxy takes about a day to cure. Four stations let us keep working while earlier panels cure, instead of making just one panel a day.
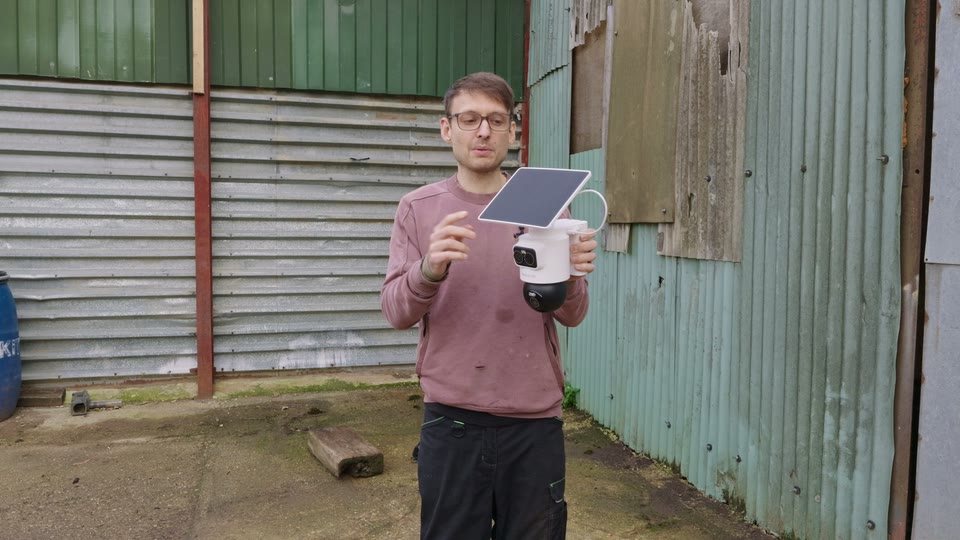
Security for the workshop is something you’ve told us to sort out for a while, but running power and network cables around a building this size put us off CCTV. The Reolink Omvi 2i Ultra gets around all of that. It runs on Wi-Fi, has a 10Ah battery that lasts around six months, and charges from a solar panel. We mounted the panel on the camera itself, but there’s a 3 metre cable if you want them in different spots. Installing the bracket was just a couple of screws, and the whole thing took about 10 minutes.
It has two cameras: a wide lens that watches the whole area and a motorised pan-tilt camera that zooms in. When someone walks into view, the pan-tilt camera picks them up and follows them automatically, even after they leave the wide shot. The night vision looks great too. There’s no subscription needed for storage, as it can record to your own recorder or network storage. We’re using an SD card, and we can view and download footage straight from our phones.
Use code RoadToOffGrid5 on the official Reolink website (valid until 30 June 2027).
🛒 Amazon
Thanks for supporting the brands that support the build! 💚