
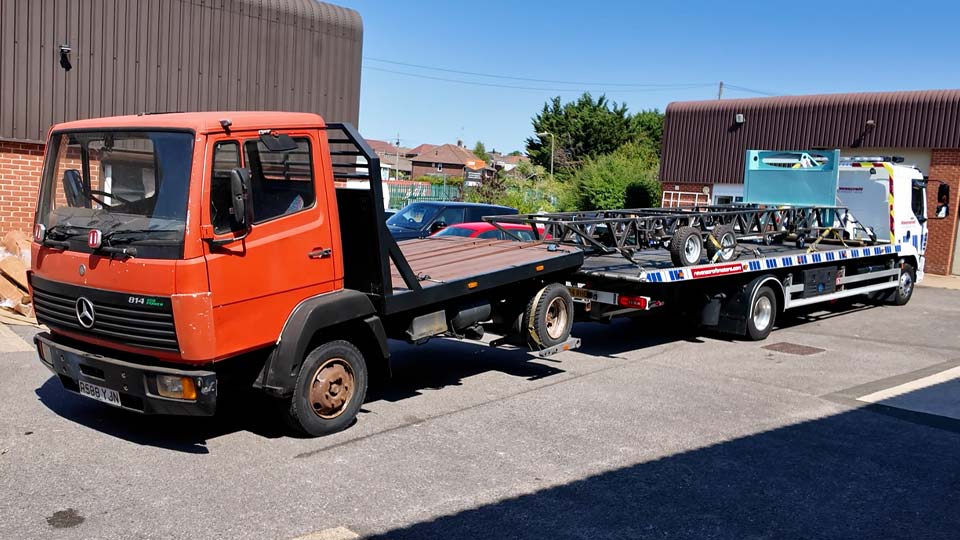
With the new workshop looking fresh and mostly clean, it was time to move in properly. That meant getting our two biggest possessions across: our half-built tiny home trailer chassis, and our 7.5 tonne truck, Moose. Neither of them is road legal. So we had to call in the big guns.
If you would rather watch than read, jump straight to the video.
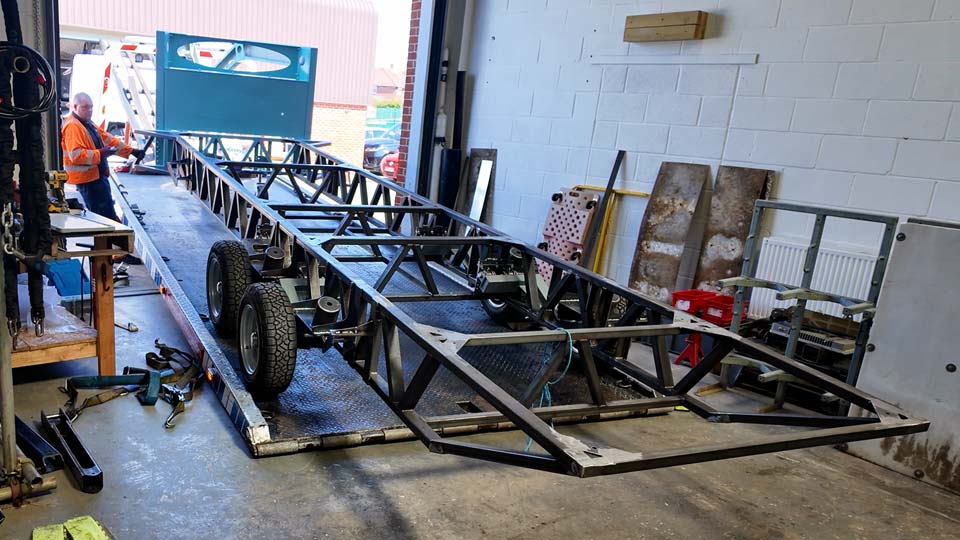
First up was the trailer. There was just enough room to get a recovery truck into the old yard, winch the trailer up the ramp and onto the bed. We were genuinely worried the jockey wheels would snap clean off as it got dragged up, but they held. It was tight though. Really tight. With a few small adjustments, the trailer just about fit. Just.
We assumed that would be trip one of two, with Moose coming separately. Our driver had other ideas.
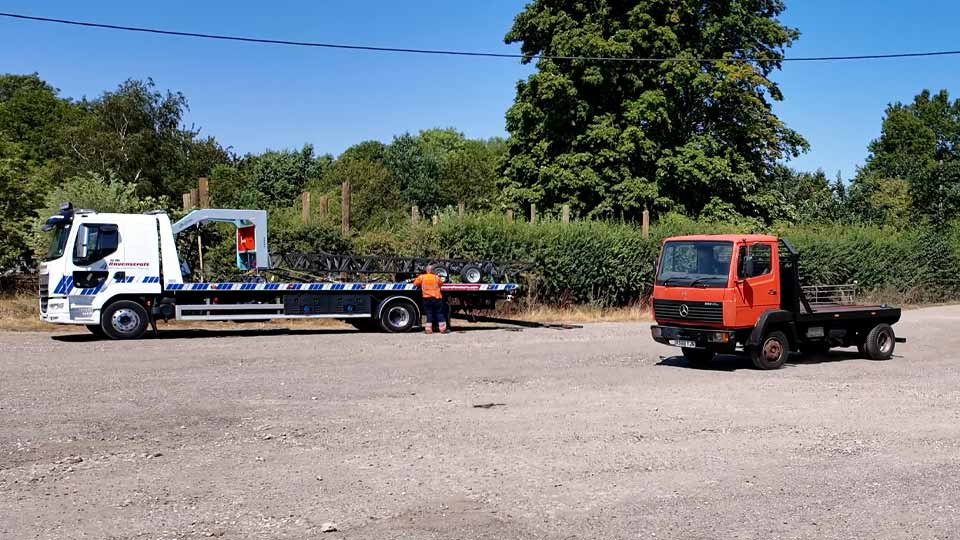
He pointed out that because our trailer has such a nice departure angle off the back of the recovery truck, there might be room to bring Moose along at the same time, towed on something called a spec lift, which lifts the rear wheels so the truck rolls along on its fronts. The catch was, Moose would have to go on backwards.
So Pete hopped in Moose (he started first try, obviously) and reversed him onto the spec lift. It was extended out as far as it would go, right to the limit, and we needed to be certain Moose wouldn’t clip the trailer on the bends. Our driver checked everything, decided he was happy, then asked if we were happy. As if we had a clue. “If you think it’s safe, it’s probably fine” is not exactly a confident answer, but off he went, trailer strapped down and Moose hanging off the back on the spec lift. We were properly relieved to watch him turn into the new yard with Moose still attached. Pete drove Moose off, the trailer went into the workshop, and that winch-and-ramp combination turned out to be brilliant.
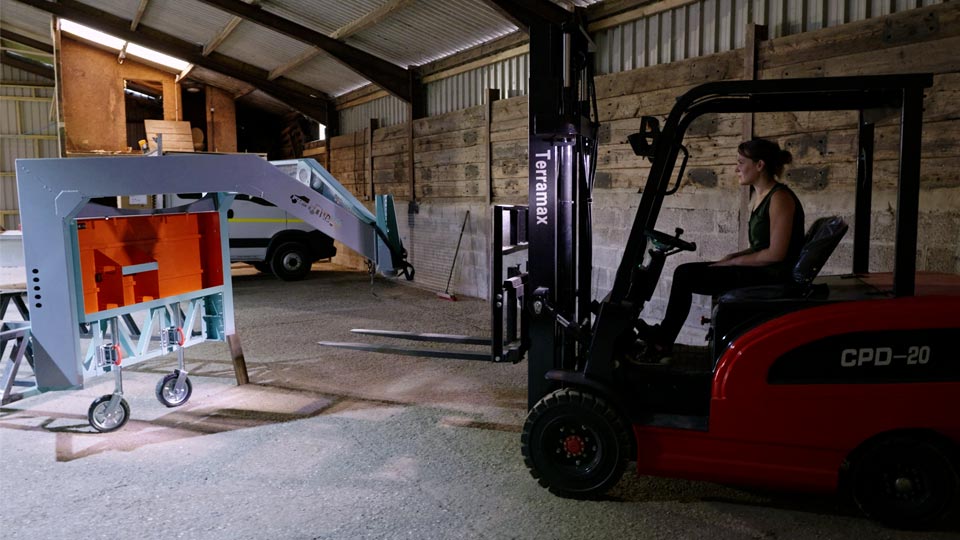
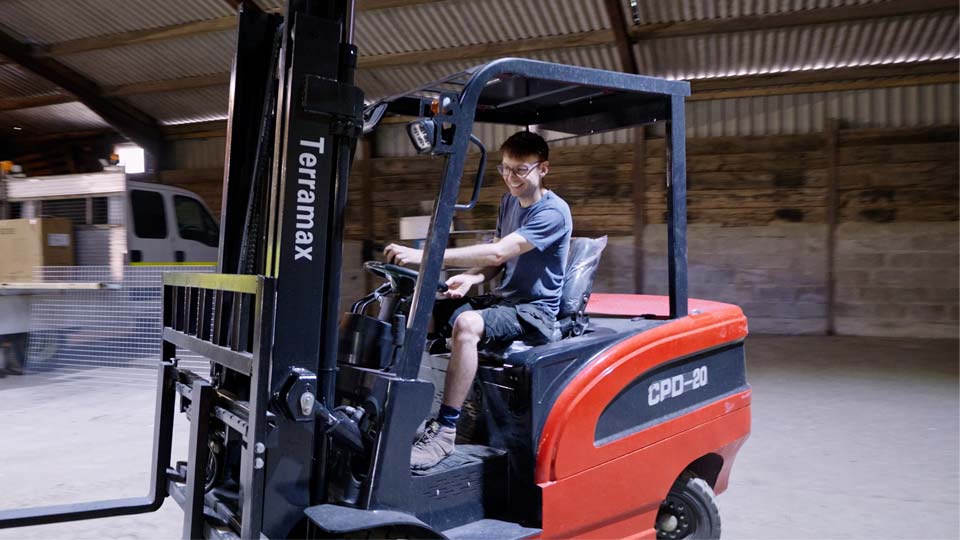
Trailer and truck weren’t the only new arrivals that week. Our new electric forklift turned up on an absolutely massive delivery truck, and we were far too excited about it.
It’s a Terramax, and once it was switched on we spent a good while just figuring out which lever did what. Rear steer takes some getting used to, the throttle ramps up rather than being simple on/off (a sign of a cheaper forklift, apparently).
Another big project this week was solving a problem in the new workshop: it’s dark and dingy in there, and we needed proper light to work under. So we built one. A big one.
It’s a five metre diameter aluminium frame covered in LED strips, and the plan is to hang it from the ceiling like a miniature sun. Bare LED strips are harsh though, so I’ve started sewing a huge fabric soft box that wraps around the frame, diffusing the light so it comes out soft rather than blinding. It looks a bit like a spiderweb mid-build, which is not ideal in a barn we’ve only just cleared of actual spiders, but it’s coming together.
The full build, from custom plates through to final assembly, is a proper project in its own right and honestly deserves its own space to tell properly. It would be silly not to build something like this ourselves. A proper filming light array this size would cost hundreds if not thousands of pounds bought in.
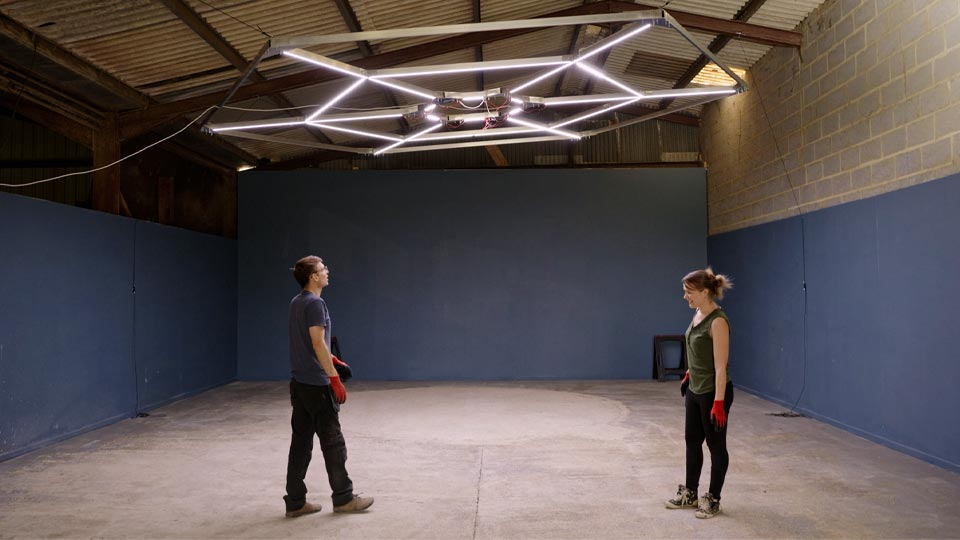
Getting it up there took some thought. We used a stud welder to fix threaded rods to the metal roof beams, added eyelets, and ran paracord down to the frame so it can be raised and lowered like a proper rig. It’s rated well beyond what it needs to be: four lines, each rated for over 100kg, anchored into the beams. We’ve also added safety chains for peace of mind, even though the numbers say it isn’t going anywhere.
The one issue is the angle. The eyelets on the roof aren’t sitting directly above the eyelets on the light, so we end up pulling sideways to hoist it, which puts a lot of unnecessary strain on the system. A pulley setup, maybe a two-to-one on each line, is next on the list to fix that properly.
We used the forklift to push the trailer out of its temporary spot and into the main workshop room, ready to work under the new light. It looked tiny in there, a nice change from the old workshop where it felt like it filled the whole space.
We also got the trailer back up to the correct ride height on axle stands, front and back, ready for the next stage.
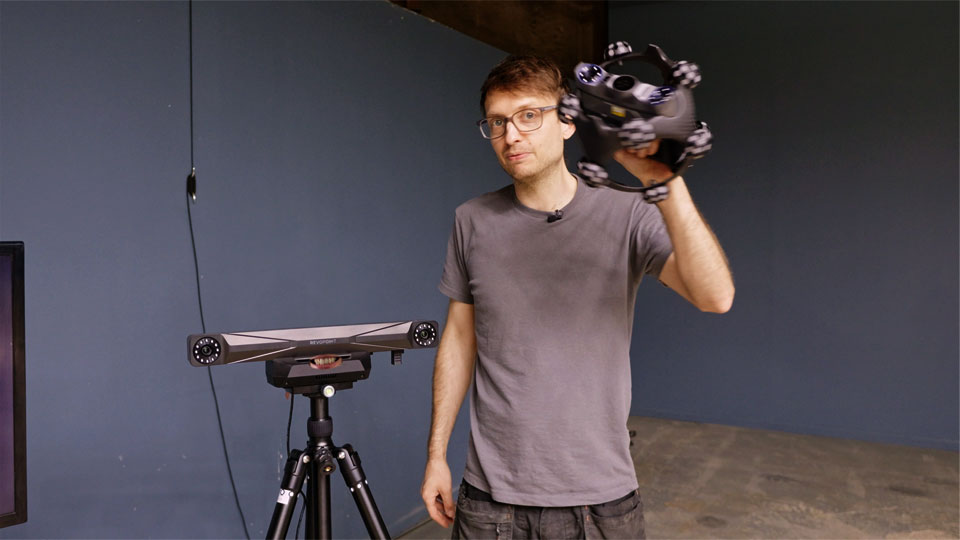
With the trailer at ride height, we tried something we’d been wanting to do for weeks: 3D scanning the whole thing. We’re using a Revopoint Trackit SR, a scanner and tracker combination built to handle something as big as a full vehicle rather than the usual small statues and objects people scan.
The scanner bounces light off the trailer and builds it into a 3D model, while the tracker follows the scanner’s position in space. On something this size you’d normally need sticky reflective dots plastered everywhere so the tracker knows where it is, but we tried skipping them for our first pass and just stayed within the tracker’s field of view.
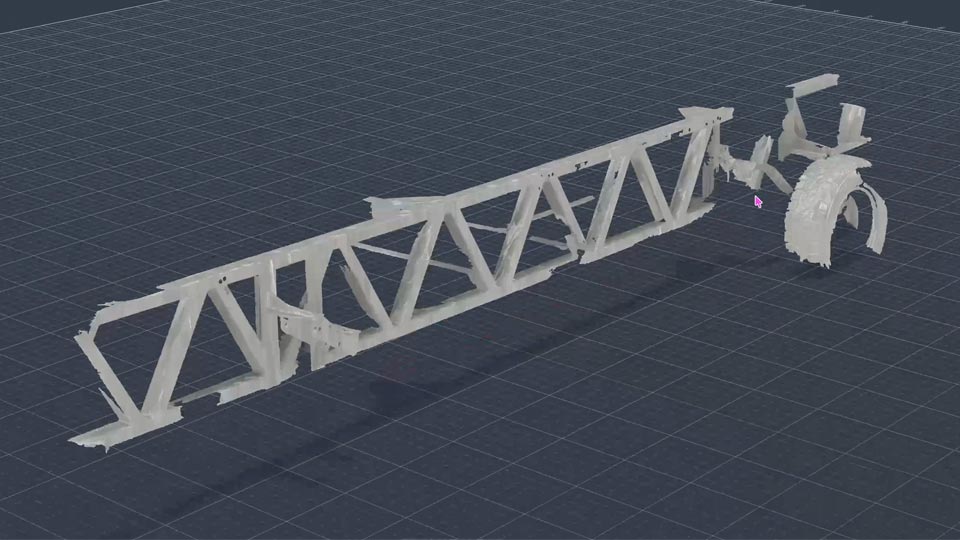
The result was a mixed bag. Some sections, especially around the suspension mounts and bolts, came out with brilliant detail. Other areas were missing entirely, mostly down to us still learning the settings for shiny paint and dark metal. Rather than push on and get a scan we couldn’t use, we’ve stopped, and we’ll go again with reflective dot clusters and better settings once the trailer is painted. For the habitat build on top, the plan is to design everything fully in CAD against an accurate scan first, so we don’t repeat the trailer build’s habit of discovering a cross member exactly where we needed to put something.
No. Ours went on a recovery truck with a professional driver, using a winch and ramp for the trailer and a spec lift to tow Moose. Always use a licensed recovery service for anything that isn’t road legal.
A spec lift raises one axle of a vehicle off the ground so it can be towed on its remaining wheels. In our case it lifted Moose’s rear wheels, so he rolled along on the fronts, towed backwards behind the recovery truck.
It depends on your doorways, floor and power setup rather than one “best” model. We got a cheap Chinese, electric 2-tonne forklift from Euro Auctions, which is small enough to manoeuvre indoors and easy to charge on-site.
By building a soft box, a fabric enclosure that wraps around the LEDs and scatters the light before it reaches you, turning a harsh point source into a soft, even glow.
It can be, if you calculate the load properly, anchor into structural beams rather than plasterboard or thin roofing, and build in a safety margin. And don’t forget to add extra safety straps or chains!
✨ Save at least 7% with the exclusive discount code: Use code REVOPRRTOG to get your Revopoint Scanner!
🇺🇸 US Store
🗣️ Official Community: https://www.facebook.com/groups/revopoint3dofficial
🗣️ Trackit Community: https://www.facebook.com/groups/revopointtrackit
