We’ve been at the new workshop for coming on three months and we’ve been paying for the old one the whole time. That finally ended this month. We loaded up the last of our scrap, handed back the keys and only have one building to worry about! Meanwhile, Pete has been shut away designing the inside of our tiny house, and it now exists in 3D.
If you would rather watch than read, jump straight to the video.
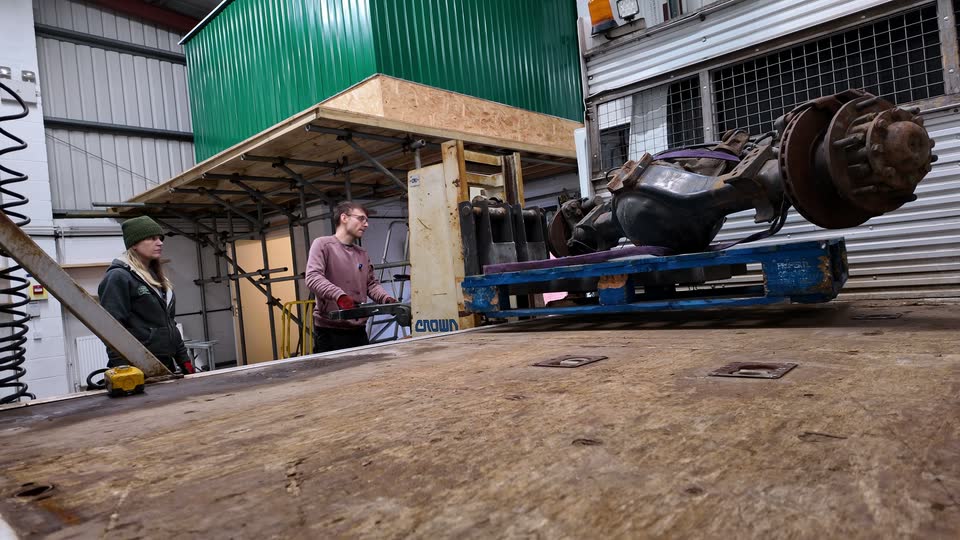
The new tenants were due in the following week, and what we had left was mostly scrap metal. That included Moose’s old clutch and one very large and stupid axle, which we have moved far too many times.
The pallet stacker is great, but it can’t reach into the truck to lay anything down. We tried strapping the axle close to the forks. We tried rolling it on. We tried an angle. Many attempts and one slightly adjusted pallet later, it was on, along with the unmistakable smell of diff oil. That gave us flashbacks of working on Moose.
Still, it beat the first time we moved it, when all we had was an engine hoist. It took about three hours to get it out of a poor rental van.
The new tenants liked the shed and the mezzanine platform we built, so both are staying. We put a lot of work into them and really weren’t looking forward to taking them down.
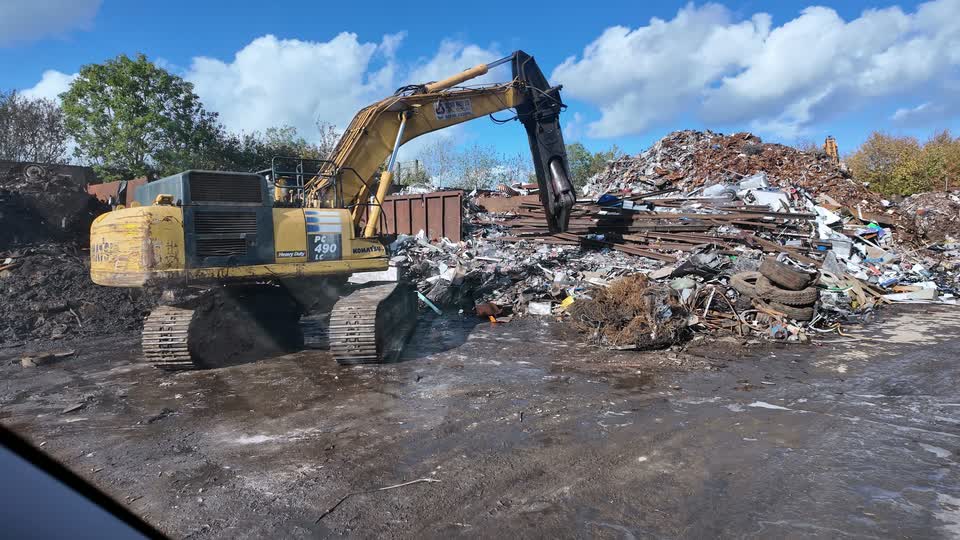
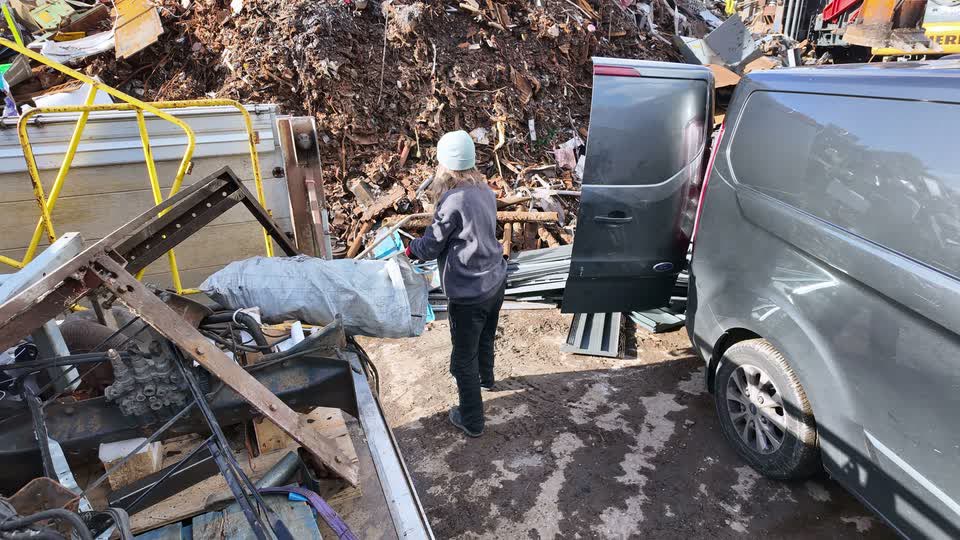
We added the scrap we’d inherited at the new workshop to the pile, including the old workbench we’d removed, and took it all to the scrapyard. Our guess was £100.
That’s £185.48 for about four hours’ work, and it all goes towards our massive bill for having two workshops. Most of the weight was the axle, from a 15 tonne Mercedes Atego, plus the old racking from the Iveco and loads of skeletons of sheet steel left over from laser cutting. It was quite a trip down memory lane.
Then we handed over the keys. It was a little sad to say goodbye to that workshop, but onwards and upwards!
While we were messing about with axles, CAD Pete was busy designing literally everything. The first job was merging the 3D scans of the trailer with our existing CAD files. Things didn’t quite line up at first, but the real-life scan ended up very close to the original models, which means we did a good job of putting the chassis together. It also gave us some really accurate measurements at last.
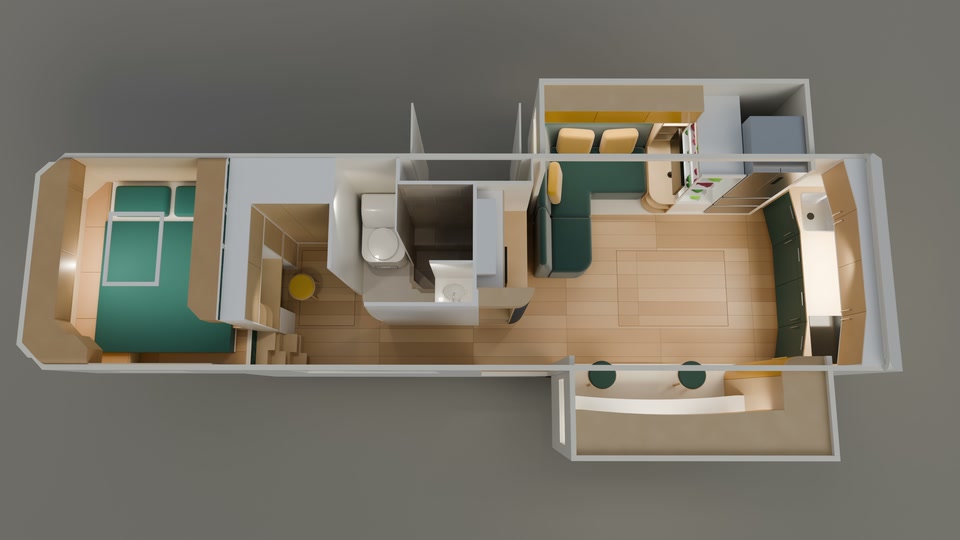
After some fun with exterior shapes and colour palettes, we turned to the part that matters most. We needed to plan the interior properly, because that decides where the windows, doors and slide-outs go.
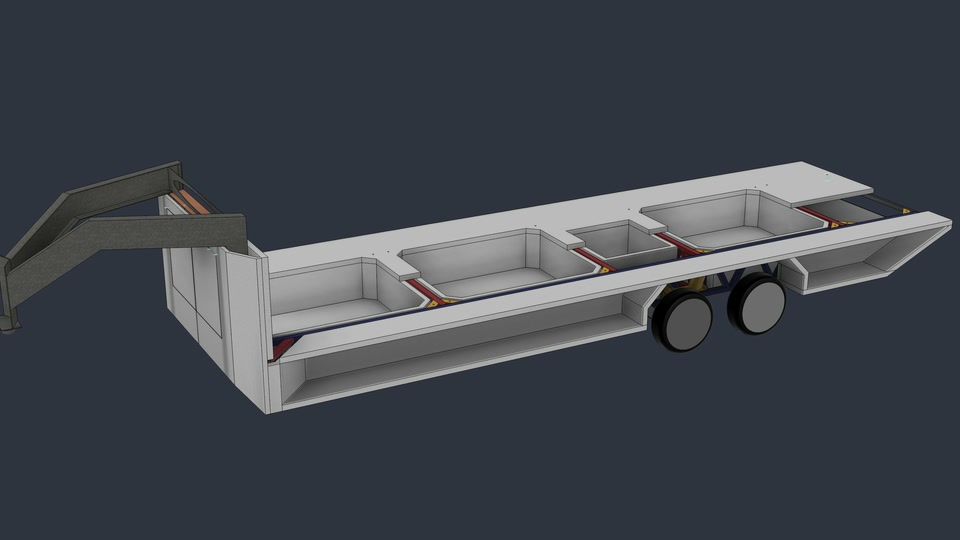
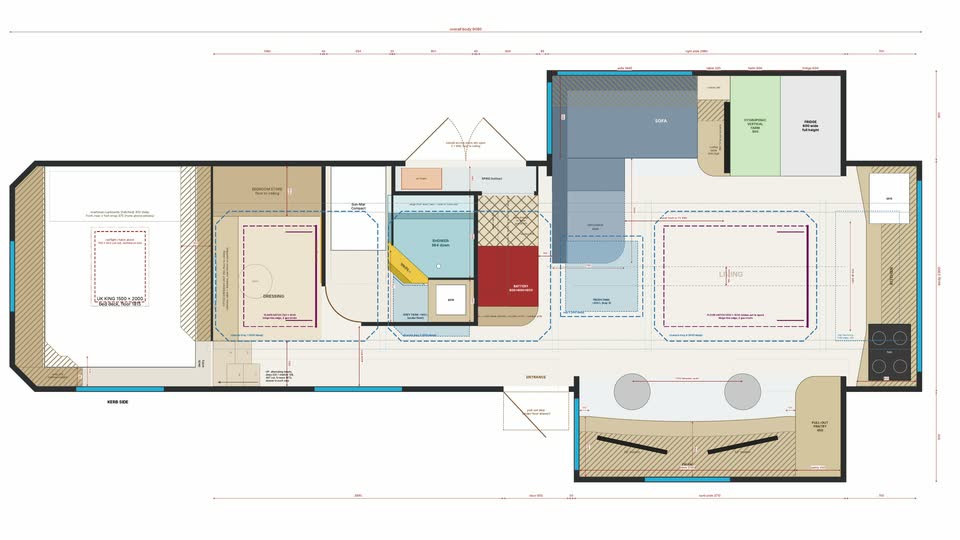
The bed sits above the neck of our fifth wheel, and headroom was the hard part. We didn’t want the front of the trailer to be a flat box, but too much slope would leave whoever sleeps on one side with half the space. We played with chamfers until we had even space around the bed and a cool-looking front, with about 850 to 900mm of headroom. It’s basically a cosy cave surrounded by storage. Space-saving stairs with drawers built in lead up to it.
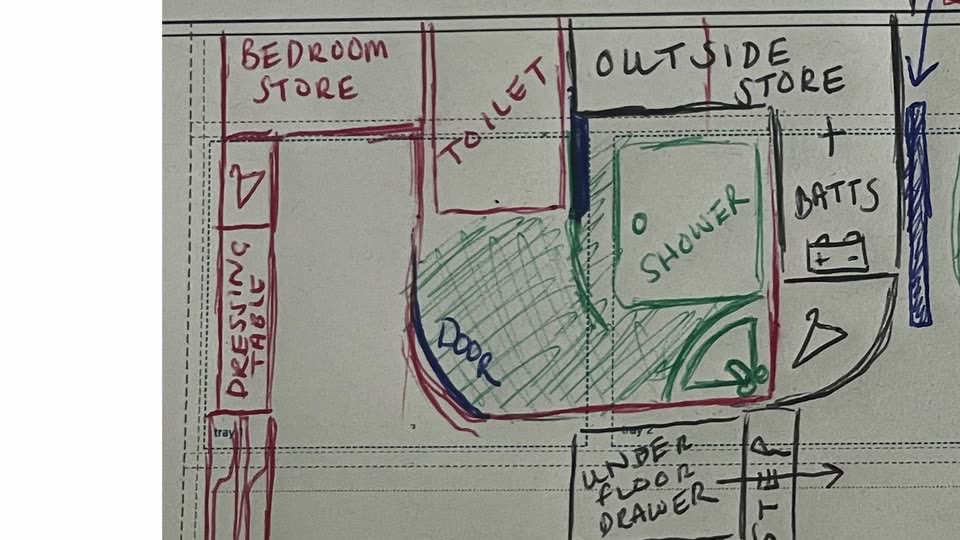
We originally wanted a walk-in utility room at the front, then realised it wasn’t that much of a priority. Instead we’ve got a dressing room, with a dressing table for Hayley and lots of clothes storage. It seems super fancy. That’s because it is and we are. But we’ve never found anywhere in a caravan or motorhome to just get ready like you would at home.
The bathroom went through many iterations and ended up very small: a full-on composting toilet, a separate shower cubicle, a teeny tiny sink and some storage. The clever bit is the height of the chassis rails. The shower is sunken down between them, so you step down into it. That same chassis tray also holds underfloor storage for the dressing room and about 160 litres of grey water.
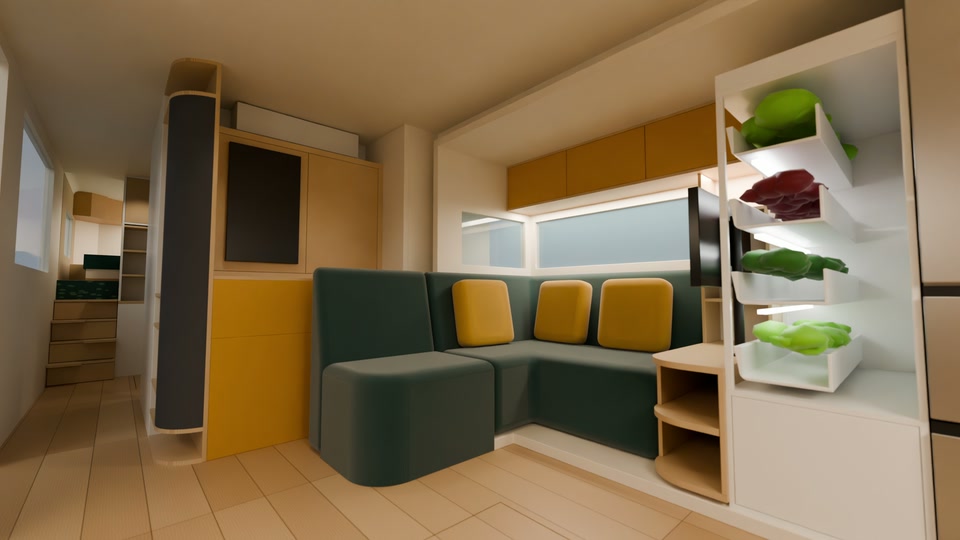
This took the longest by far. We first had the sofa facing the other way to split the kitchen from the living room, but you ended up sitting way too close to the TV. Switching it around made the whole space open plan.
The living space relies on two slide-outs, each almost 3 metres wide and 800mm deep. One holds the sofa, the fridge and a hydroponic garden (a dream of Pete’s). The other holds a massive floor-to-ceiling pantry and our two desks, which are essential because we spend half our job at them. The kitchen runs across the back.
Pete reckons Hayley’s idea of putting the sofa that way, with the kitchen at the back and the office there, is what brought everything together. The hydroponics are something Pete has wanted since we started this tiny house build. It won’t be potatoes or wheat, more of a living salad bar, with maybe some strawberries and little tomatoes.
The one thing we didn’t fit in is a dedicated dining area. It featured in early plans, but we realised we wouldn’t use it enough. We do have a solution for the table, and we’ll reveal that soon.
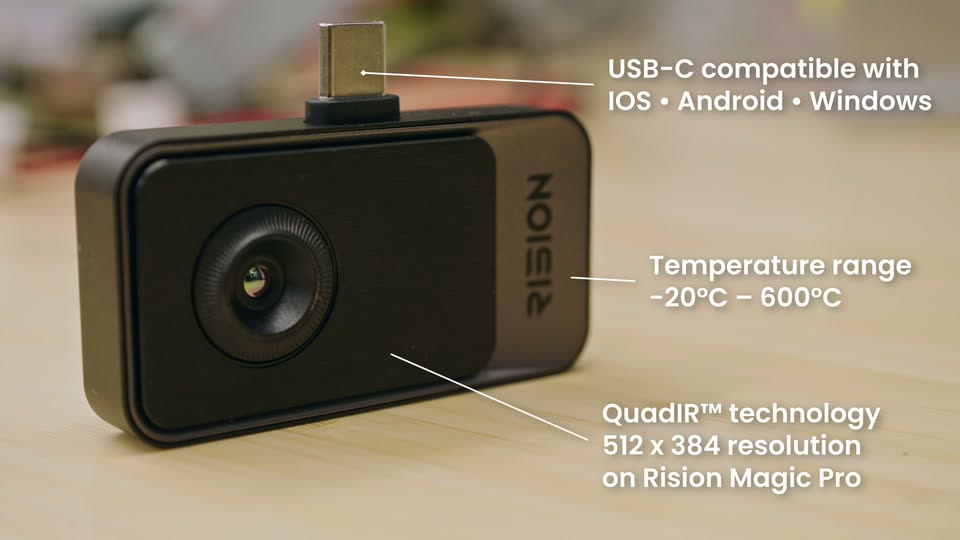
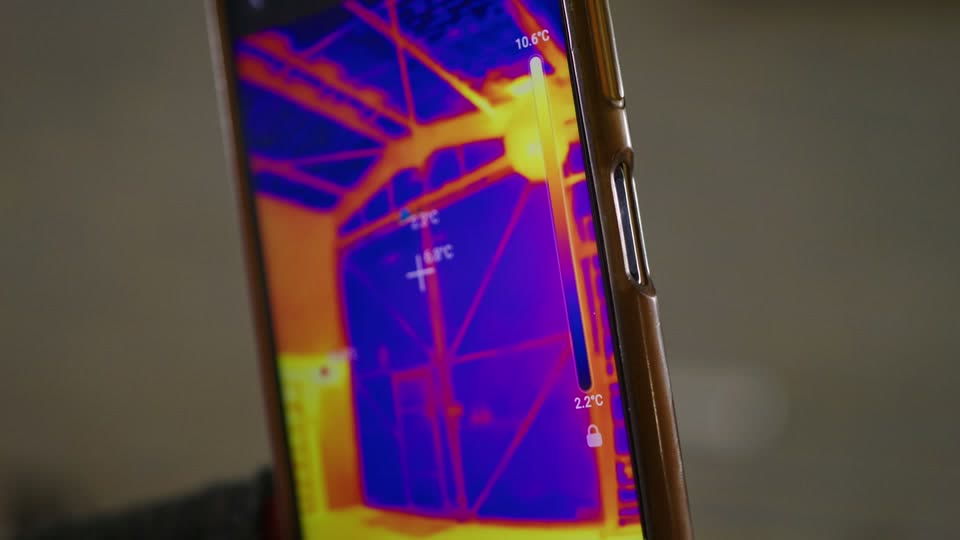
Everyone told us the new workshop would be really cold in winter. Boy, were you right. It isn’t even fully winter yet and it’s already freezing, so we went round with a RISION thermal imaging camera to see how bad it is.
Around the door it was reading 2°C. The roof was 8°C, the floor was 11°C and the air was around 10°C, with heat pouring out through the roof tiles. That matters because we’ll soon be fibreglassing with epoxy resin, which needs to stay within a certain temperature range.
Our big storage room reads a few degrees warmer on the roof and walls, so we think we can heat and control it much better. We’re going to clear it out and set up our fibreglass stations along one side.
We also checked our main water feed, because a split pipe could chuck water all over our fibreglass, epoxy, chemicals and paints. The pipes are currently warmer than the building, which is a relief. Pete had already started worrying about them freezing!
Then came the bit we’d been waiting for: “walking around” our future off-grid home in 3D. There’s a nice wide front door, big windows and a panoramic window behind the kitchen. We have just one skylight, to leave as much roof as possible for solar, and it doubles as the emergency exit from the bedroom.
The utility room on the side tucks around the corner into the living room. The batteries live there, centred in the habitat for weight distribution, along with some of the heating kit.
Inside, you come in to storage for shoes and coats, and a rounded column that will be a big stack of speakers. Hayley chose the colour palette, including the dark teal kitchen and the wallpaper, and the curved pantry in glossy mustard is a favourite. There’s a decent home-size fridge freezer too, and one cupboard will have a screen showing water levels, lighting, heating, batteries and trailer level, with the aircon above it. Pete is going to fully nerd out.
Living off grid in a trailer usually means a narrow space and a little corridor. Fitting all this in without the slide-outs would be impossible. This all started as doodles on a scrap piece of paper, and now we can virtually stand in what will one day be our home.
We’ve made the blank floor plan available to download. Download it here, draw your own layout on it and send it to designs@roadtooffgrid.com. We’ll share what comes in, and we might also steal some of your ideas!
Everything we need to build this is arriving very soon, and we cannot wait to get started!
They’re almost 3 metres wide and 800mm deep, which gives us room for a sofa, a big pantry and two desks without a narrow corridor.
About 850 to 900mm. The bedroom sits only above the neck of the trailer, with chamfers shaping the front.
Ours is sunken down between the chassis rails, so you step down into it. It makes use of the depth of the chassis.
We had one in early plans but realised we wouldn’t use it enough. That space went to the hydroponics and the fridge.
We got £162 for 1,080kg at £150 per tonne. With aluminium and a small battery, the total was £185.48.
The RISION Magic and Magic Pro are thermal imaging cameras that work with your phone. They overlay the phone’s camera image on the thermal one, so you can see real life mixed in with the heat readings. They’re handy for checking breakers, plumbing and gaps around your windows.
Use code RISIONROAD for an extra 5% off.