
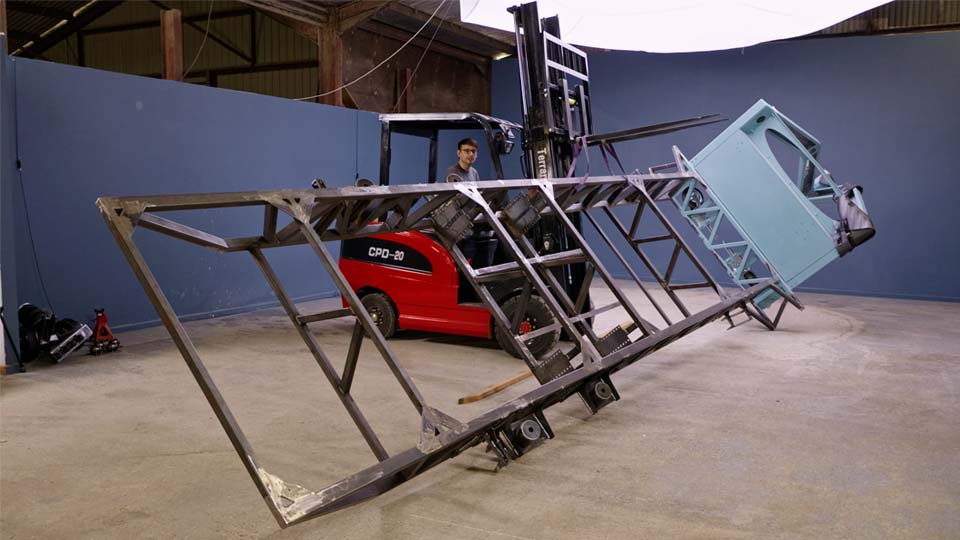
We finally flipped the whole trailer chassis over this week, and it went a lot more dramatically than either of us expected. We needed to get it painted so we can start building the habitat on top, and there was no way we were doing that lying on our backs underneath it, the way Pete had to when he was welding.
If you would rather watch than read, jump straight to the video.
Painting the underside of a trailer chassis from below is miserable. Paint drips on you, you can’t see what you’re doing properly, and you end up missing bits. So before any paint went anywhere near it, we took the wheels and suspension off for what feels like the hundredth time, and this time it really was the last, because new wheels are on the way. Hayley stuck some foam on the corners of the neck too, just in case things didn’t go to plan on the way over.
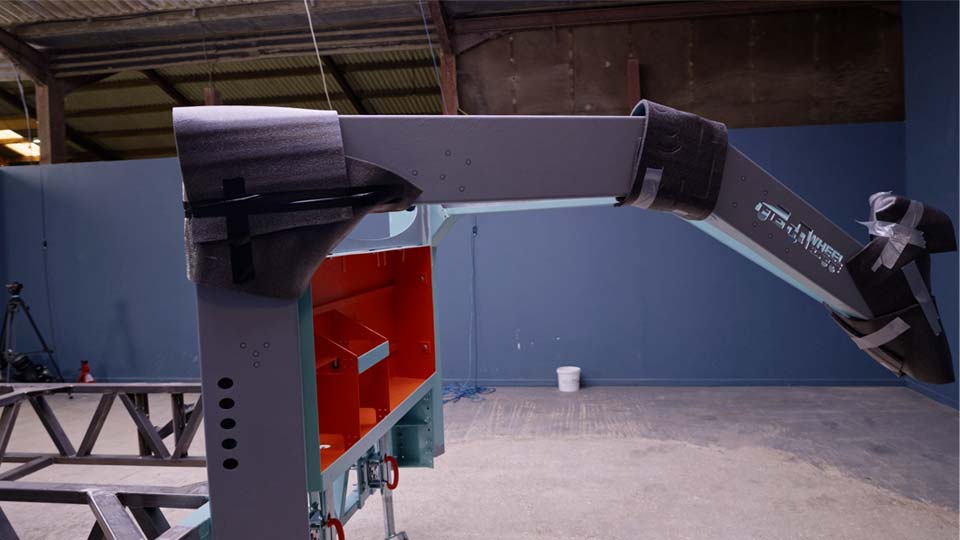
The plan was simple enough on paper. Lower one end, lift the front, fold the jockey wheels away, lower it back down, then tip the whole thing over. In practice, watching several hundred kilos of steel go past the point of no return is genuinely nerve-wracking.
We strapped the nearest crossmember to the forklift mast and fed the strap through a ratchet with a couple of turns, so there was enough friction to control exactly how fast it tipped. Once it was past 90 degrees there was no chance of it falling back on us, so we kept going until it rested on the foam we’d stuck on the neck. It landed exactly where we wanted it. We’re calling that a success!
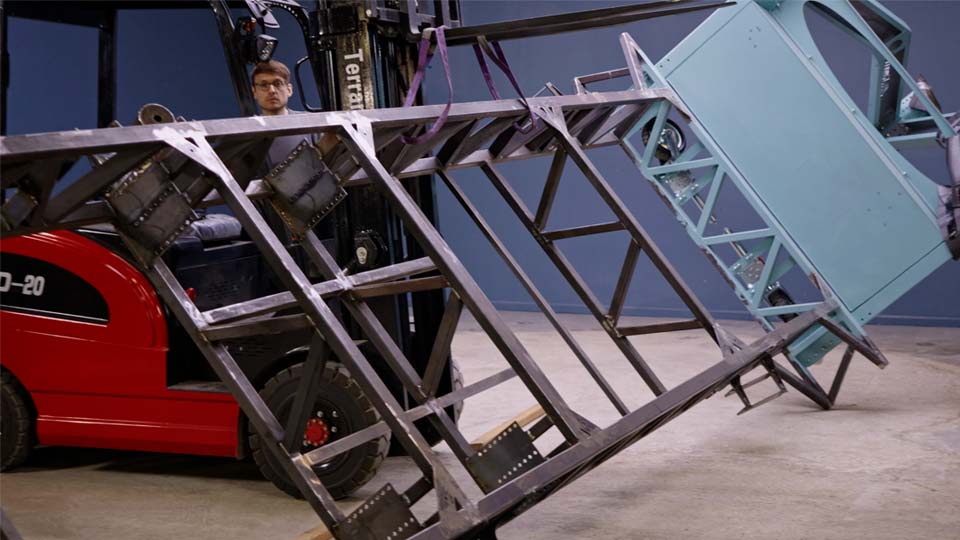
The best bit of flipping it was finally being able to see all the welds Pete did upside down while the chassis was the right way up. Some of them are genuinely good. Some of them have a little hole in. That’s exactly why we wanted it flipped, so we could check them properly and fix anything that needed it before paint went anywhere near them.
We know a lot of you have suggested getting the chassis shot blasted and hot-dip galvanised, and honestly, we’d have loved to. But it’s crazy expensive, and that’s before you factor in transporting the whole trailer to and from the blasting site on a low loader. Even a mobile blaster quoted us a fortune. Add in a workshop full of blasting dust for weeks afterwards, and it just wasn’t realistic for us.
So instead we wire wheeled off all the loose surface rust, which is really just oxidisation from the chassis sitting in the workshop rather than anything structural. Most of it looked far worse than it actually was.
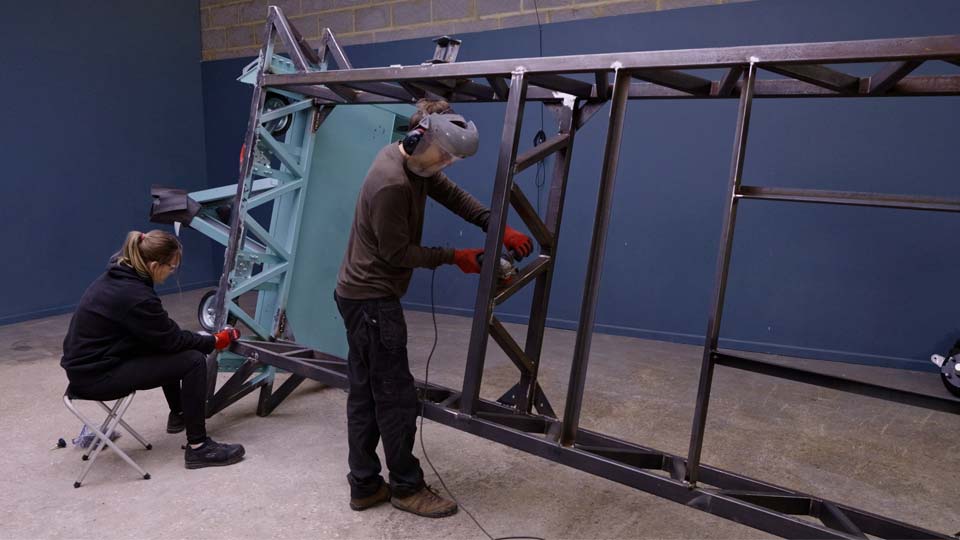
Once the rust was off, the real enemy was grease, because that’s what stops paint sticking properly. We degreased, washed, dried, and repeated the whole process four or five times until the cloths came away clean. Then Pete went over every last bit with acetone before Hayley started painting.
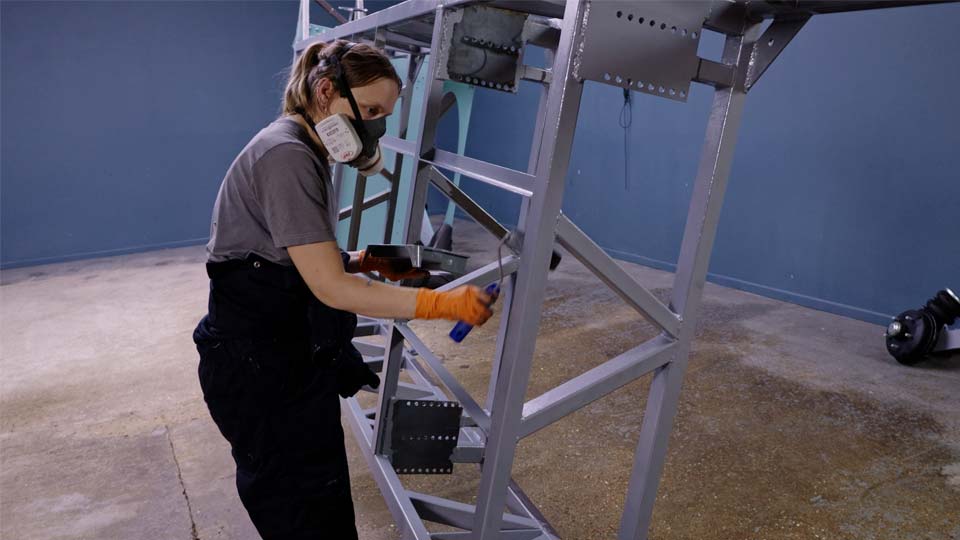
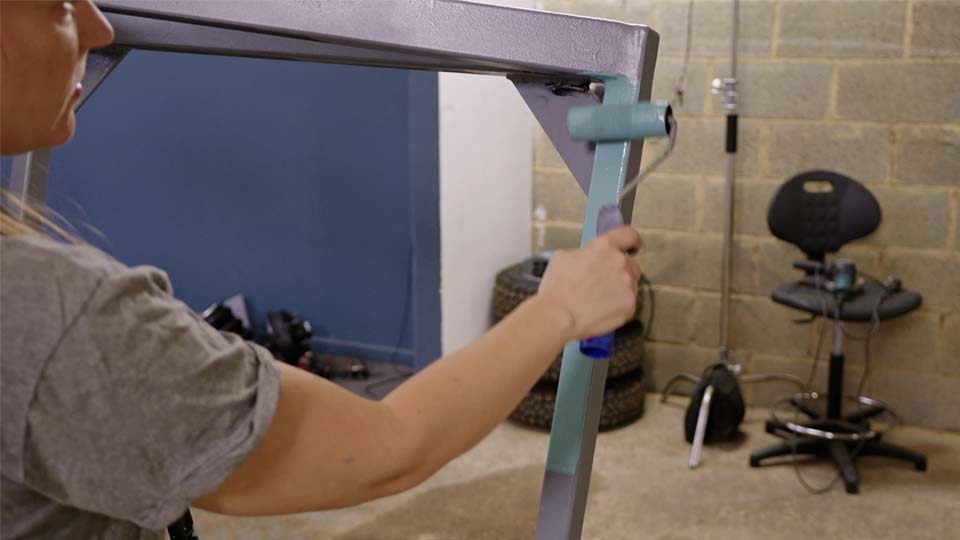
We used Jotun Jotamastic 90 Alu, a two-part aluminium epoxy primer with incredible anti-rust properties. It went on with a roller rather than a spray gun, partly to avoid wasting an expensive paint in overspray, and partly because we like the slightly rugged, rolled finish against the sleek turquoise colour we’ve chosen for the neck.
Flipping the chassis meant Hayley could reach every cross member and awkward corner without lying underneath fighting gravity. It’s already looking like one cohesive thing rather than a pile of separately welded bits.
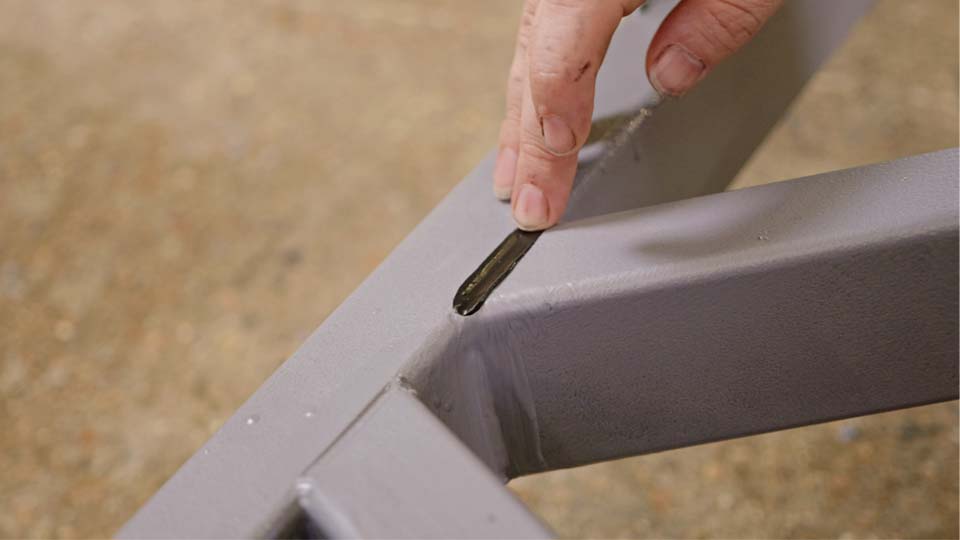
Before the final coat went on, Hayley went over every weld with PU sealant, focusing on anywhere there looked like the smallest pinhole. The idea is to keep the box section watertight. Some oxygen will always get trapped inside and cause a little internal rusting, but once it runs out of oxygen, it stops. Sealing the welds properly gives it the best possible chance of staying rust-free for good.
While the paint was drying, Pete got the lathe sorted so it can machine the spacers needed for our new wheels. No three-phase supply in the workshop, so a single-to-three-phase digital converter now runs the lathe motor directly, alongside new belts and oil. We’re going slightly bigger than our current wheels, but nowhere near the size of Moose’s, because with no wheel arches in the design, anything too big would make the trailer stupidly tall!
It depends on your budget and access. For us, transporting the non-road-legal chassis to a blasting site on a low loader and dealing with the mess afterwards made it impractical, so we wire wheeled the surface rust off and used a two-part epoxy primer instead.
We used a forklift with a strap through a ratchet for controlled friction, tipping it past 90 degrees so it couldn’t fall back, and let it rest on padded corners. Always keep clear of the path it could fall in.
We used Jotun Jotamastic 90 Alu, a two-part aluminium epoxy primer designed for rust prevention on steel.
Go over any weld with a visible pinhole using PU sealant before the top coat. It keeps the box section watertight so any trapped oxygen runs out quickly and internal rusting stops.
Yes, if there’s any surface rust or welding residue. It removes loose material so the primer has a clean, sound surface to bond to, but it needs to be followed by thorough degreasing too.
![[New Episode 🎉] Ok we see it too 👀 Pete's holding up the lid for our DIY downdraft filter. Two holes, one from the table, and one out to the centrifugal blower powering the whole system.
📺 Watch the build on the Long Road to Off Grid (2nd Channel) now!
This bit sits on top of the water bucket, sucking dust and fumes down and away instead of leaving them hanging in the air. At least that's the idea... at the moment it just floods the workshop whenever we switch it on!](https://roadtooffgrid.com/wp-content/plugins/instagram-feed/img/placeholder.png)