
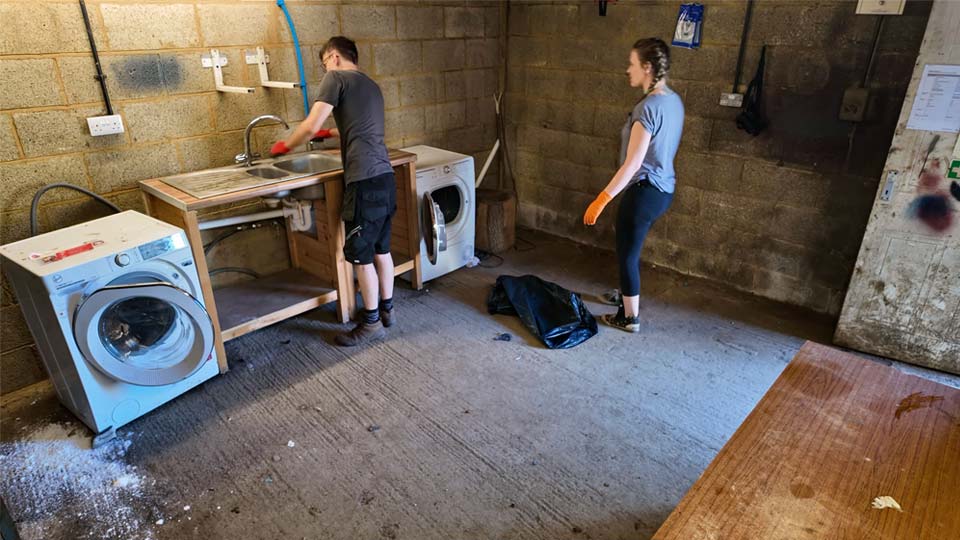
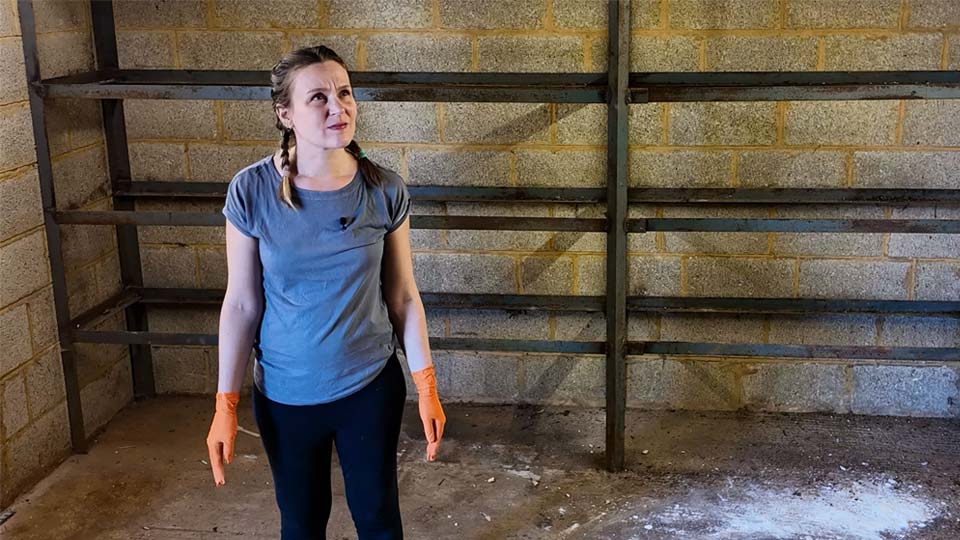
Our new workshop came with tenants already living in it. Eight legs each, and there were a lot of them. When we took this barn on we knew it was in a state, but we genuinely weren’t ready for spiders the size of rats.
We started by completely gutting the place so we could assess the true grossness that laid beneath and then got on with the unglamorous task of cleaning up, painting, patching rot, and discovering that whoever “fixed” the concrete floor before us should probably never touch concrete again. We started small on purpose, with one manageable room, because the rest of this 8,000 square foot barn is a genuinely overwhelming project and we needed a win before we tackled it.
If you would rather watch then read, jump straight to the video
The plan was to ease in with the easiest possible project: turning one grim little room into our new office. It’s got built-in metal shelving, welded straight to the wall, so that was staying whether we liked it or not — we just stripped off the old manky wood and repainted the frames.
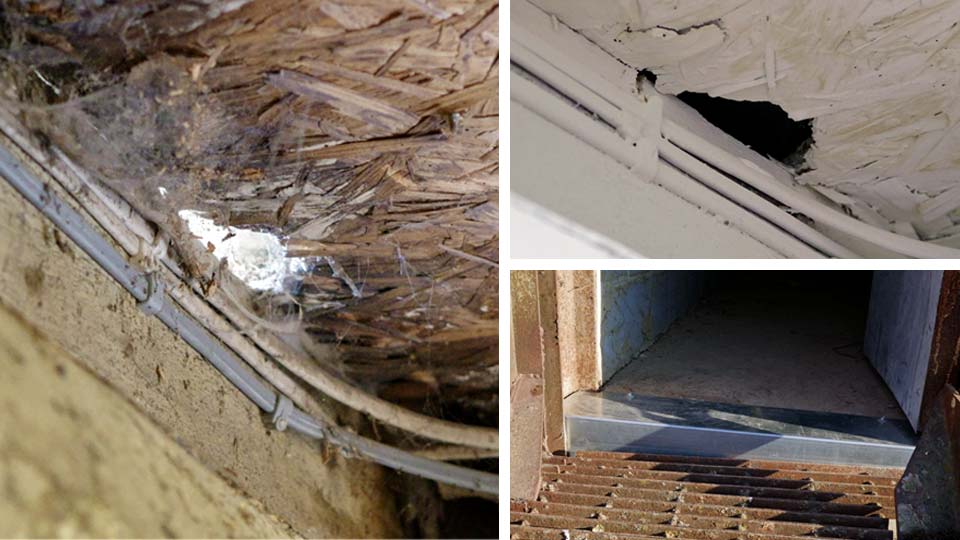
Once we got a proper look at the room, the problems started stacking up. There was a hole rotted right through the OSB ceiling from outside, where the end grain was sitting exposed to the weather. Our fix was some galvanised angle we had left over from a completely different old project, tucked in to protect it and give it a chance to dry out properly.
Then there was the “poop chute”. There’s a hole up to the floor above, and we only clocked it because of the pile of sticks and bird poo underneath. Charming. Some OSB from our old workshop will block that off.
Before we could even think about sealing the floor, it needed a serious clean — Pete pulled up the mud and grime with a pressure washer, while I followed behind with a wet vac so we didn’t completely flood the place. Genuinely one of the more ridiculous two-person jobs we’ve done, but it worked.
Once the room was clean, I got to painting — and picked a colour Pete describes as “old policeman blue.” It does feel a little bit interrogation room… but a little decor should help to remedy that!
We fitted the same LED lights we used in our old shed office — cheap, good, and dead easy to link together with the extra cables that come with each one. We put in six of them, which might have been overkill, but the room went from dim and grim to properly bright in about ten minutes.
The floor got its own treatment too. We’re painting straight onto the concrete with a floor paint, cut with a bit of white spirit for the first coat so it soaks deep into the porous concrete rather than just sitting on top. Top tip: mix the paint fully before use 😅
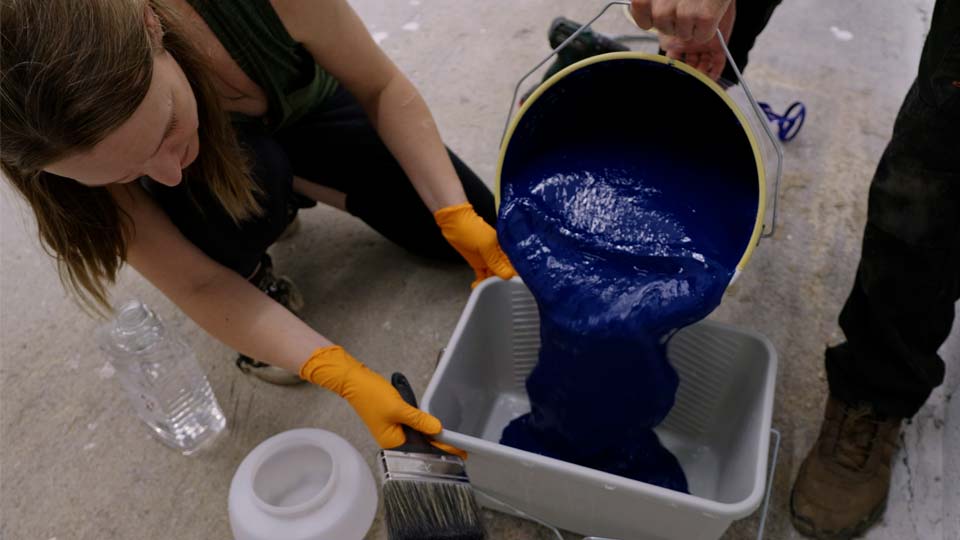
Once it went down it looked like the ocean. Two coats later, we were walking around in it with our shoes off just because it finally felt like a clean indoor space rather than a barn.
This room is going to end up as our office and a nice little kitchen corner — an IKEA kitchen we already own, some extra worktop, the old sink that was here already, cleaned up and reinstalled, a fridge tucked underneath, and a breakfast bar so we’ve somewhere civilised to sit and eat lunch.
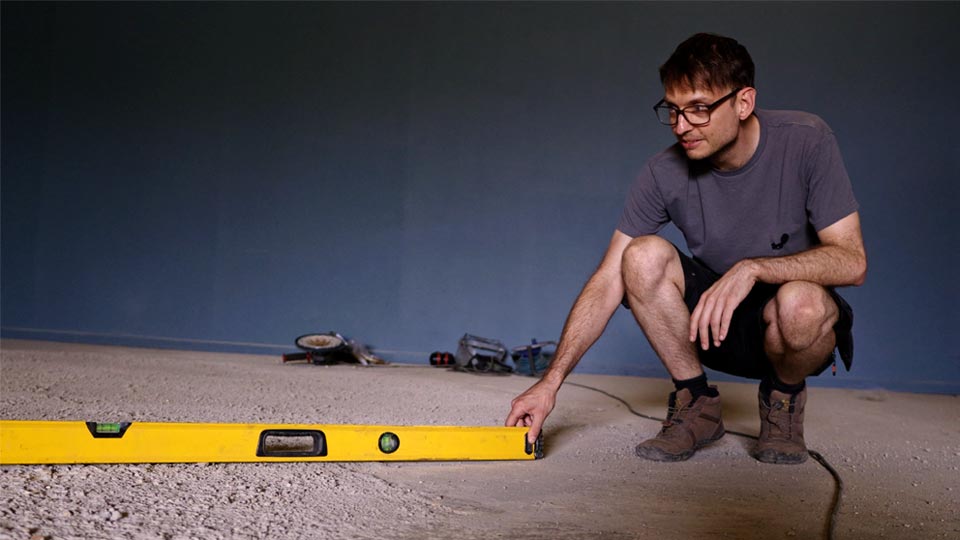
The main workshop floor is a different story entirely. There used to be a turntable pit in the middle of it, and whoever filled it in before we arrived did an absolutely shocking job. The rest of the floor is a smooth poured slab. The patch is just coarse rubble and stones with no proper finish, sitting up to 20 or 30mm higher than the surrounding concrete in places. Right in the middle of the area we wanted to roll trolleys and things with castors across.
Honestly, if they’d told us they were going to do it that badly, we’d have told them to leave it – we’d have done it ourselves.
Pete had a go at grinding it flat with a nine-inch angle grinder and a concrete grinding disc. It knocked the spiky bits off nicely, but just as he was getting into it, he must have hit a bit of stone the wrong way, the (very old and cheap) grinder started vibrating so hard he could barely hold onto it — and then it let go completely, sparks and smoke pouring out of the motor. Angle grinder: dead.
We looked at hiring an industrial concrete planer — the kind you push along and it grinds a groove out — but that’s about £200 to hire plus about £50 per millimetre of wear on the discs PLUS the cost of self-levelling compound to fill the area properly. In the end we decided the simpler option was just to buy a new angle grinder and keep smoothing the transition between the good floor and the bad patch by hand, rather than trying to fix the whole thing. We don’t own this building, we’re renting it, so there’s a limit to how much time and money we want to sink into a floor that was never ours to fix properly in the first place.
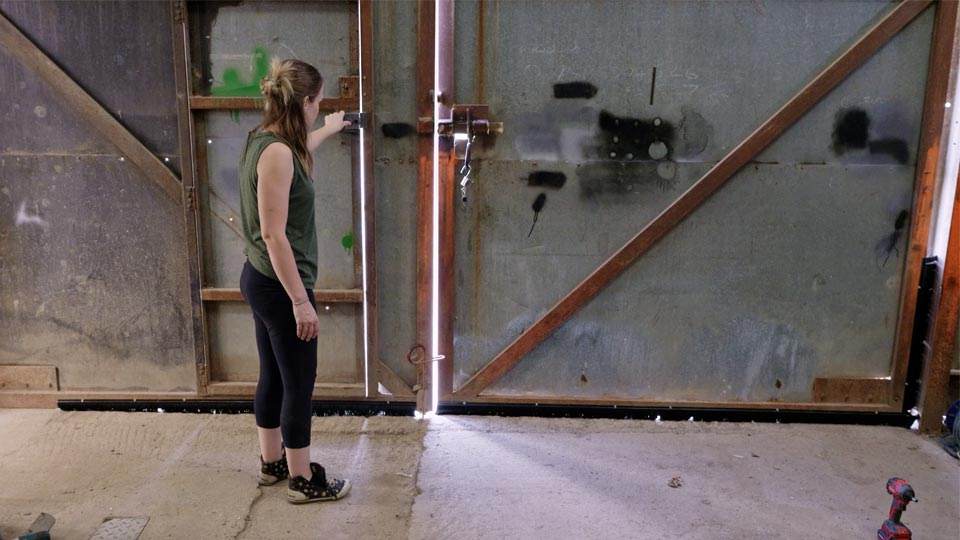
This barn sits surrounded by a mix of gravel and very fine dust, and it blows in through every gap under the doors and in the walls. Pete had reached his sweeping limit. Our fix was a heavy-duty draught excluder brush, screwed to the bottom of the main door so it compresses against the ground as the door closes.
First test with the Pete’s new impact driver on full power was very impressive — the screws went in with zero resistance and no satisfying “ugga chugga” from the driver at all. Once it was fitted properly and the door opened and closed cleanly without catching, we checked the gap by looking for daylight underneath. Barely any left. A small fix, but it’s made a noticeable difference to how much dust ends up inside.
With the office more or less sorted, we started planning how the rest of the barn is going to split up:
We were hoping to be fully moved in by now. We’re not dragging our feet on purpose, we promise — but Pete may have forgotten to book the HGV MOT for the truck. Repeatedly. Turns out HGV MOT slots book up weeks in advance, so the truck that’s meant to be helping us move is off the road for a couple of weeks. It might just work out timing-wise. Might
It’s a large barn complex — around 8,000 square feet in total — split across multiple rooms and a second barn, which we’re gradually dividing into zones for the trailer build, metalworking, storage and a film-studio-style filming area.
A dedicated floor paint from Direct Express Coatings, thinned slightly with white spirit for the first coat so it soaks into the concrete, followed by a second full-strength coat once the first had absorbed.
We fitted a heavy-duty draught excluder brush to the bottom of the main door, screwed on so it compresses against the ground as the door shuts. It’s cut down the amount of fine gravel dust getting in noticeably.
Whoever filled in the old turntable pit before we moved in used coarse rubble with no proper finish, leaving a patch that bulges up to 20-30mm higher than the surrounding smooth slab. All they needed to do was use a long plank of wood or straight edge and work it back and forth across the wet concrete to scrape the excess and smooth the surface before it set. An 9″ angle grinder with a concrete grinding disc took the worst off it before dying mid-job.
Pete forgot to book an HGV MOT for the Iveco, and its been tricky to find a slot. It’s a temporary hold-up while we wait for a booking and it gives us time to make sure the workshop is ready to be filled!
Wolfbox, sent us a rear-view mirror dash cam with extra front and rear bumper cameras, plus a cordless air blower that’s turned out to be far more useful than we expected.
We were sceptical about how powerful a handheld air blower could really be, but this thing is super strong — we’ve been using it to blast dust off tools, surfaces and ourselves. The battery swap works like loading a magazine, which is a small thing but genuinely satisfying every single time. It comes with interchangeable nozzles too, including one for inflating things.
You can pick one up from;
Wolfox’s Offical Site
Use code WBSAVE10 for £10 off,
Or their Amazon shop
Use code WBMF200UK to save 10%!
