
Before we ever dreamt up this ridiculous idea of building our own tiny home trailer from scratch, the plan was simple: turn Moose, our old 7.5‑tonne truck, into our off‑grid house on wheels. We even built a full set of custom hydraulic levelling legs that were strong enough to lift the back of him clean off the ground so we could change a wheel or make him “dance”.
Changing plans was hard partly because of those legs. We had poured so much time, money and learning into them, and when we decided Moose was going to become the tow vehicle instead of the home, it felt like leaving a big chunk of our effort behind. I hated the idea of all that work going to waste, so this week was really about fixing that: reusing what we already built, making it better, and giving our new trailer the most over‑engineered “feet” it could possibly have.
The original legs on Moose were very simple. They only moved up and down, which was fine when they lived under a truck, but on the trailer that would have meant a great steel post poking right up into the space where our kitchen will eventually be. That was never going to work.
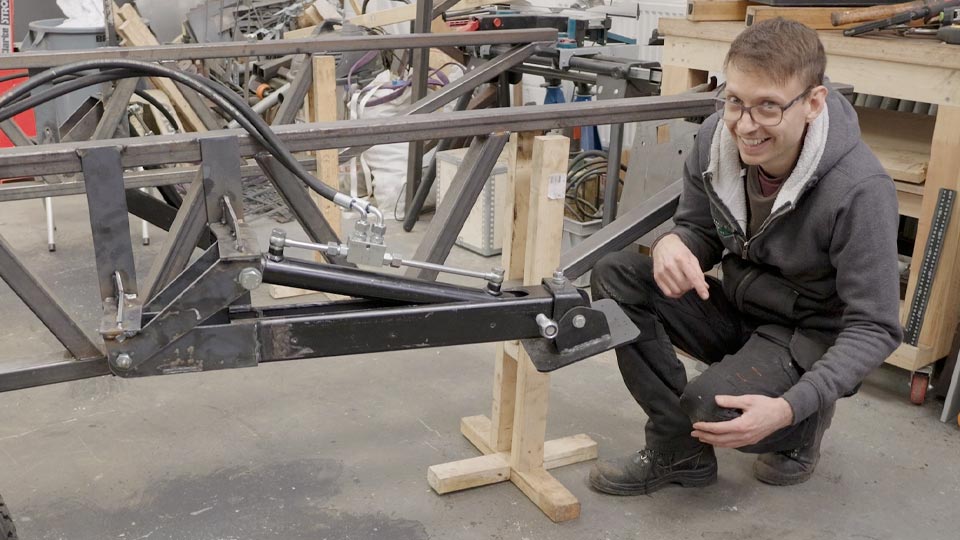
Pete’s solution was to turn them into pivoting stabilisers. Instead of going straight up and down, each leg now lives tucked up along the side of the chassis, then swings down, plants its foot, and keeps going as the ram pushes, lifting the trailer as it goes.
Of course, that meant surgery. We chopped into the original steel to make room for the hydraulic ram in a different position, and then extended each leg so we can get more lift than we ever really need. On paper, we probably do not need that much height, but “how much we need” and “how much Pete wants” are rarely the same amount.
The legs don’t drop down alongside the chassis; they kick out at about 10–12 degrees so that, when the trailer lifts, the “footprint” is wider and everything feels more stable. That angle made the bracket design surprisingly tricky.
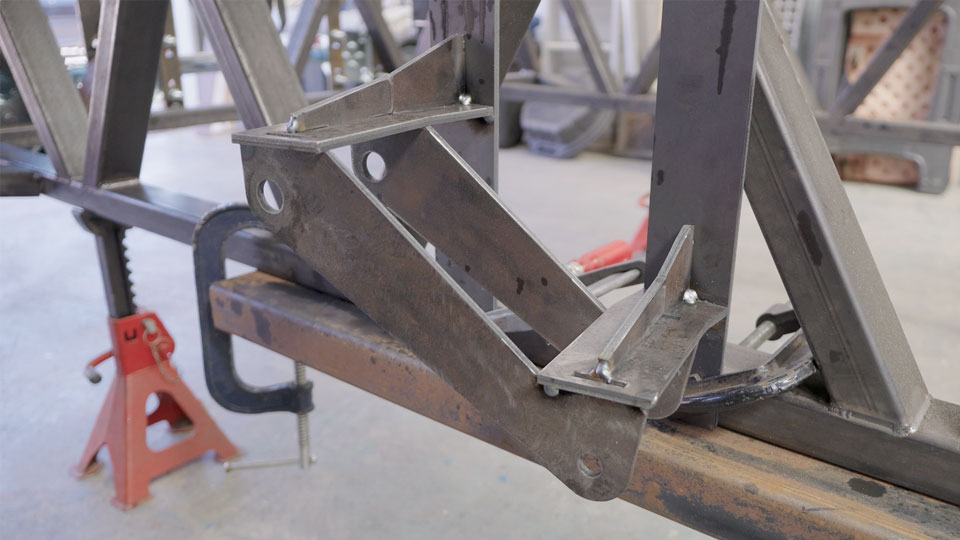
Pete ended up with what he proudly calls his favourite bracket so far: a funky, multi‑layered piece of steel that holds the leg at just the right angle, lets it pivot cleanly, and still clears suspension, chassis rails and the other bits we have not even built yet. We also had to obsess over where they mount along the chassis so the legs don’t become the lowest point. The idea of our “departure angle” being ruined by a big foot plate catching on every bump was not very appealing.
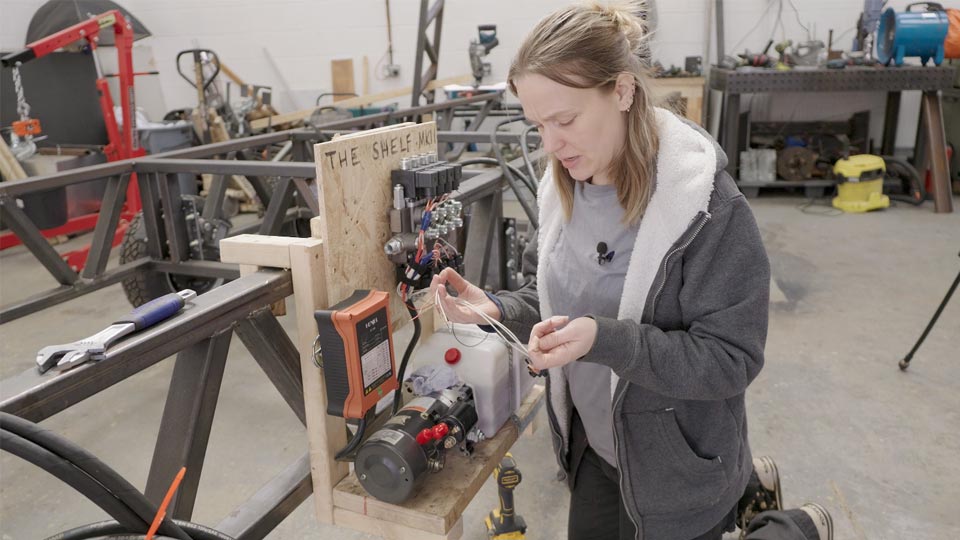
The nice thing about having done all of this once before on Moose is that we already had most of the hydraulic kit: tank, pump, valve block, hoses, remote control, even the OSB “shelf” that upset so many people last time. We also quickly diagnosed all the issues that arose in exactly the same way as before!
We started by modifying one of the legs, then mocked up the ram position to check that nothing fouled and that the geometry actually worked. That meant cutting a gap for the ram, boxing in new extensions and machining a tube on the lathe for the pivot bolt to run through. Once that looked right, we batch‑cut the plates and brackets for all four corners and welded them onto the trailer chassis.
We did at least improve a few things this time. The OSB shelf is still temporary, but the mounting is much stronger and more thought through. The valve block wiring has gone from “panic spaghetti” to neat, labelled runs, with proper crimps instead of twisted copper jammed into terminals. And we added a mega‑fuse in the power line to the 24‑volt system, because nothing says “fun project” like a pump drawing serious current from a pair of Moose’s batteries.
Once all four legs, rams, hoses and the valve block were installed, we were onto bleeding the system. Each ram has to be extended and retracted repeatedly to push all the air out, and you can only really tell it is working when the bubbles stop appearing in the tank.
If you have never worked with hydraulics, they look quite innocent from a distance. Up close, they demand respect. A tiny hole in a hose can produce what looks like a harmless mist, but the pressure is high enough to cut skin and inject oil straight into you. So while Pete was happily holding the remote and watching the ram, I was hovering nearby with blue roll and a healthy sense of caution, ready to run away if anything started to hiss.
We also found a few hidden problems that only showed up under pressure. One of the fittings had an actual crack running all the way through the metal, which explained a persistent leak. Thankfully, we had spare adapters on the shelf, so it turned into an “inspect, swap, try again” exercise rather than a full parts‑ordering disaster.
There was also a bit of electrical debugging. The control system uses a bank of solenoid valves, and each leg has an up and a down function that needs the pump motor to run at the same time. To stop every valve triggering whenever any button is pressed, we rely on diodes that only let the current flow one way. When one of those diodes failed, we had a valve that behaved itself some of the time and went rogue the rest. Swapping that out was a small but very satisfying fix.
The obvious question we keep seeing (and asking ourselves) is: is all this hydraulic stuff worth the weight on a tiny home trailer? Hydraulics are not light.
I have been weighing everything as we go. Each leg plus its mounting bracket comes in at around 17.5 kg. Each ram is 7 kg, and I have allowed 1 kg per corner for bolts. All the hoses together are about 11 kg, and that is worst‑case because they are currently too long and will be trimmed down. The tank and pump together are 15 kg, and the valve block is 10.5 kg.
Multiply the legs and rams by four, add all the hardware, and the hydraulic system lands at roughly 138.5 kg. Our target for the bare trailer frame is a maximum of 1000 kg. With the legs, hydraulics, suspension and everything we have done so far, the frame now sits at around 813.5 kg. That still gives us a couple of hundred kilos to play with for the brake system and any extra bracing before we hit our self‑imposed limit.
So yes, it is heavy, but it is also a trade‑off. We gain a properly stable base wherever we park, the ability to lift the trailer enough to get wheels off the ground, and the freedom to camp on less‑than‑perfect ground without stacking plastic blocks under each corner… and we already had the bits! For an off‑grid home we plan to live in for years, that feels like a fair deal.
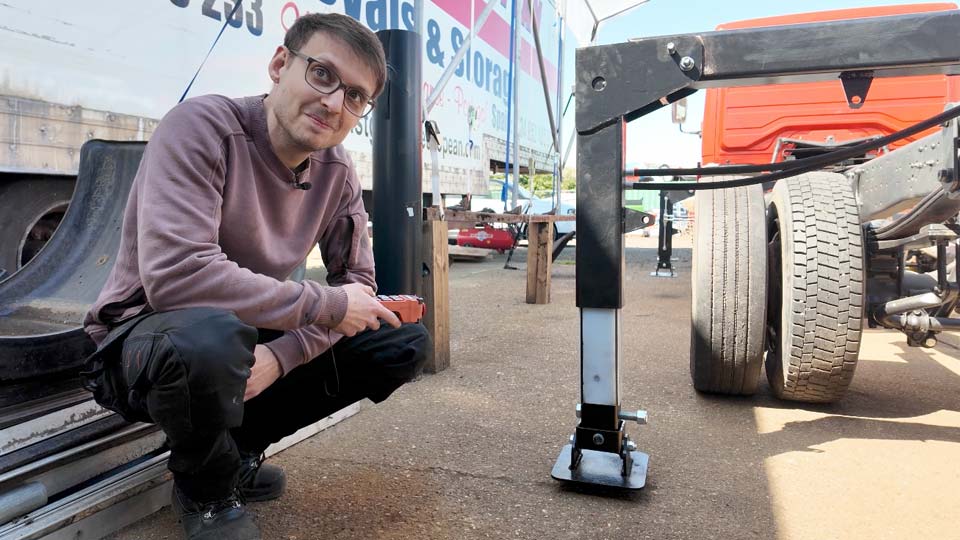
The little orange remote from the Moose days has made a comeback. Each pair of buttons will control one leg: up and down for each corner, and if you hold all the right buttons together, the system can raise or lower multiple legs at once. The idea is that, in the long run, this will plug into a proper trailer “brain”.
Pete’s long‑term dream is a single computer system handling everything: lights, heating, air‑con, slide‑outs, possibly even levelling sensors so the trailer can adjust itself. We are not there yet; at the moment it is still very manual and slightly scary, with the pump sounding like a small aircraft every time it spins up. But the foundations are being put in with each cable we crimp and each relay we label.
For now, the important bit is that the remote turns on, the relays click, the pump whirs, and each leg responds when you press the right button.
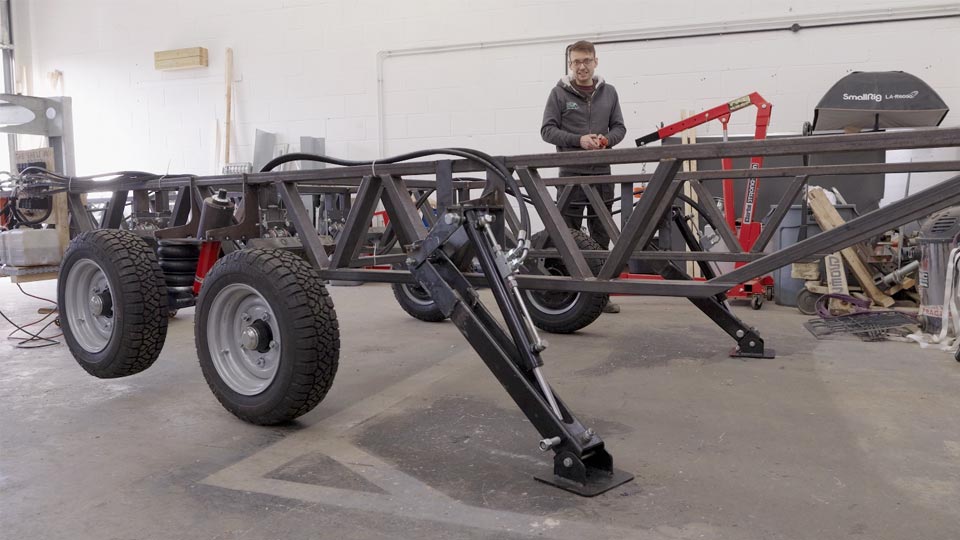
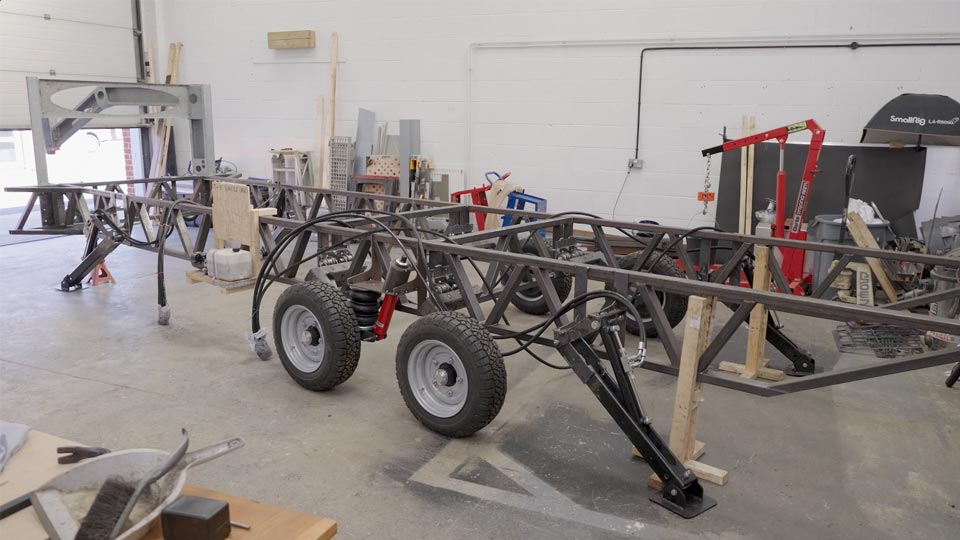
After all the welding, plumbing, bleeding and tinkering, we finally reached the moment we had been working towards: letting the trailer stand on its own hydraulic legs for the first time.
Seeing it in daylight after a very late night in the workshop was a bit surreal. With the neck, the chassis and these four hefty steel legs at each corner, the whole thing looked less like a trailer and more like some enormous metal horse, halfway between galloping and posing for a sci‑fi film.
The first movements were pretty dramatic. The legs snap out with a lot more enthusiasm than you expect, which is why we want to add restrictor valves to slow the flow and make everything a bit smoother.
Once all four were down, though, and we started lifting the back together, the trailer gently rose off the stands in a very controlled, very mechanical way. Watching all the feet slide slightly as the weight came onto them, feeling the whole frame lift, and then seeing empty space below the wheels again… it was the sort of moment that reminds us why we picked such a complicated build.
This system is working, but it is not finished. There are a few jobs we still need to tick off before we can call the stabilisers “done”:
Even with that list, it feels like a huge step. The trailer now stands on its own legs, literally, and we have managed to carry a big chunk of Moose’s story forward into this new chapter. There is something very satisfying about knowing the work we did months ago is still helping to shape the home we are building now.
Let us know – If you were building your own off‑grid trailer or tiny home, would you go to the trouble of a full hydraulic levelling system, or would you stick to something simpler and lighter?
Why did we choose hydraulic trailer stabilisers instead of manual jacks?
Hydraulics are heavier but give us a stable base, fine control at each corner and enough lift to get the wheels off the ground, which suits an off‑grid home we’ll live in full‑time. Plus, we already had them!
How much do the hydraulic legs and system weigh on our tiny home trailer?
The four legs, rams, hoses, tank, pump and valve block together weigh about 138.5 kg, keeping the bare trailer frame under our 1000 kg target.
Can you reuse truck hydraulics on a DIY tiny home trailer?
How do we bleed the hydraulic rams safely?
We extend and retract each ram multiple times while watching for bubbles and leaks, keeping clear of any fine high‑pressure sprays from old hoses or fittings.
