
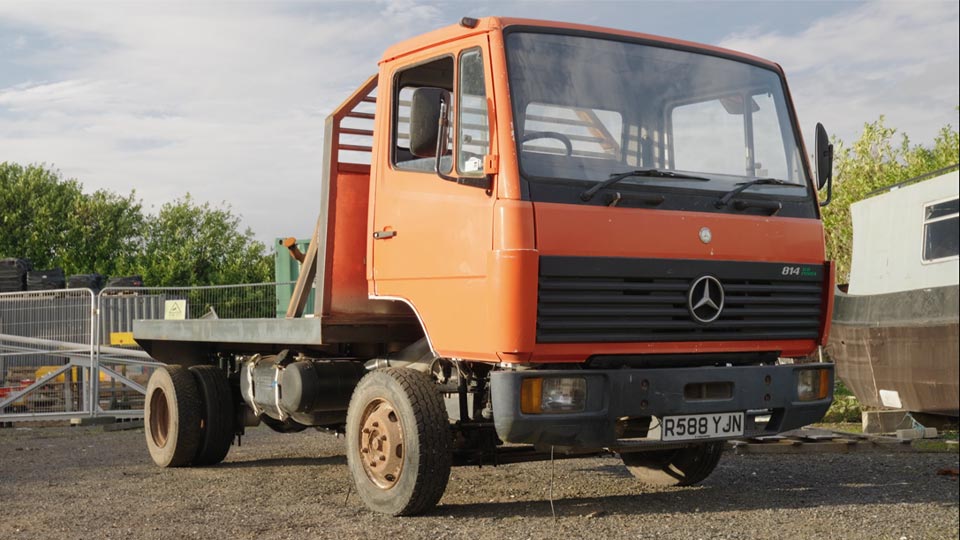
For the last year and a half, Moose has barely moved an inch. Every bit of work, from grinding and welding to fitting the air suspension, has happened out in the open. He’s been surrounded by mud, dust, and the occasional curious neighbour. But this week, something big has happened!
We’ve signed the lease on a small industrial unit, about a thousand square feet, and it’s big enough to fit Moose inside. After working outside through every kind of weather, the idea of having a roof, lights, and even our own bathroom feels surreal. It’s also big enough to build our fifth wheel tiny home trailer indoors, which changes everything.
This means we need to get Moose ready to travel. Before we can move him to the new space, we have a ton of loose ends to tie up to ensure he is strong and safe enough to survive the journey.
If you’d rather watch than read, the full episode is below.
First up, we tackled the air brake hoses. The old rubber lines were cracked and perished, and back in September when we upgraded to air suspension and rerouted all the lines, we’d temporarily connected some rigid hoses in their place. The hoses are connected from valves on the chassis down to the rear axle so wouldn’t have lasted long at all without a bit of flex. So Pete ordered a hydraulic crimping press and we got to work making brand new ones. After a bit of trial and error and a few reference videos, we measured, cut and crimped fresh hoses.
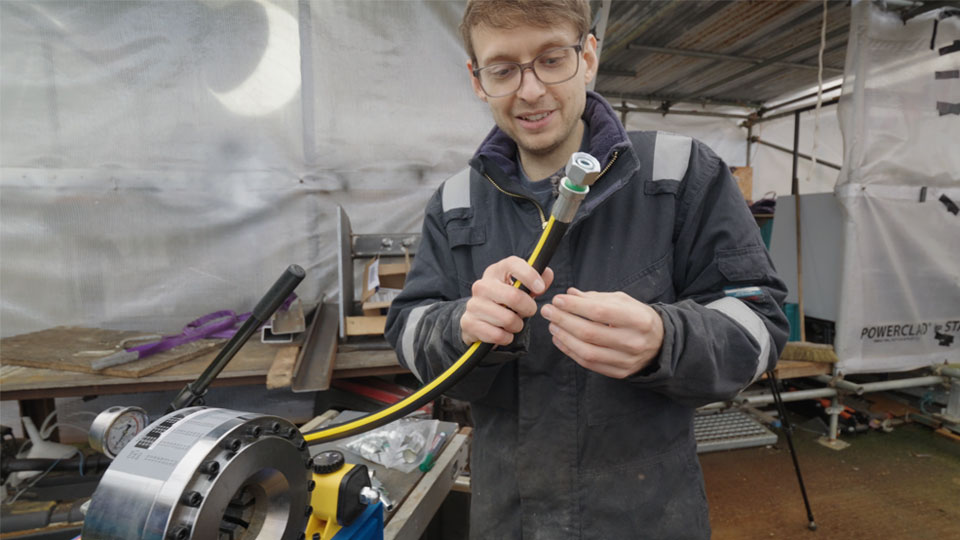
Watching the fittings clamp down under pressure was oddly satisfying, and the finished hoses looked properly professional. Getting the length right was crucial, leaving just enough slack for the axle and chassis to move freely without straining the joints.
This is such a valuable skill and piece of equipment that will save us literally hundreds of pounds on hoses in the future.
Onto the next task, securing the flatbed. We only tacked it together a couple of weeks ago, so before Moose could go anywhere it all needed welding properly. Every cross member, side rail and mounting point had to be made solid.
We also added two length of box section to support the bulkhead and six new tie-down points along the sides. Each one is rated for three and a half tonnes, which is complete overkill, but that’s how we like to build things. Once everything was welded in, the frame looked stronger and more finished than ever.
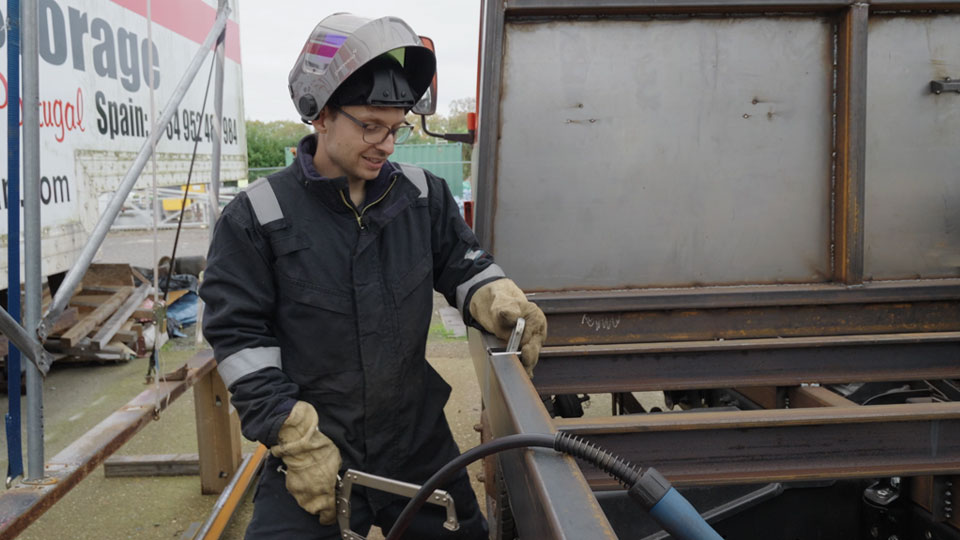
By the end of the day the air was full of grinding dust, the clamps were slightly melted, and the flatbed was secure enough for the road.
Next came the front shocks. The first set we ordered months ago turned out to be the wrong size, so we finally fitted the correct ones. While the wheels were off, we cleaned the hubs, checked the bearings and gave everything a thorough degrease.
We also adjusted the clutch biting point. We replaced the clutch and bearing several months ago but hadn’t fine-tuned it until now, so this was a good time to get it right before the move.
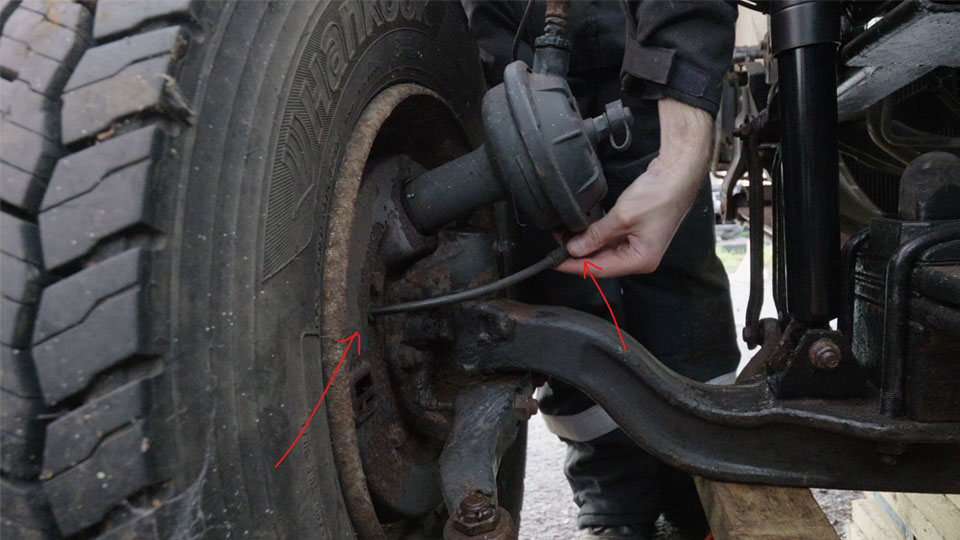
And remember that mystery pipe that fell off months ago? With all the grime now gone, we finally spotted where it came from. It connects just beneath the brake cylinder and enters the back of the wheel through a small grommet… any ideas what it’s for??
One of the last big jobs before Moose could move was fitting the new propshaft. The old setup used two propshafts joined by a bearing in the centre of the chassis, but when Moose had his wheelbase reduced, the section that connected to the rear axle became too short and too steep. So we had a replacement made to match the new wheelbase, using yokes and fittings from the old one. When it arrived, it looked almost too clean to install.
The joints were pre-greased, the paint was fresh, and everything lined up beautifully. It’s one of those satisfying moments where all the research, measuring and remeasuring from weeks ago finally pay off.
Getting the propshaft into place took both of us, Pete underneath and me pulling it up from above with straps. Once the bolts were torqued down, we ticked it off the list, one of the biggest items we had been dreading getting wrong for months.
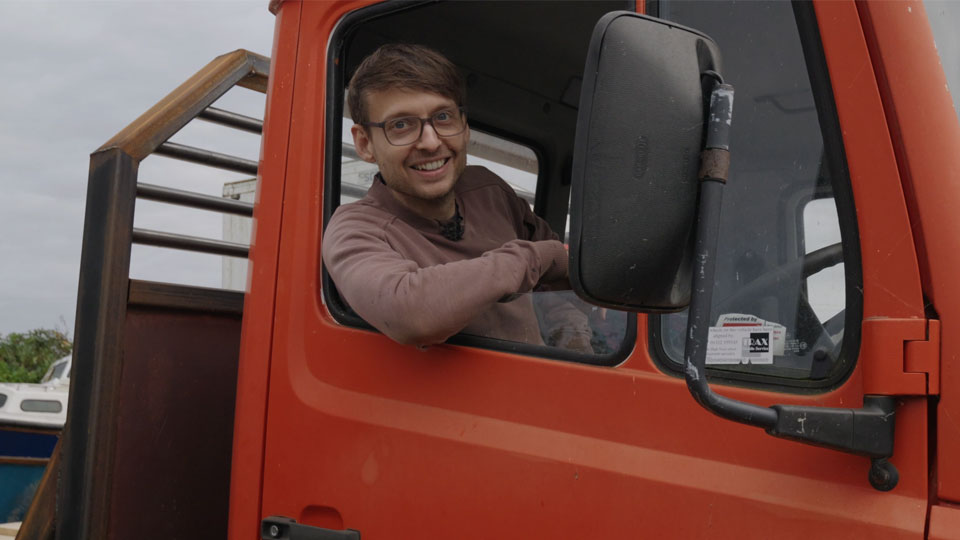
With it fitted, Moose was finally complete enough to drive under his own power again.
We fired up the engine, waited for the air pressure to build, and checked the clutch one more time.
Then, for the first time in over a year, Moose rolled forward under his own power.
It wasn’t a long drive, just a loop around the yard, but it felt incredible. The brakes worked, the suspension felt balanced, and nothing rattled loose, which was a great sign. After so long standing still, seeing him move again felt like a huge milestone.
The space he’d been parked in suddenly looked strange and empty. For eighteen months it’s been our entire workshop, our filming location, and the centre of this whole build.
With Moose ready to travel, we started to clear up the space that’s been home for so long. It’s amazing how many offcuts, tools and bits of metal you collect when you work outside for a year and a half.

Sweeping the yard for what might be the last time was oddly emotional. That patch of concrete has seen the best and worst of this project. But the next step is a big one, moving everything, including Moose, into our new unit.
It has space for the tiny home trailer, an office corner, a small kitchen, and even its own bathroom. We can finally work out of the weather, film without fighting the wind, and start building the tiny home indoors.
This episode really does mark the end of one chapter and the beginning of another. Moose is road ready, the yard is empty, and the new workshop is waiting.
Thank you to Surfshark VPN for sponsoring our channel at this crucial stage in our journey.
Did you know you can protect your phone, laptop, tablet, and even your TV all at once? Surfshark VPN lets you connect unlimited devices under one account, and it blocks ads, trackers and malicious websites to keep you safe from scams and malware while you browse.
It can also help you find cheaper prices on flights and hotels by changing your virtual location, and includes an optional alternative ID that lets you create one-time email addresses to cut down on spam. But our favourite feature is how it gets rid of those annoying cookie pop-ups completely – they’re just gone!
There’s a 30-day money-back guarantee, and if you use our link and code OFFGRIDVPN, you’ll get four extra months for free:
👉 https://surfshark.com/offgridvpn
We’re genuinely grateful to have their support on the channel.

Tony Wilson says:
Hi don’t know if I’ve missed it but where (what area not address) have you moved to . I live in Winchester and am going to downsize my tools – if you are not to far I could donate some
Hayley says:
Hi Tony – Thanks for the message and the offer, we’re quite close actually! Please, feel free to send us an email to roadtooffgrid@gmail.com. Donations are very welcome 💚