
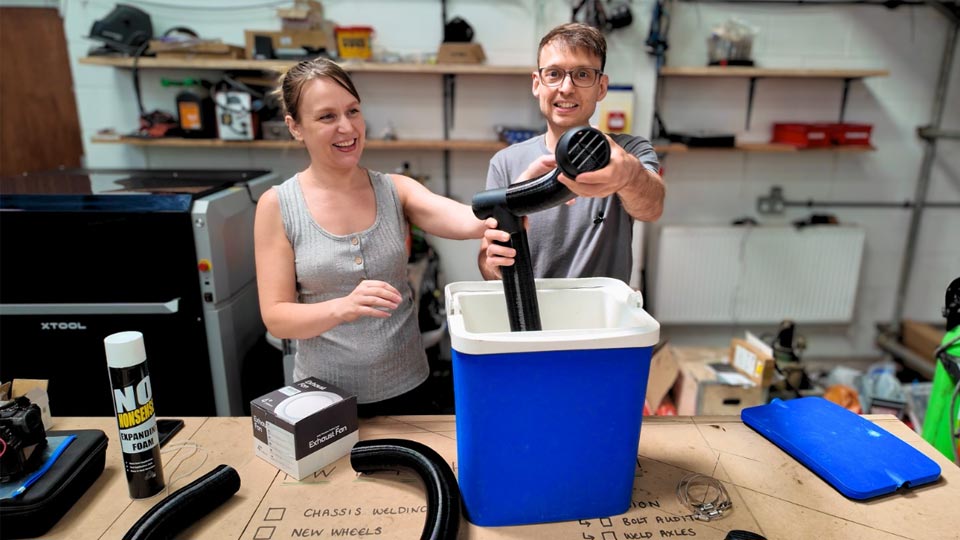
We got a new truck. It’s amazing. It also has no aircon and fans that barely stir the air, and we discovered this the day before our long road trip to Euro Auctions in Leeds, in the middle of a heatwave. So we did what any sensible person would do: we built our own truck air con out of a battered old ice cooler box, an extractor fan and a pile of ducting, with just a few hours available before we needed to leave.
If you would rather watch than read, jump straight to the video.
Here’s the full parts list with rough prices;
Total spend? Call it £50 including ice over a few uses and you’re looking at a genuine “aircon in the truck” solution. Not bad for a fix that took an afternoon.
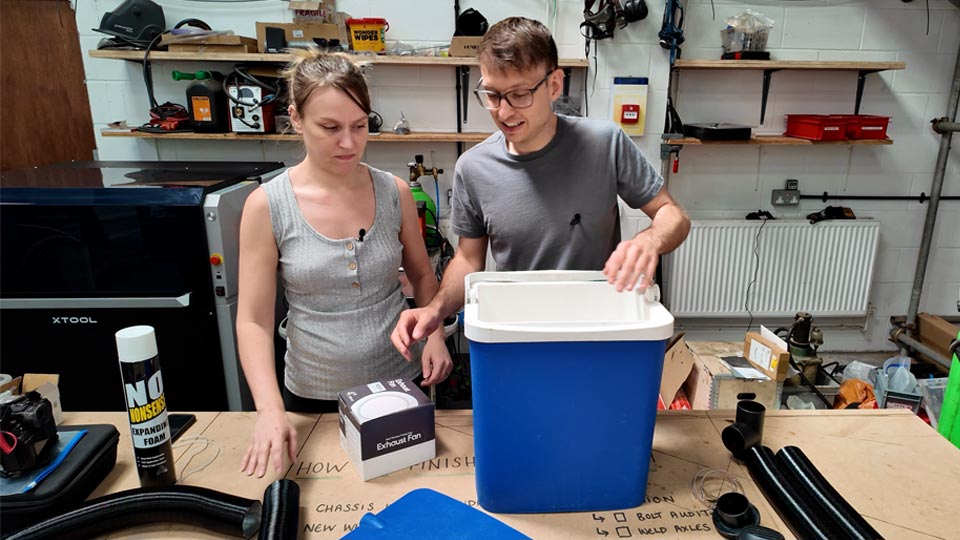
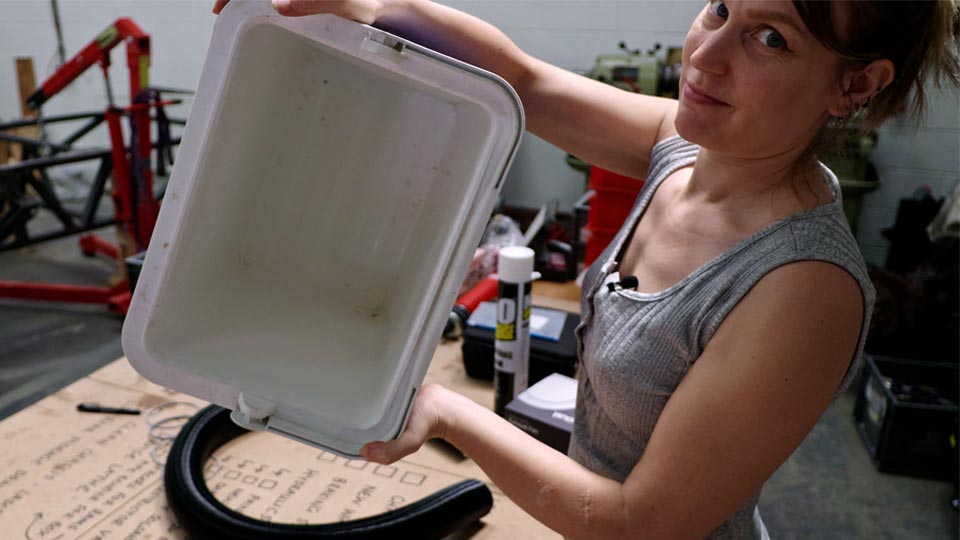
Any old ice cooler box will do. Ours was about 30 litres, crusty, secondhand and not going to win any beauty contests, which is exactly what you want, because the first thing you’re going to do is cut it up.
Cheap ice boxes have two skins with a thin layer of polystyrene sandwiched between them, and that cavity is the whole problem. It’s not built to have air constantly pushed through it and warm air exchanging with the ice, so the insulation needs beefing up. Our plan was to pop the inner skin loose, pull out the flimsy polystyrene, and fill the cavity with expanding foam instead.
While we were in there we found a mystery hole in the side, plugged with a bottle cap, superglue and hot glue by whoever owned it before us. We cut that out and used it as our foam relief hole later.
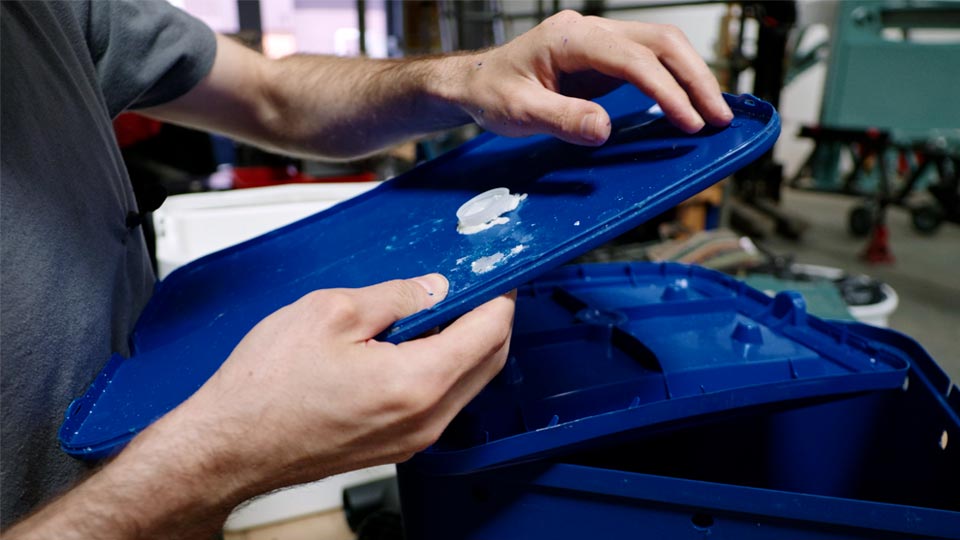
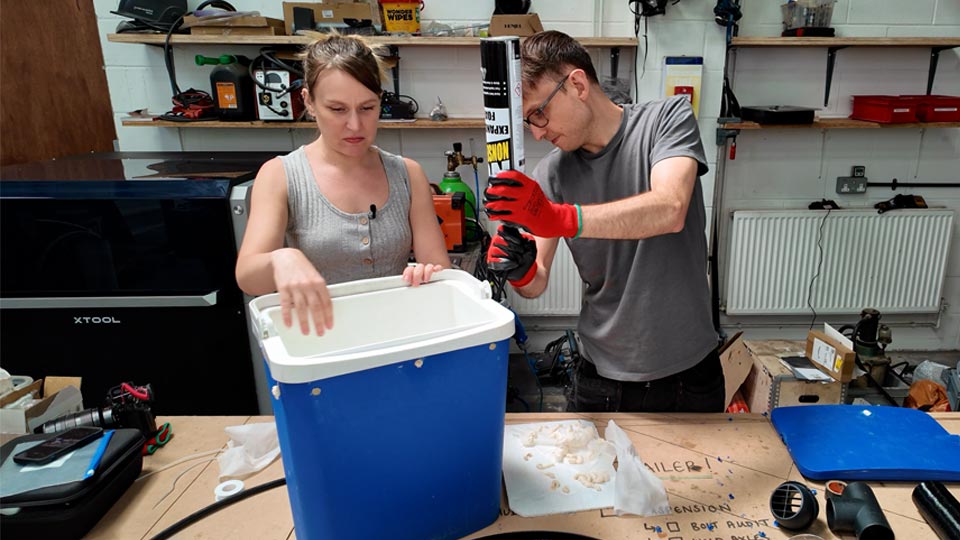
With the inner skin free and a hole cut for relief, we squirted expanding foam into the cavity and did the same to the lid, which has its own hollow space. You’ll want nice fresh foam for this – not 5 year old foam from the depth of your shed. After learning this, we bought a new tin. This one claims it yields up to 55 times its contents, and we believe it!
Top tip: put in a little bit, wait, and see how far it rises before adding more. We did not do this. Pete has a problem with restraint around expanding foam, apparently.
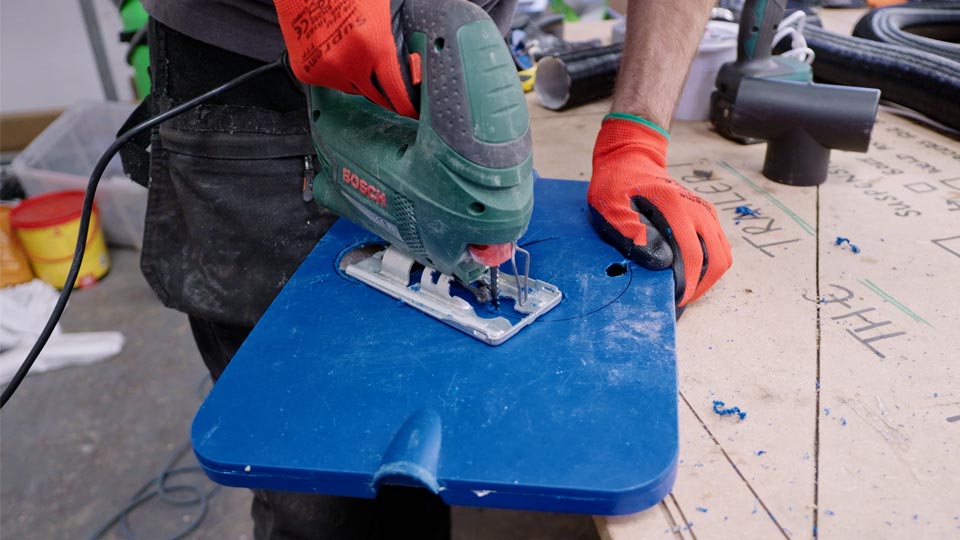
Once the foam has cured a bit (not enough), it’s time to cut the holes for the fan and ducting. Properly, you’d use a hole saw in the right sizes. We managed to find a hole saw for the ducting, but for the larger hole we used a jigsaw, going slow so we didn’t crack the plastic outer skin.
You need two hole sizes:
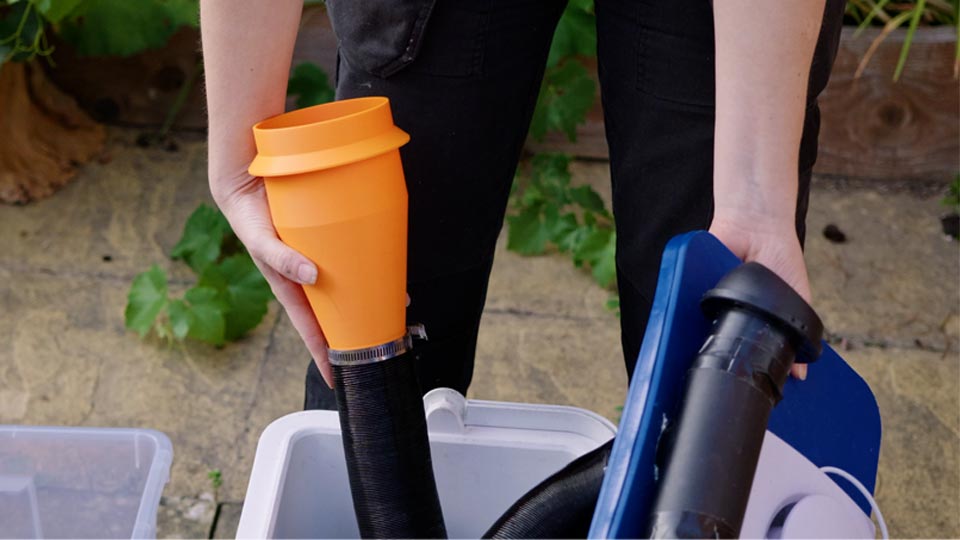
The extractor fan is 100mm and the ducting is 60mm, so somewhere in the middle you need a reducer to join the two. We didn’t have one that fit, so we sketched one out and 3D printed it, It adapts the 100mm to 60mm b. Press fit to the extractor fan and a hose clip to the ducting.
It looked great going in. It did not work great once it was running.

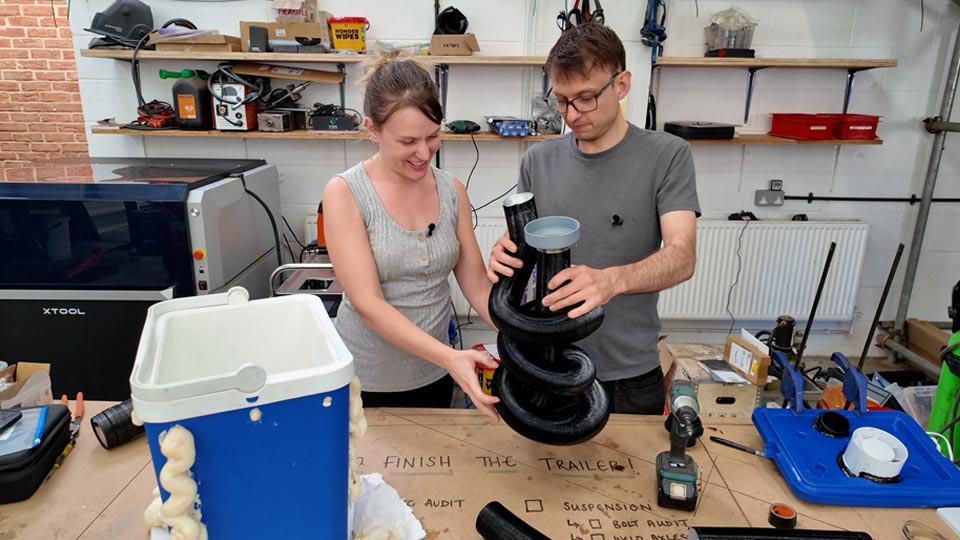
The 60mm aluminium ducting comes concertinaed and needs stretching out to its full 3 metres before you coil it back up inside the ice box, tighter this time, so it winds round and round like a spring sat in the middle of the box. The idea is simple: warm air from the cab gets pulled through the fan, down the ducting, round through the ice, and comes out the other side cold.
Except we later found the coiling was working against us. Three metres of tightly wound ducting creates a LOT of resistance for a small fan to push air through. Later, we shortened the length of pipe in the loop, giving the air fewer bends and less distance to fight through, and that made a noticeable difference to how strong the airflow was.
With the fan and reducer pressed into the lid and sealed with a bead of sealant around the joins (to stop splashed ice water getting into the foam-filled lid cavity), we loaded the box with ice, added a splash of water to help it settle into the gaps, and clipped the lid down.
First test, and the airflow was pathetic. Cold air was coming out, technically, but it was mostly leaking backwards out of the fan rather than travelling down through the ducting where we needed it.

We didn’t make our original trip. We spent the whole day fixing the airflow instead and missed the window. We 3D printed a second reducer with a much more gradual transition from 100 – 60mm and we swapped our first extractor fan for a stronger one, because even with the airflow problem partly diagnosed, the original fan simply didn’t have the oomph to push air all the way round the coiled ducting and back out again.
So the real test came the next morning, ice topped up fresh, the leftover ice from the day before frozen solid overnight and put back in as a head start, and the ducting shortened.
Over 220 miles each way, it worked. Properly worked. Cold air, directed straight at your face through the little car-style vents, genuinely felt like decent aircon rather than a token gesture. It wasn’t blasting — but the insulation held up well enough that ice was still going strong after ten hours.

If we built this again, here’s what would change:
Here’s the real breakdown, minus our mistakes:
All in, that’s around £50. For a truck with genuinely no aircon in a heatwave, that’s a small price for something that actually works quite well… although it ain’t pretty!
Yes, within limits. Ours ran cold air for a full 440-mile round trip on one box of ice. It’s not as powerful as proper refrigerant aircon, but it takes the edge off a very hot cab.
Stick to 60mm aluminium flexible ducting, the same size used in caravans and motorhomes, and avoid stepping down from a wider fan without expecting some airflow loss.
A centrifugal fan (around £15) has a narrower outlet built in and avoids the turbulence problem we had with a tapered reducer. If you already have a wide extractor fan, keep the ducting and hole size matched to it rather than reducing down.
With decent insulation (extra expanding foam packed into the cavity helps a lot), our ice lasted all day.
No, but it’s genuinely better than nothing. Turned down low and aimed at your face through the little vents, it feels like proper cooling rather than a gimmick.
