
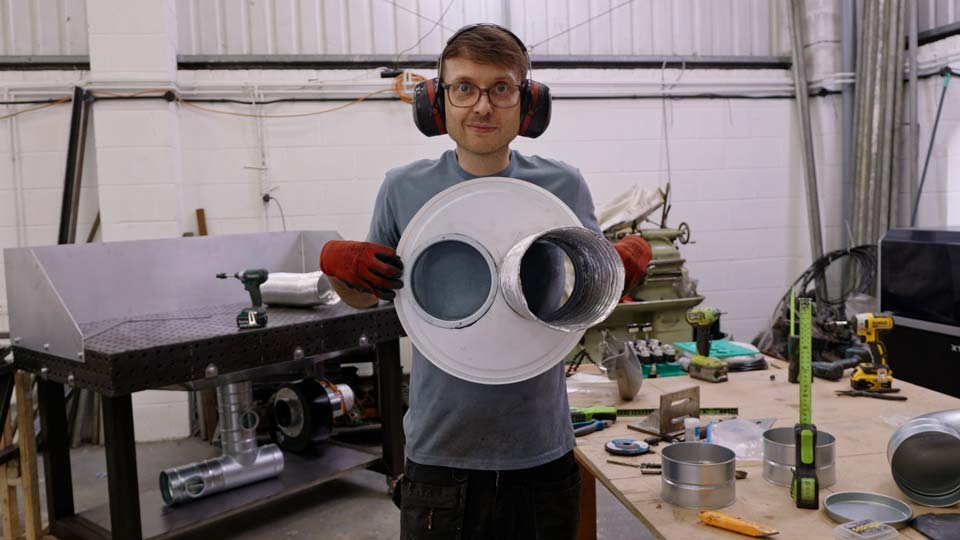
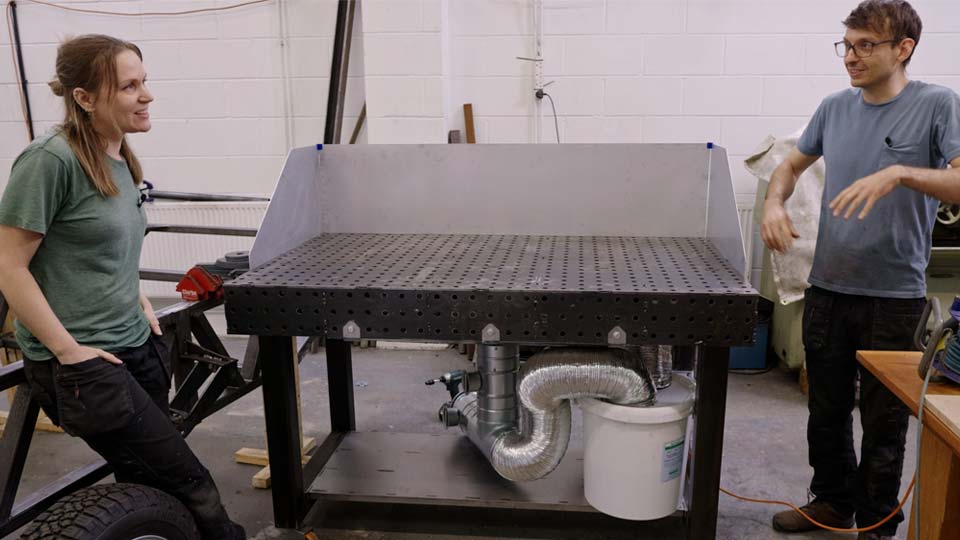
Metalwork is dusty. It’s fumey. And after a year of grinding, welding and cutting on our welding fixture table, we’d had enough of both. So we decided to turn that same table into a downdraft grinding table, sucking all the dust and fumes down through the table itself and out through a bucket of water, rather than letting it hang about in the air we’re breathing.
If you would rather watch than read, jump straight to the video.
We built our welding fixture table about a year ago. It’s essentially a big steel table full of holes, which you use to clamp things in place while you weld. What we hadn’t used those holes for yet was air. The same idea as a cooker hood, but flipped upside down: instead of extracting from above, we wanted to suck dust and fumes down through the holes in the table and out the bottom, through a water filter, so grinding and welding stopped filling the workshop with muck.
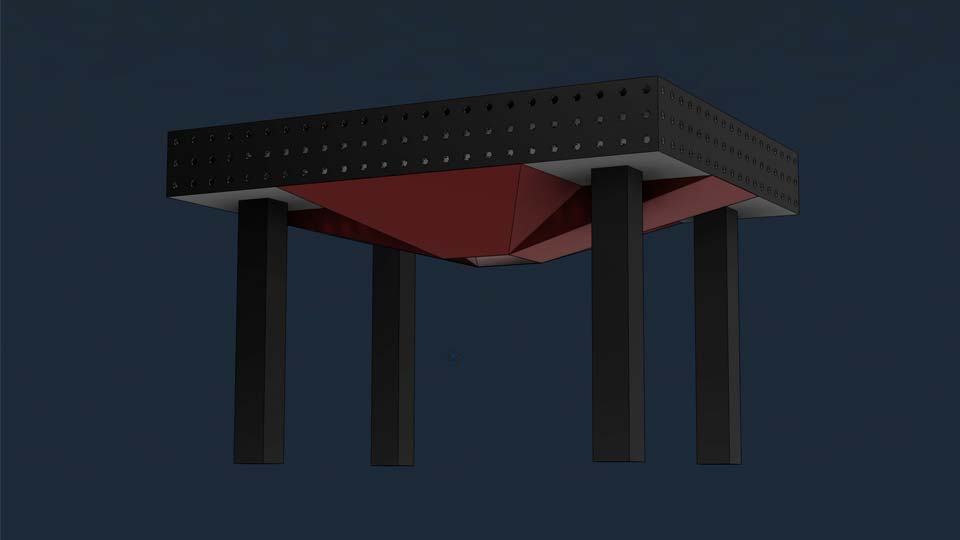
The first job was building what’s technically called a plenum, which is just the extractor box that sits underneath the table and does the sucking.
The table isn’t a simple rectangle underneath. It’s got four square sections where the legs sit, and we needed to keep those clear. That meant the plenum had to slope and wrap around the inside of all four legs rather than just being a flat box, so Pete worked out the shape in CAD.
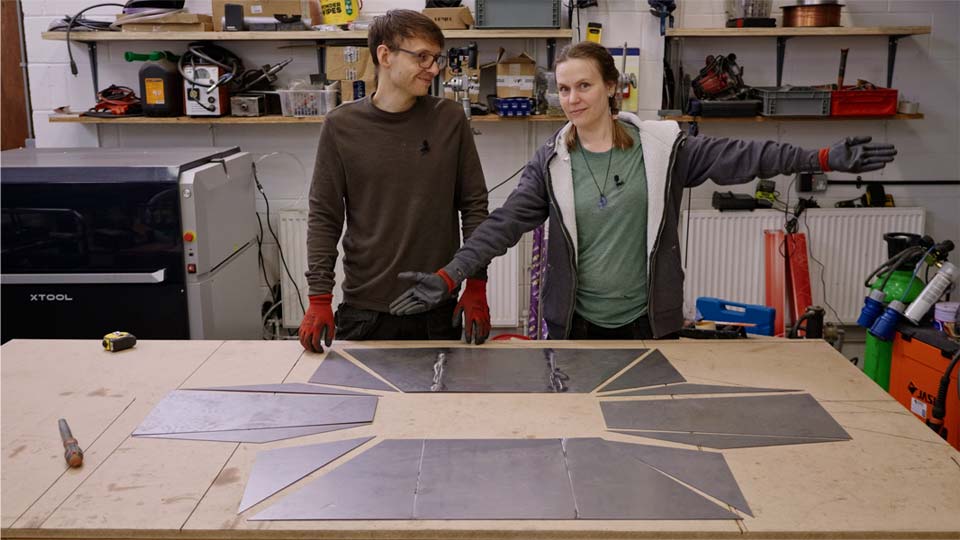
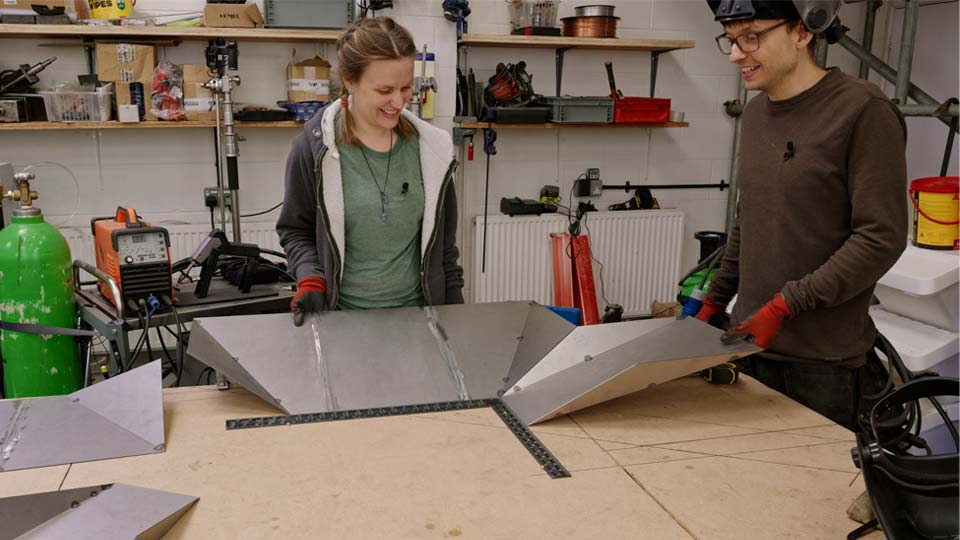
Once we had a design, we laser cut it from 1.5mm sheet. We’d never cut anything that thin on the laser before, and it went through it in seconds. Zero dross, not even warm. The only snag was that the plenum was too big to cut in one piece, so it came out as three sections that needed welding together along 1.5mm seams. Thin sheet like that warps with every single tack, and by the time we’d gone right round the shape, the errors had compounded into a proper fight to get it square.
We tacked the whole plenum together with the TIG welder rather than the laser, because it’s a bit less eye-melting to work with on something this fiddly. Tack by tack, corner by corner, we built up the shape, holding pieces in place and welding blind more than once. Even at 1.5mm thick, once it was all tacked, it turned rigid almost instantly. What started as a floppy sheet of metal became something you could stand on.
The trickiest bit wasn’t the welding itself, it was getting the final joints to line up once heat distortion had crept in from every previous weld. We ended up flipping the whole thing over, using the bolt-on tabs that would eventually hold it under the table to pull the warped panel down flat before doing the final welds. It wasn’t the plan. It just turned out to be a genuinely good way of doing it, and it’s exactly how we’d do the next one.
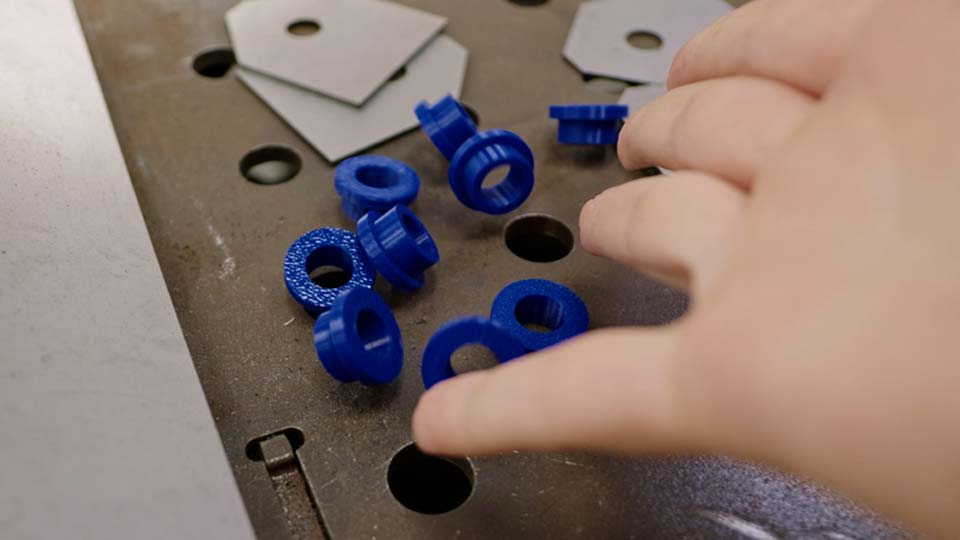
The plenum bolts to the underside of the table using the same 16mm holes the table already had, but an M16 bolt here would be overkill. So to get the bolt size down to a slightly more suitable M10, Hayley 3D printed a set of reducing spacers so the 10mm bolts could sit properly inside the existing 16mm holes. It solved the sizing problem and, as a happy accident, pulling all those bolts up tight also squeezed the slightly warped plenum into exactly the right shape as it went on.
We did hit one properly daft mistake here. We planned to use nuts and bolts to attach the plenum which worked fine when we were mocking up to the tabletop, but once we flipped it to the underside, there was no way to get a spanner on the back of the bolts. A rivnut attempt didn’t work either, the 16mm hole was too big for it to pull in properly, so in the end we welded a nut onto the inside of each mounting hole instead.
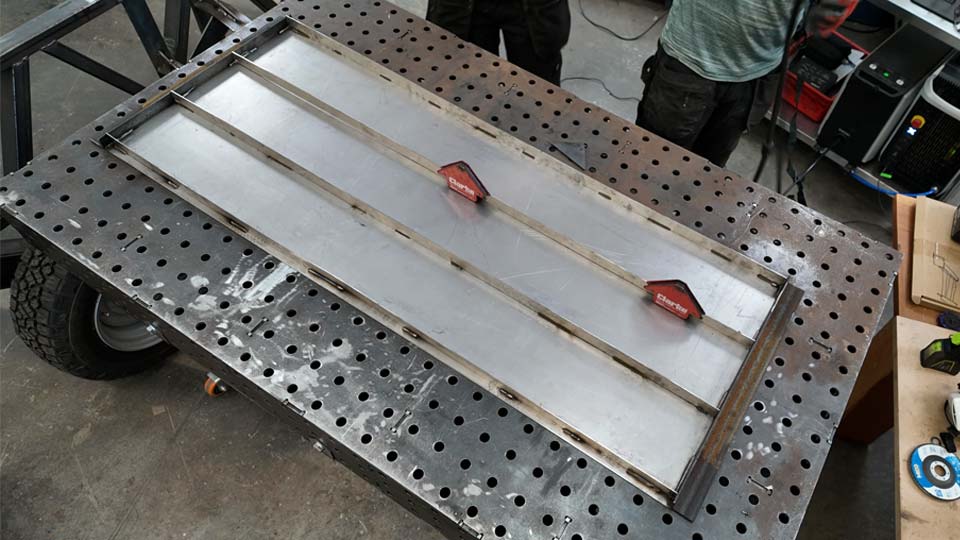
With the plenum finally bolted in place, we built a shelf underneath to hold the water filter bucket. Rather than use box section, which felt massively overkill for something holding a bucket, we welded thin strips of leftover 1.5mm sheet vertically along the underside of the 1.5mm thick shelf as ribs. It’s a simple trick and it worked brilliantly, turning a floppy sheet into something properly rigid with barely any extra metal. A couple of bits of angle welded to each short edge made the perfect hook attachment for easy installation and removal.
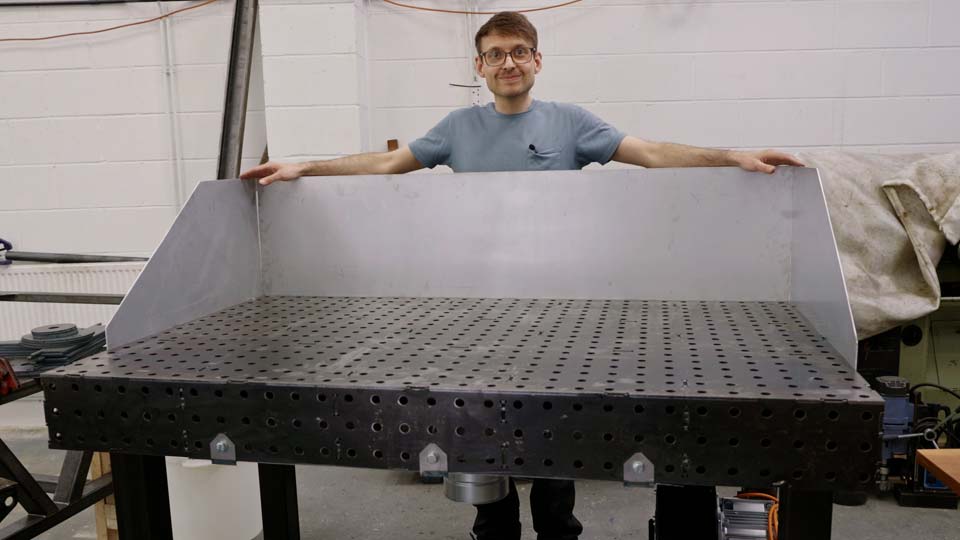
Around the sides and back of the table we added a. 400mm tall aluminium shroud, to catch the sparks that usually fly off the edge during grinding. We used aluminium because that’s what we had left in the workshop, and Pete sanded it to a brushed finish, partly to hide the scratches, partly because a shiny aluminium surface can bounce laser light straight back at you while welding nearby.
For suction we’re using a centrifugal blower rated at 2,700 cubic metres an hour and 1,240 Pascals, which is more than enough to nearly rip itself out of your hands when you plug it in for a test. The idea is straightforward: air gets pulled down through the table and plenum, along ducting, and down into a bucket of water. The plenum outlet sits below the water line, and the extractor pulls air out from above it, so everything has to bubble up through the water on its way through. Anything heavy, like grinding dust, should sink and stay in the bucket rather than carrying on into the fan.
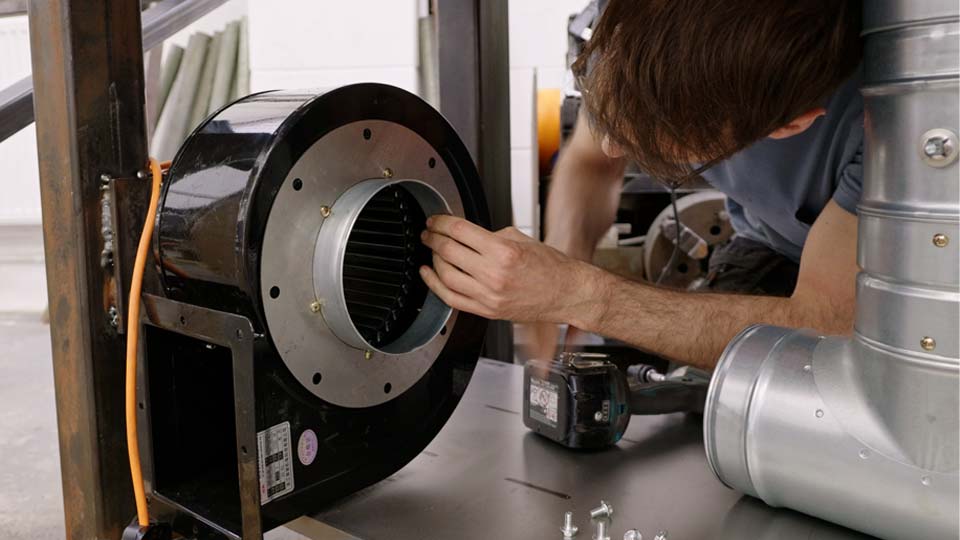
We also built in an auxiliary port with a valve, so instead of pulling air through the table, we can attach a flexible hose and point it wherever we’re welding, useful for jobs that aren’t happening on the table at all.
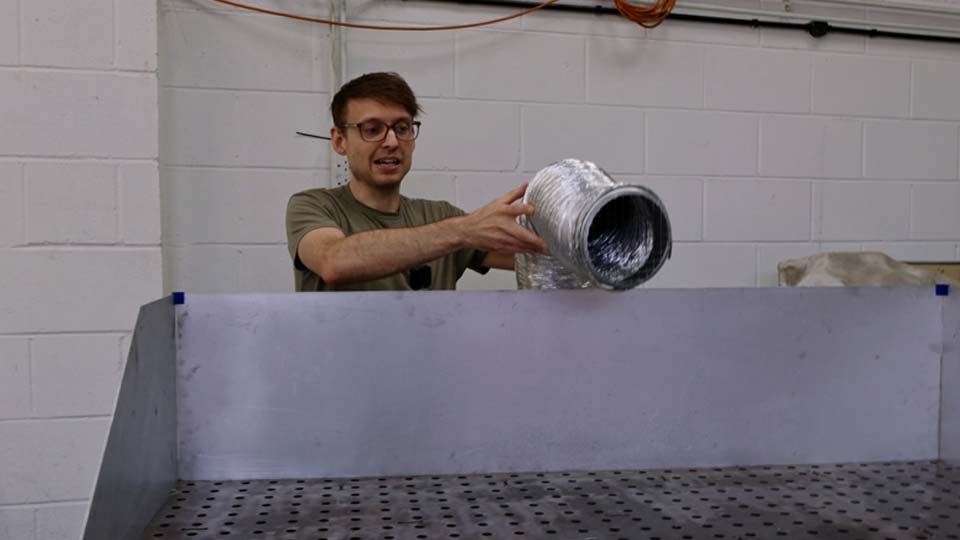
We flicked it on expecting bubbling and suction. What we got was water shooting straight out the back of the extractor. The straw feeding air out of the bucket had been sitting too deep, so instead of pulling air from above the waterline it was pulling water straight up with it. We raised the straw so it sat just above the surface and tried again, this time getting a fine mist rather than a jet, but as the fan slowed down on switch-off, a slug of water still came through.
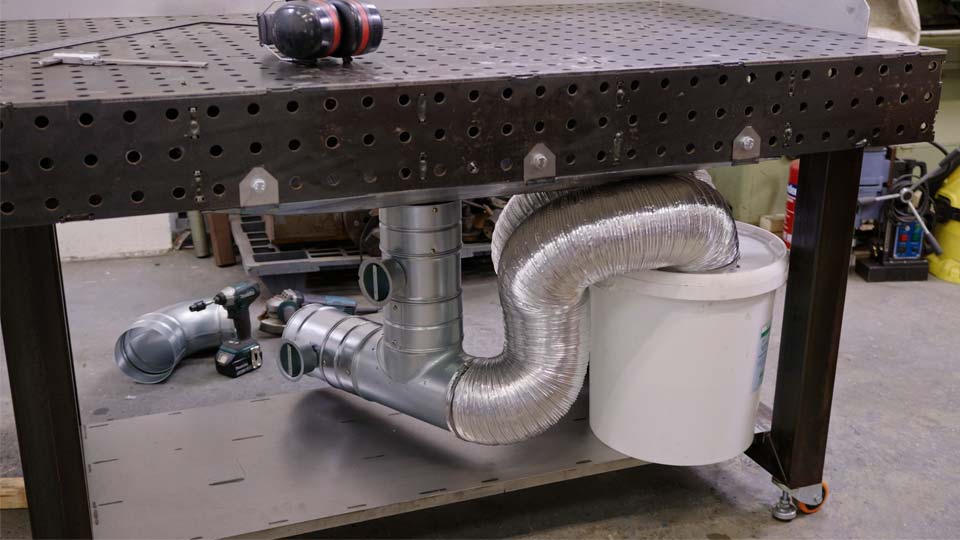
We never quite cracked the water ratio on this build. For now we’re using the setup as general fume extraction, with dust and grinding mess simply falling through into the bucket below rather than being properly filtered through the water.
We’re moving into a new workshop and building a dedicated metalworking room with proper ducting and ventilation, but we still want to run this water filter as part of it. Working out the right bucket size, water level and straw height is the job for part 2!
It’s a work table with an extractor built in underneath, pulling dust and fumes down through holes in the surface instead of relying on extraction from above.
Yes. A fixture table’s clamping holes double up nicely as extraction points, since air can be pulled straight through the same holes you’d use to clamp work down.
It’s the sealed funnel that sits under the table surface and connects the holes to your extraction ducting, essentially an upside-down cooker hood.
Not fully. It’s good at trapping heavier dust and debris as it bubbles through the water, but it won’t filter dangerous fumes from things like coated or exotic metals, you’ll still need a proper respirator for that.
![[New Episode 🎉] Ok we see it too 👀 Pete's holding up the lid for our DIY downdraft filter. Two holes, one from the table, and one out to the centrifugal blower powering the whole system.
📺 Watch the build on the Long Road to Off Grid (2nd Channel) now!
This bit sits on top of the water bucket, sucking dust and fumes down and away instead of leaving them hanging in the air. At least that's the idea... at the moment it just floods the workshop whenever we switch it on!](https://roadtooffgrid.com/wp-content/plugins/instagram-feed/img/placeholder.png)