
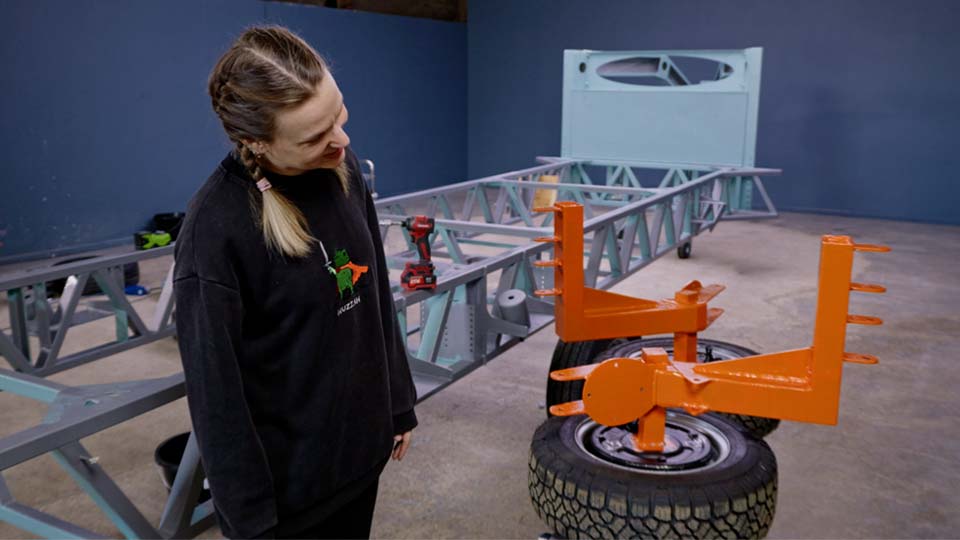
We’ve been putting off some big decisions on this trailer for a while now. Wheels, mostly. But if we keep dithering we’ll never actually live in the thing, so this week we committed. The final wheels are on, the suspension is welded up for good, and there’s no going back now.
If you would rather watch than read, jump straight to the video.
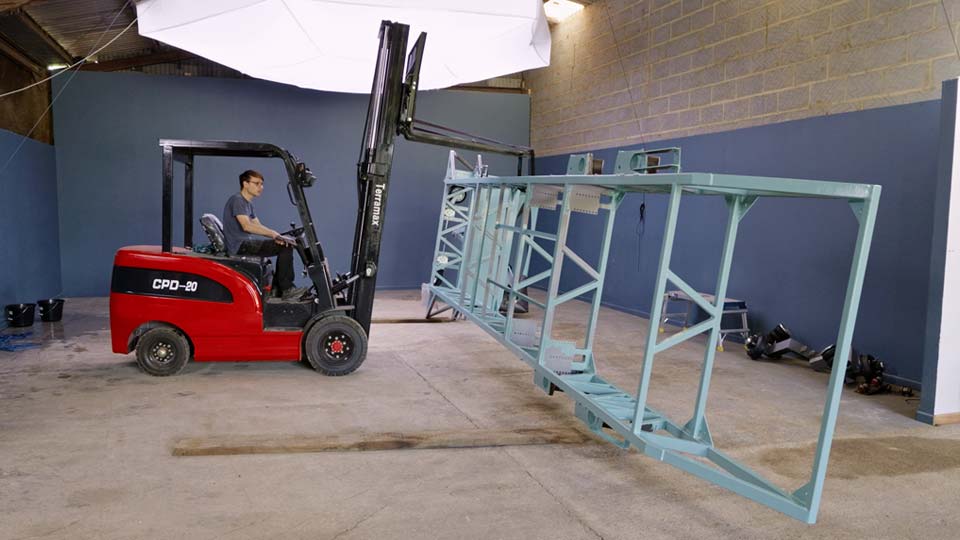
Last time, we flipped the whole trailer upside down so we could properly paint and seal the underside, protecting all the welds under a hard epoxy coating. That paint had cured, the underside was looking brilliant, and it was time to get the trailer back the right way up without wrecking any of it.
A few of you suggested tyres or pallets to protect the fresh paint as it came down, so we went with wood boards. The trickier bit was rigging the forks so the top of the trailer wouldn’t slide off mid-flip. We wrapped straps around the chassis, anchored them to the truck so they couldn’t move, then ran a hefty rated chain through the straps and around the forks as a backup. The trailer found its own equilibrium halfway through the flip, gave us a brief moment of panic, and then settled down onto the boards without so much as a scuff on the new paint.
It’s also, officially, the forklift’s first job with a name. After a brilliant pile of suggestions (Terry, Freddy, Forky McForkface), we went with Fish, suggested by @joewigglesworth. So it’s Fish the forklift and Moose the truck. We’re keeping it animal-themed!
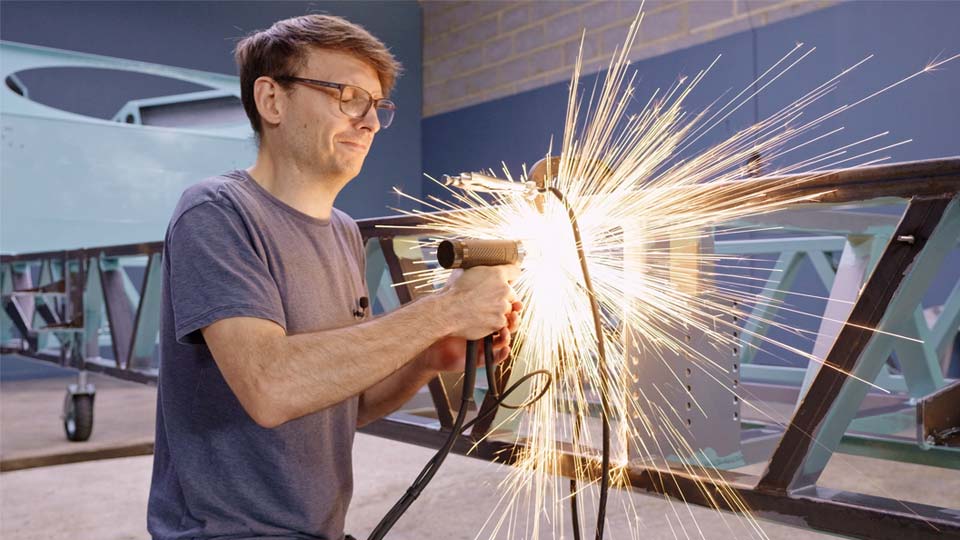
Before we could paint the whole trailer, we needed mounting points along the chassis for the brackets that’ll carry all the cables and pipes to the airbags. Pete used a stud welder for this, on loan from Taylor Studwelding Systems, who were genuinely brilliant when he got in touch and talked him through everything he needed to know.
A stud welder fires a threaded stud straight onto bare metal. The one wrinkle is that a stud welder needs two ground clamps either side of the stud, rather than the single clamp you’d use for normal welding. Pete solved it by G-clamping big bits of metal either side of the chassis and grounding to those instead.
The studs themselves are stainless steel, which meant welding stainless to the trailer’s carbon steel chassis, dissimilar metals joined in one process. Once they were spaced out evenly along the chassis, that was the mounting points sorted, ready for some 3D-printed brackets once we’ve nailed down a design.
A few of you flagged our original wheels as too small, or not strong enough for the job. They weren’t actually under-rated, they’re good for 900kg each and that’s exactly what we need, and so are the new ones. The real reason we’ve gone bigger is suspension geometry. Bigger wheels give us more travel and should roll over uneven ground more smoothly. They also just look better.
We couldn’t get fancy alloys that would clear our braking system, so we’ve gone with the biggest wheels that still fit around it, and we’ll get into exactly why once the braking system itself arrives.
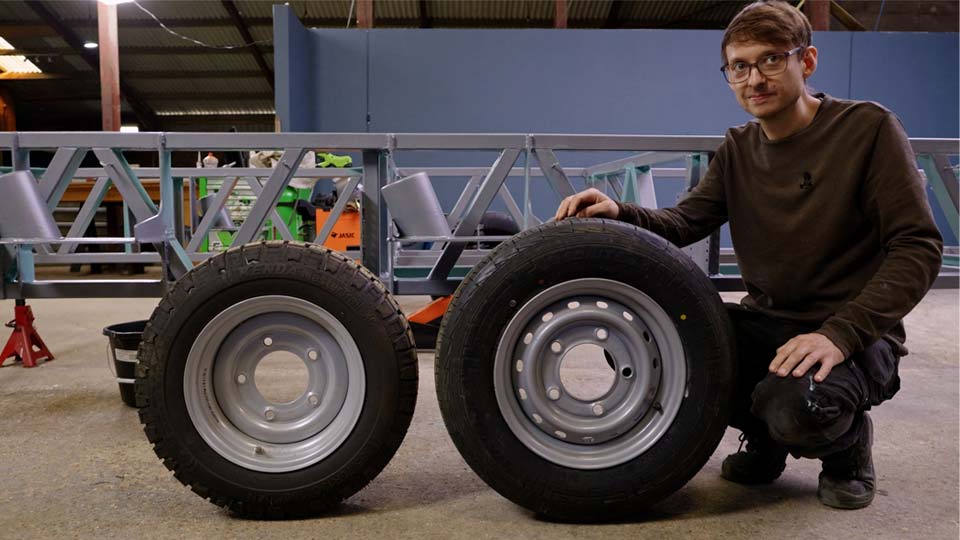
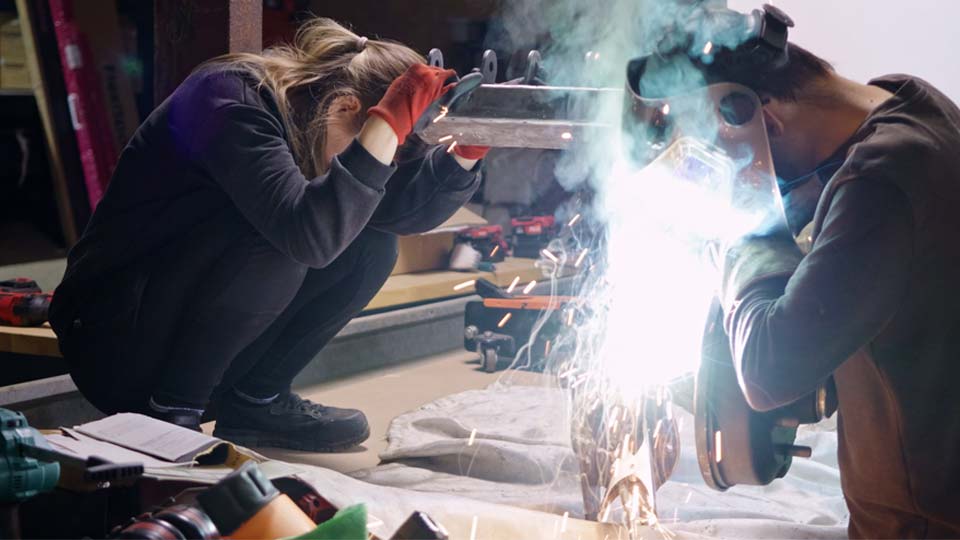
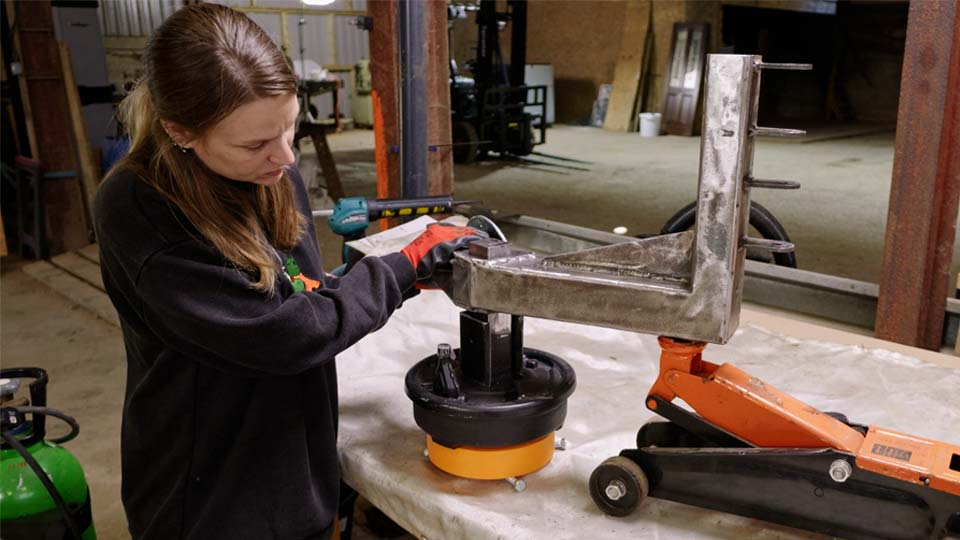
With the final wheels decided, the tricky part started: getting each wheel sitting parallel to the trailer, dead straight, no lean in or out. Up until now the axle stubs had been free to move in the suspension arms, because we hadn’t confirmed final wheel position. Now that the wheels were locked in, it was time to weld those stubs permanently, and there’s no adjustability once that weld goes in on a trailer axle like this.
We came up with the idea of using a spacer made from C-channel, sitting between the suspension arm and the brake hub, to set every wheel the same distance out from the arm. That let us pull everything square before committing to the weld. The axles themselves are 50mm solid steel bar, so the welds needed to be big and beefy. Pete cranked the settings right up to get the largest weld he could manage. It’s not going anywhere!
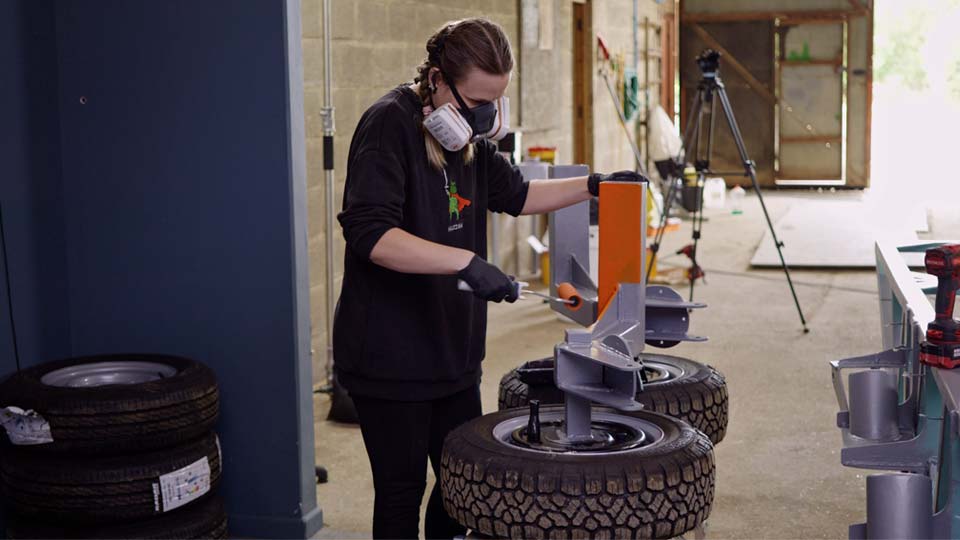
With the alignment sorted, it was time to finish the paint properly, on every seam, weld and awkward corner. The system is in two layers: a primer called Jotamastic 90 Aluminium, which has aluminium flake in it for serious rust protection and can go on galvanised steel, carbon steel or aluminium alike, followed by a polyurethane topcoat called Hardtop AX. That topcoat stays flexible rather than brittle, so it won’t chip off over time. Essentially, we’re wrapping the whole trailer in a hard epoxy shell, then covering that in a flexible, plasticky layer on top.
Some of the trailer’s shapes are an absolute nightmare to paint by hand, tight corners that just eat a brush, so we ended up hanging sections off Fish’s forks so we could get around them properly.
The suspension itself got painted too, in the same orange accent colour we used in our utility box. It’s bold. It’s a commitment. We think it’s going to look brilliant once it’s all buttoned up.
While all this paint has been drying, five enormous crates of habitat materials have been making their way to us by sea, insulating composite panels, rolls of GRP fibreglass skin, sheets of XPS foam and bamboo veneer for the furniture. That’s a whole build in itself, and one we’ll get into properly once it lands.
What size wheels do you need for a DIY tiny house trailer?
It depends on your axle rating and suspension geometry, not just load capacity. Our smaller wheels were already rated for 900kg each, but we went bigger for more suspension travel and a smoother ride over rough ground.
What is stud welding used for on a trailer chassis?
It lets you weld a threaded stud straight onto bare metal, giving you a solid mounting point for brackets, cables or pipework without drilling and bolting through the chassis.
How do you set wheel alignment on a custom trailer axle?
A spacer between the suspension arm and brake hub can set consistent wheel offset before you weld the axle stub permanently in place, since most trailer axles like this have no adjustability once welded.
How do you stop a trailer chassis rusting?
An aluminium-flake epoxy primer followed by a flexible polyurethane topcoat gives strong rust protection while staying flexible enough not to crack or chip under flex and vibration.
