
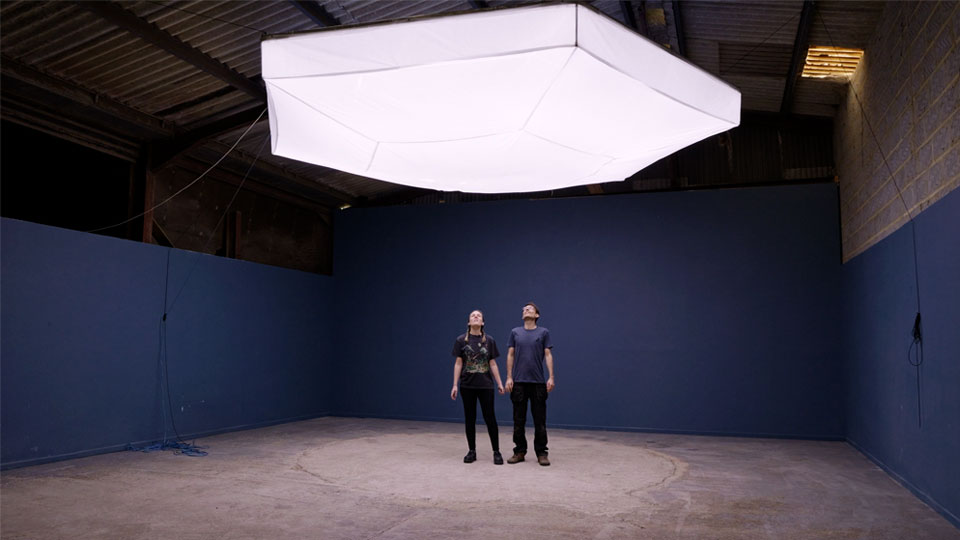
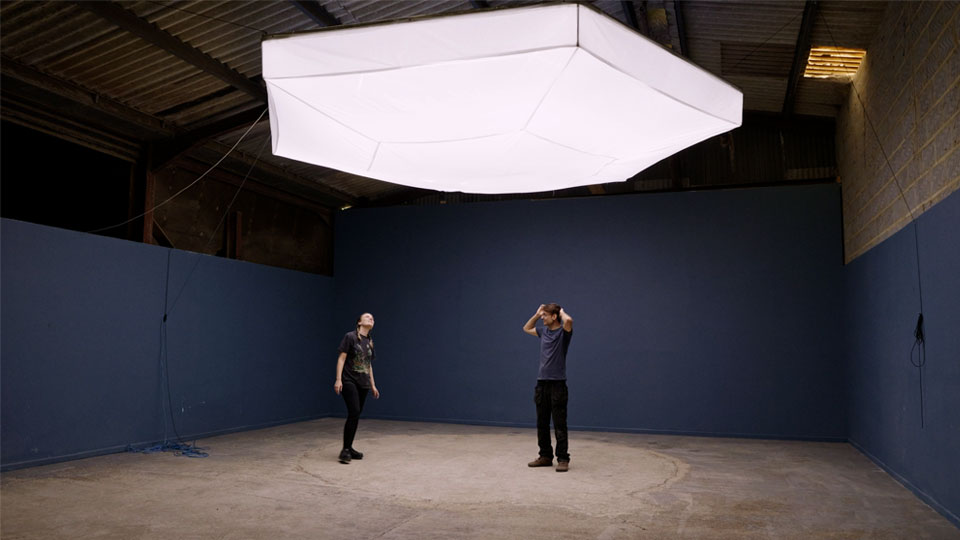
Our new workshop is dark. Properly dark, hardly any windows, and super hard to film in… and proper filming lights are expensive, so we decided to build our own indoor sun. A five-metre-wide, 500-watt, hexagonal LED light array with a hand-sewn softbox over the top of it.
If you would rather watch than read, jump straight to the video.
The workshop gets used for filming as well as building, and nothing beats nice soft lighting when making videos. We wanted something bright enough to properly light the whole space, but soft enough that it wouldn’t throw hard shadows everywhere. The answer was a single enormous fitting rather than a dozen small ones — a five-metre hexagonal frame with LED strips running through it and a fabric diffuser stretched out underneath.
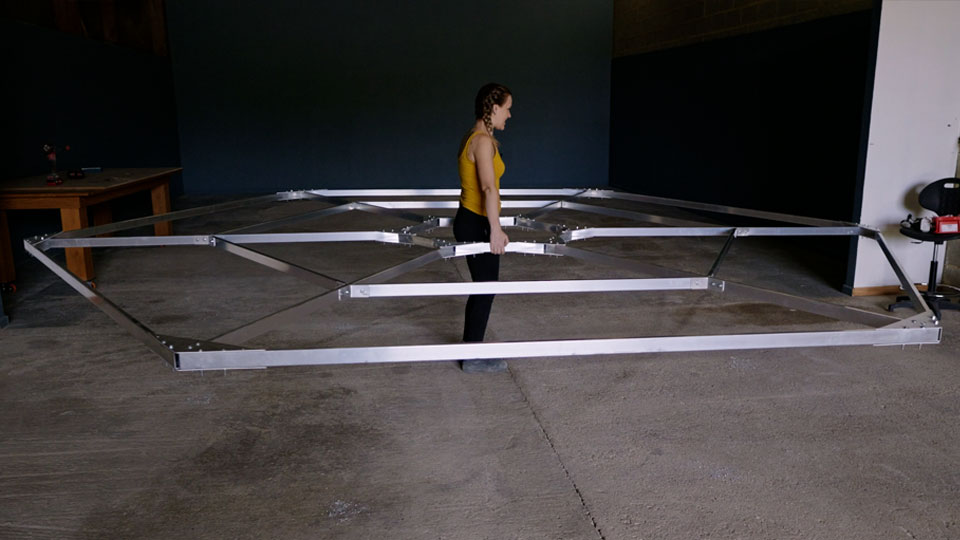
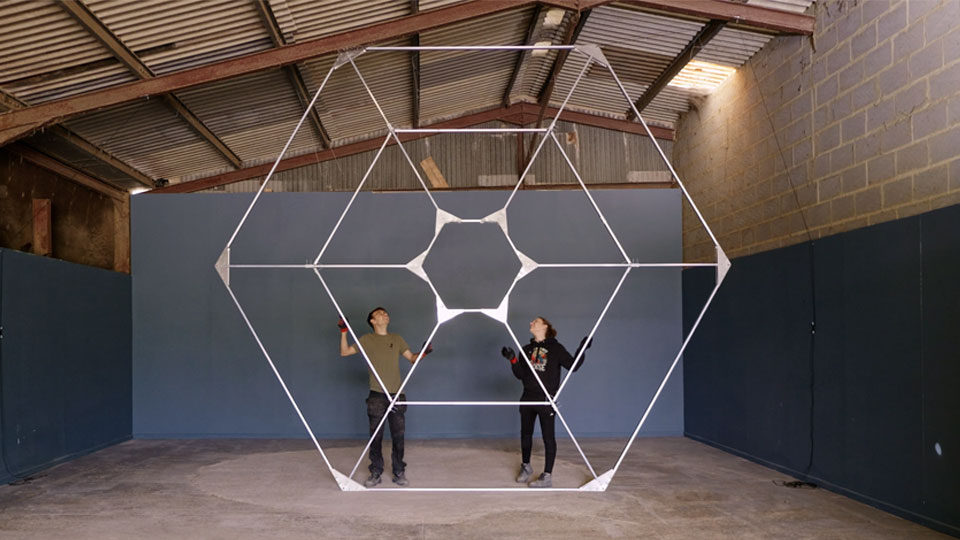
The skeleton is aluminium box section, held together with plates we cut on the laser CNC. The centre is a hexagon, with six two-metre arms reaching out from it to make the full five-metre span.
We did a rough dry-run first, lining up all the plates by eye. But every tiny error at each joint compounded around the ring, and by the time we got to the last corner it was miles off. The fix was to go back to the CAD model, use the fact that we knew exactly which faces were supposed to touch, and use one plate as a reference to get each angle spot on before drilling through. Pete ended up drilling and piloting 168 holes by hand, which is about as much fun as it sounds.
Once it was all bolted together, it was surprisingly light for something that size, and properly stiff with barely any flex. We added an extra ring of aluminium brackets around the middle to tie the arms together, give it more rigidity, and give us space for more LEDs.
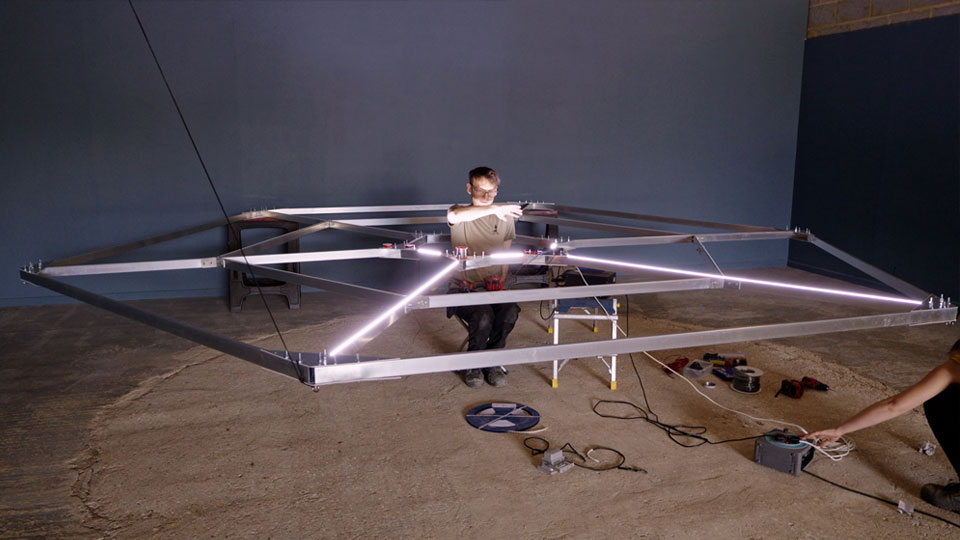
For the actual light source we went for high-CRI LED strip, rated at around 95 CRI. Colour rendering index matters a lot if you’re lighting anything you plan to film — the higher the number, the more accurately colours show up under the light, rather than everything looking slightly wrong.
The strips run at about 16 watts per metre. Our first ring, six two-metre lengths, worked out to roughly 190 watts, which sounds like a lot be we know from experience that wasn’t enough, so we added a second ring around the central hexagon and doubled up the strips there too, taking the whole fitting to around 500 watts. Now THAT’s a lot of light.
To hang the frame, we needed threaded fixing points on the aluminium, and rather than drilling and bolting through every corner, we borrowed a stud welder from Taylor Studwelding to try. It’s a brilliant bit of kit — it welds a threaded stud straight onto metal in one go, no drilling required.
Our first attempt used stainless studs on the aluminium plates, and the settings we’d guessed at were far too high. Pete got a face full of spatter and saw lightning in his brain. Turns out you shouldn’t stud weld stainless to aluminium at all — it creates a brittle layer between the two metals. Aluminium needs an aluminium stud. Stainless is fine on mild steel and even galvanised.
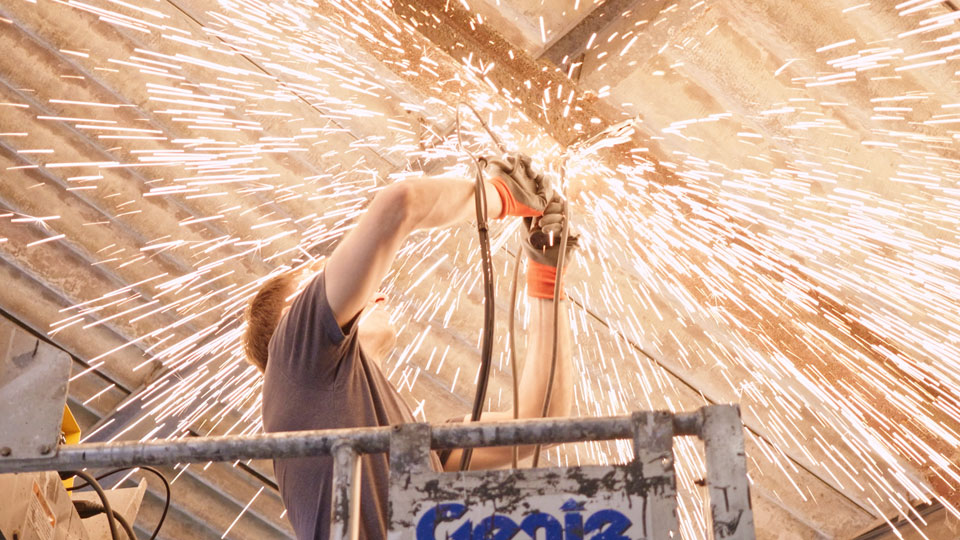
Once we’d worked that out and dialled the settings back, it worked properly, clean welds with barely any spatter. Until Pete went to weld onto the frame of the building. Without a decent, clean area to ground to, you get some serious fireworks!
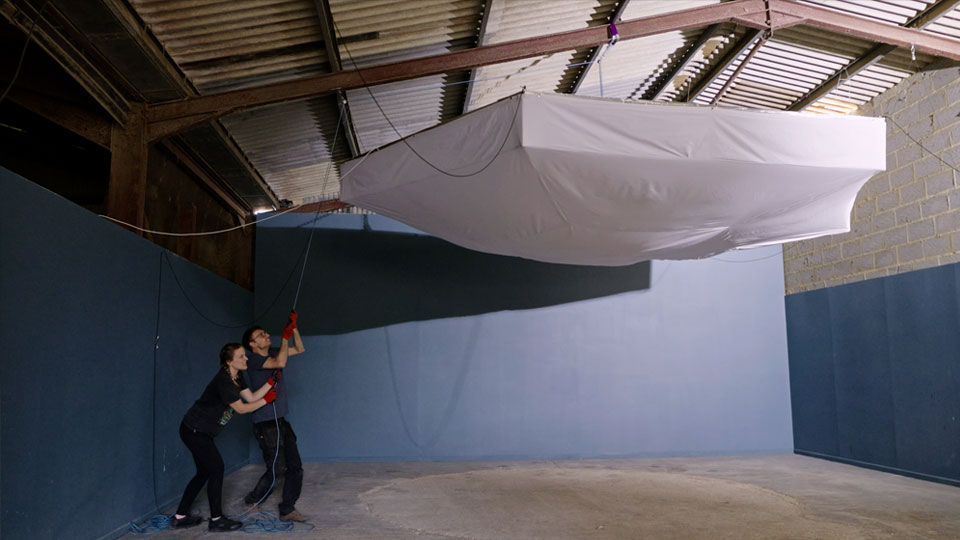
To lift the frame, we used the roof joists and four cords from each corner pulled up by hand. We struggled to reach the top due to the angles or the cords in four corners. So we switched to a central double pulley system to take the main lifting load on top of a chain rated to hold about a tonne, with the four corner cords kept in place purely for levelling and as an extra safety backup.
Standing it up vertically, just to see the scale of it, it touched the roof. Once it was hoisted flat and level, it was ready for lights and fabric.
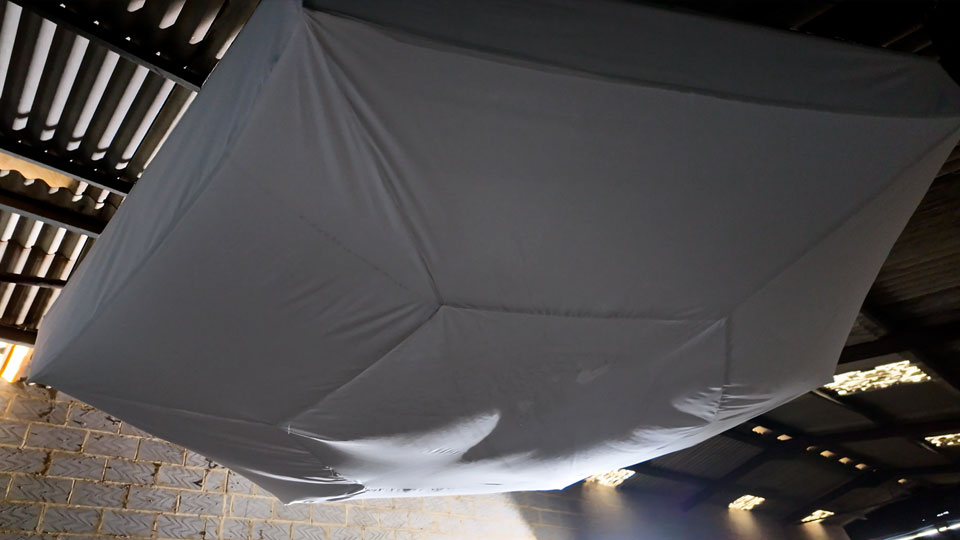
While Pete wired up the LED strips, the softbox became my job, and it was easily the biggest thing I have ever sewn. The centre hexagon panel alone is two and a half metres across, far too big for any pattern, so it was measured straight onto the fabric with a tape measure, folded in half, cut once, then opened out to get the full shape.
The side panels went through a couple of iterations. The original plan had them around 70 centimetres tall to give distance between the LEDs and the fabric, but once it was up and lit, the middle sagged so much the dome would have hung down almost to head height. Cutting them to about half that length fixed it. Elastic in the corners and poppers along the edges held the whole thing onto the frame, and threaded rod pushed the corners out square, which took out most of the annoying billowy folds.
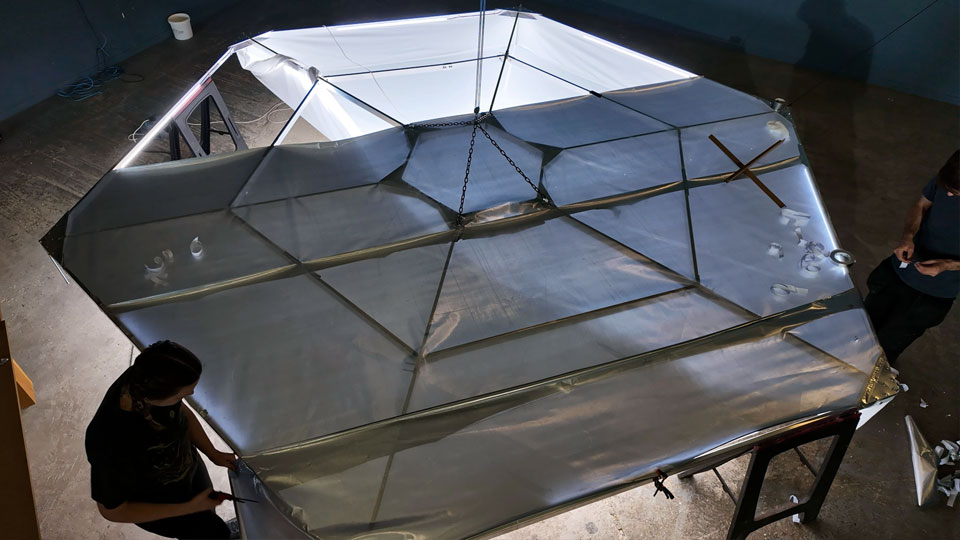
The first night we had it lit up, we discovered a lot of insects fancied moving in. So the last job was covering the back with reflective Mylar, both to keep the bugs out and to bounce any escaping light back down through the fabric instead of losing it into the roof. It was thicker than expected, closer to plastic than a thin foil, and normal aluminium tape wouldn’t stick to it at all. Slow, fiddly, genuinely one of the most boring jobs of the whole build. But it worked, and it noticeably brightened the finished light.
Hoisted fully up, lit for the first time with the softbox and Mylar in place, it lights up the whole workshop with soft, even light and no harsh shadows, just a faint spiderweb pattern from the strips showing through the fabric. Compared to hiring or buying proper studio lighting at this scale, we reckon we’ve saved thousands. And we can finally see what we’re doing in there.
Not directly. Stainless studs on aluminium can form a brittle layer between the metals. Use an aluminium stud for aluminium sheet; stainless studs work fine on mild steel and galvanised.
Aim as close to 100 as possible. Ours run at around 95 CRI, which is a good practical standard for accurate colour under LED light.
Ours ended up around 500 watts total, using LED strip of roughly 16W per metre. Just over 31 metres of strip.
A softbox diffuses the light, turning hard shadows and defined strip lines into a smooth, even glow, which is far more comfortable to work and film under.
A central double pulley system for the main lift, plus separate cords or chains for levelling and backup, rated well beyond the actual load.
