
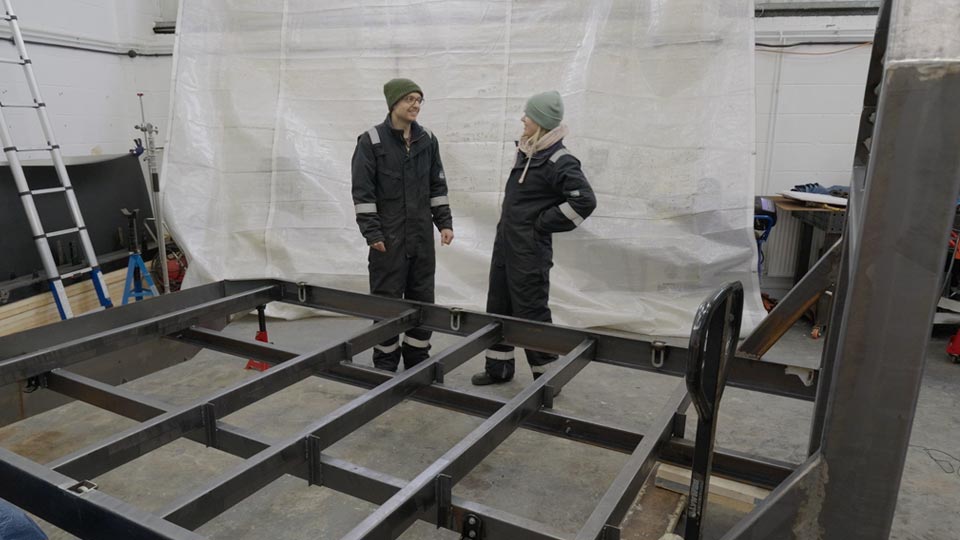

We’re finally in the new workshop, Moose is tucked up inside, and this episode marks a bit of a turning point for us.
Up until now, any time we needed something laser cut or folded, we had to send drawings away, pay someone else, and then nervously wait (sometimes weeks) for a stack of parts that we hoped were right. If we got a measurement slightly wrong or changed our minds, it meant paying again and waiting again.
With a fully custom trailer and tiny home to build, that approach was going to get expensive very quickly.
So this week, something quite ridiculous arrived in the workshop.
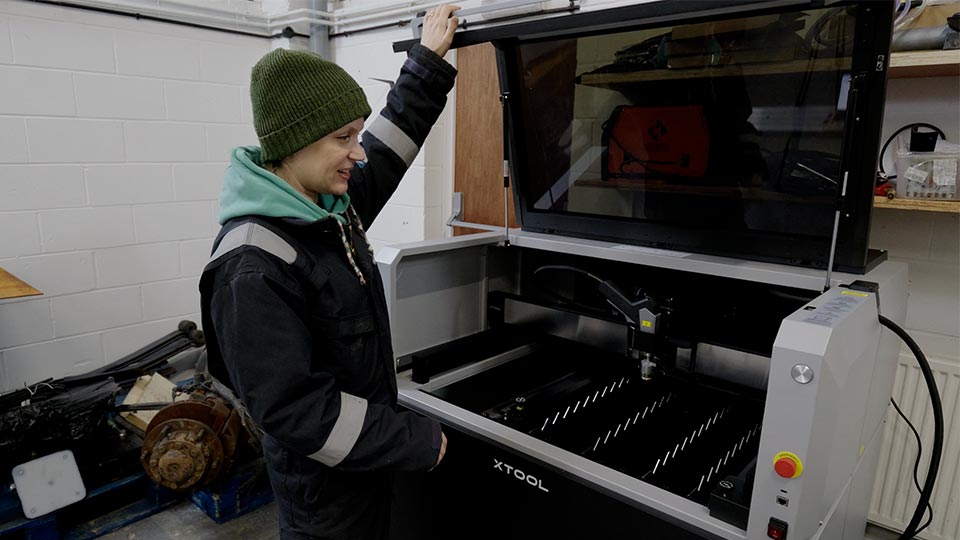
We now have our own laser CNC cutter, laser welder and laser cleaner, all rolled into one very serious-looking machine: the xTool MetalFab. Here is our take on our few days using it, what went well, what did not, and why we are already wondering how we managed without it.
If you’d prefer to watch than read, the full episode is below.
The next few phases of the build are going to involve a lot of custom metalwork. The flatbed, trailer, brackets, storage, odd little parts that only exist in Pete’s brain and his CAD files.
In the past, all the laser cut parts for Moose were outsourced. That worked, but it came with three big problems:
We are very much “try it, see if it works, improve it” people, which is difficult when you are paying per revision. Having the MetalFab in the workshop means we can design something, cut it, and test it on the truck before the kettle has gone cold.
At least, that was the theory. First, we had to learn how to use it without blinding ourselves or setting fire our surroundings.
Before we started cutting “serious” parts, we wanted a small, fun project to get used to the CNC side of the machine.
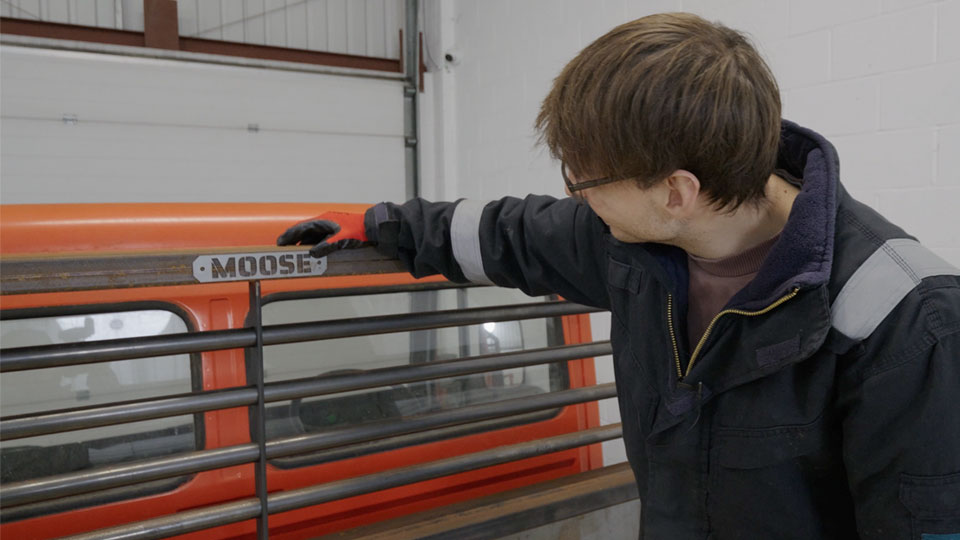
Moose has been through a lot with us already, so it felt right that he should be the first to get something custom. I hopped into the xTool Studio app, which comes free with the machine, and drew up a little nameplate to sit on top of the flatbed bulkhead.
On the CNC table, there is a bed of slats, and beneath that we poured a layer of sand. The sand is there so the laser does not just cut through your metal, then through the bed, and then through your workshop floor. Simple idea, very clever.
The working area is 600 mm by 600 mm, but you can feed longer bits of metal through a slot in the side, which means we can cut fairly large parts for the trailer when we get to that stage. There are little clamps to hold thin sheet down, which turned out to be surprisingly important. A sheet of steel that lifts even a couple of millimetres can ruin a cut.
The clever bit, and the thing that made it feel like a sci-fi prop, is the camera system. Two cameras inside the machine let you see your actual piece of metal in the app, then you just drag your design to where you want it and the machine cuts it exactly in place.
We set it up for 3 mm steel, selected the gas (it recommends pure oxygen for the cleanest cut, but we used compressed air for this test), pressed go and tried very hard not to stare at the light.
The whole thing was much quieter than we expected. It just calmly buzzed away, cutting the inner parts first, then the outline, so nothing moved until the very last moment.
When we pulled the nameplate out, it was one of those rare moments where something works perfectly on the first try. Neat edges, no drama, only a bit of dross on the back that cleaned up easily.
Straight away, it changed the way we were thinking. If we can make something as precise as that with almost no setup experience, then suddenly all those complicated brackets and flatbed bits feel much less scary.
Of course, we could not ignore the state of Moose’s flatbed forever. Since it was built outside on the old yard, the top surface has developed a healthy coating of rust.
Traditionally, our process for this involves:
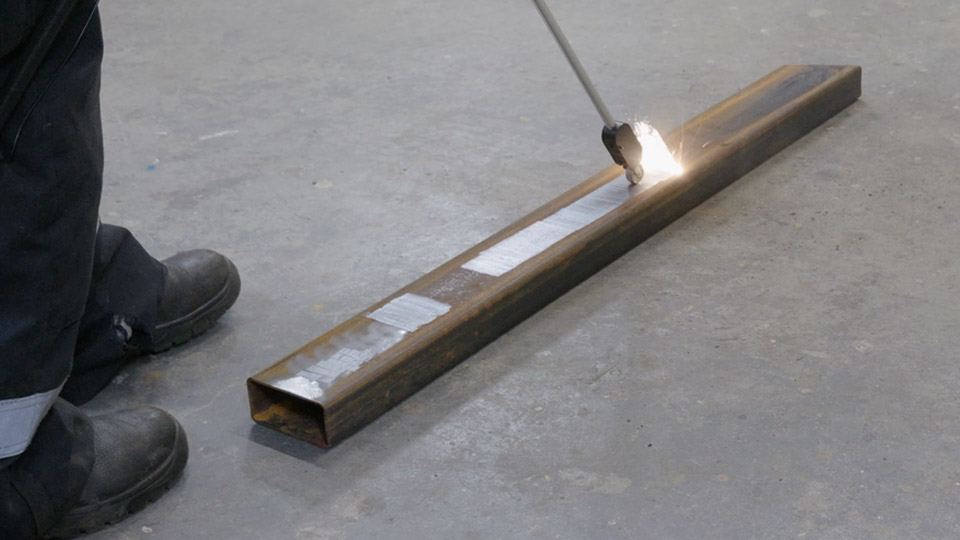
The MetalFab has a cleaning mode that uses the laser in a line to strip rust, paint and general crud off the surface. The idea of doing the job without clouds of dust was very appealing.
There is a clever safety system built around a little clip that attaches to the metal, a bit like a welder ground clamp. The laser will only fire when the circuit is completed, so you cannot just wander around zapping random things.
At first, this did not go quite to plan. Our steel test piece was so rusty that the signal could not get through reliably, so we had to clean a section with the angle grinder just to make the system happy. At that point, it felt a bit like “why not just use a grinder?”
Then we tried the second cleaning attachment.
This one looks like a long barrel on the end of the gun, with a small wheel that rolls along the surface. You swap the lens for a wider beam and a switch in the wheel becomes the safety contact, so every time it clicks down onto the metal the laser fires in a controlled stripe.
The effect is slightly ridiculous.
You roll this thing along and the rust just disappears in a neat, consistent strip. The metal underneath looks almost shot blasted, with a matte, clean finish that is perfect for welding or painting. It is not especially hot to the touch afterwards either, which still boggles my mind.
Time wise, it was probably similar overall to doing the same area with an angle grinder and wire wheels, but the finish was noticeably better and the laser could reach into corners and awkward sections we would normally be fighting with.
By the time we finished the top of the flatbed, it honestly looked like we’d just built it. The plan is to flip the whole thing over at some point and do the underside as well, which is going to require more than our usual slightly sketchy lifting techniques. This might be a “borrow the neighbour’s forklift” job.
Cleaning was fun, but the real thing we were curious about was laser welding.
We swapped the front of the gun over, connected the separate wire feeder, and threaded 0.8 mm wire through to the tip. Everything is controlled on the screen: material, thickness, wire diameter. The machine then sets wire feed and laser power to match.
The wild part is that the wire itself rests on the material and pushes you along at a steady speed. Instead of you trying to keep a consistent travel pace like with MIG or TIG, the gun gently drags itself backwards.
It is also extremely quiet. No spatter, no big shower of sparks, just this calm little pool of light.
Pete’s first weld was… fine. A bit shallow at one end where he had the angle slightly wrong, but the other half looked pretty much like the tiny, neat beads we’ve have seen in other people’s videos.
Then the machine started beeping and shut down.
Inside the gun there are several lenses. The one at the front is basically sacrificial, there to protect the expensive one behind it. If you get your angle wrong, the laser can reflect off the material straight back into that lens and burn a hole in it, which is exactly what we managed to do.
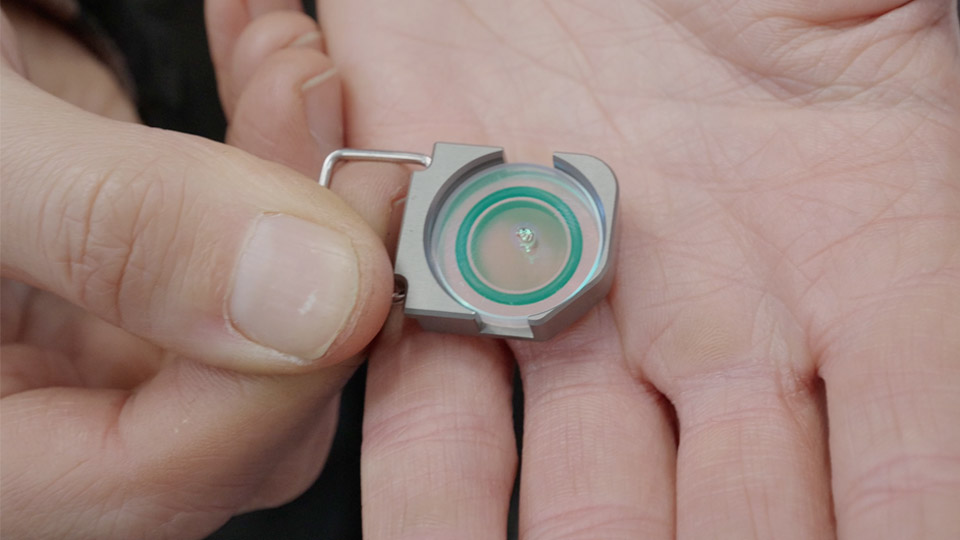
The upside is that the machine is smart enough to notice, stop you, and tell you something is wrong. The other upside is that xTool includes a huge pack of spare lenses, clearly expecting beginners like us to do exactly this a few times.
We also realised we had been using the wrong gas mix. The manual points out that CO₂ and argon mixes can contaminate the lens over time, so we swapped over to pure argon for the next test.
With that sorted, the welds were clean, quiet and surprisingly relaxing to do. For structural work we will still be cutting things apart and testing them properly before trusting any of this on the truck, but for a first play, it was a really promising start.
One thing that became clear very quickly is that this is the most dangerous tool we own, but not in the usual way.
You are unlikely to chop anything off with it, but the risk to your eyes is huge if you are careless, because a laser beam does not always travel in a straight, obvious path. It can bounce, it can reflect, and the dangerous part is invisible.
So we have adopted a few rules:
The enclosure on the CNC table has built-in laser protection, but we are treating the whole thing with the same respect as we do grinders and welders. Probably more.
Once we had recovered from blasting rust and burning lenses, I wanted to do something a bit more decorative.
Our unit still did not have a door number, which meant we were constantly meeting confused delivery drivers. So I went back into the software and drew up a big number 5 with “Road To Off Grid” in the top part, ready to mount on the brickwork outside the workshop.
We cut it in the same way as Moose’s nameplate, then I drilled new holes in the wall and spaced it off the bricks with a few washers to give it some depth. The plan is to let it age naturally and see how the patina develops over time, I just spritzed it with a little bit of WD-40 to get it started.

It is a small thing, but it felt like a bit of a milestone. We have spent so long building temporary shelters and pop up workspaces that having a proper number on a solid door feels strangely grown up.
Moose’s plate went on the flatbed bulkhead too, and at some point we will probably paint it a contrasting colour so it stands out.
A few days in, here is what we have learned about living with a very serious laser in the corner of the workshop:
Most importantly, it has opened up a whole new way for us to work on Moose and, eventually, on the tiny home trailer. Being able to cut and weld custom parts in-house will save us time and money in the long run, but it also just makes the whole process more enjoyable.
Huge thanks to xTool for sending the MetalFab for us to use on the build. If you are curious about the exact model we are using, check it out here: xTool MetalFab.
Save up to $1,800 on the purchase of xTool MetalFab and get the Free Xmas Pack
💰 Exclusive BONUS for our viewers 💰 Use code LENSGRID at checkout to get an extra free Protection Lens Set (valued at $99) when you order any xTool MetalFab bundle!
(Kindly remember to add the lens set to your cart first – the discount will be applied once you enter the code during checkout)
For now, the flatbed is clean, Moose has his name in steel, the workshop has a number on the door, and we have a very powerful new tool to help us bring “Moose’s caboose” to life.
On to the next experiment. 💚
