

We’ve been talking for weeks about chassis storage boxes. They’ll be made from aluminium, which means we needed to finally face the fact that neither of us had ever done any TIG welding before. Instead of disappearing for a week to quietly figure it out, we thought we’d take you along for the ride.
If you’d rather watch than read, the full video is below. But if you’re curious about how two complete beginners fumbled their way through aluminium practice and ended up building a steel-framed kitchenette for the workshop, here’s the story in writing.
Everyone says you shouldn’t start TIG welding with aluminium because it is harder, less forgiving, and quick to warp. But we ignored that advice and went straight for it.
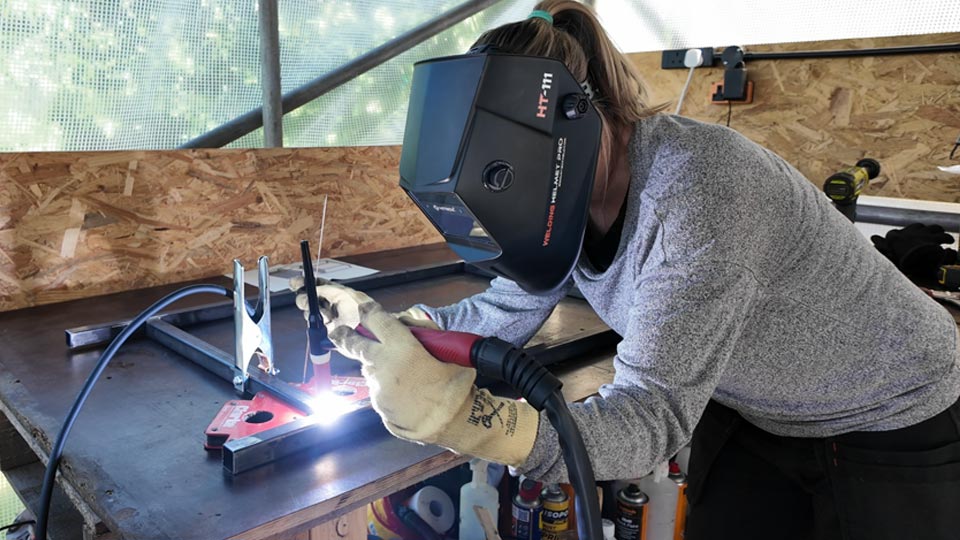
Armed with many hours of YouTube research, we spent the first day running beads on scrap aluminium offcuts. No filler rods at first, just trying to control the puddle, steady our hands, and get used to the foot pedal.

It wasn’t pretty. There were bulbous blobs, black explosions when tungsten and filler touched, and plenty of false starts. At one point we even noticed the magnets on the bench seemed to be pulling the arc around, so we ditched them and it immediately behaved better.
A big lesson early on was just how close you need to get with the tungsten. At first we were too cautious, hovering too far away, which made the arc wander. Once we got braver and moved in, the puddle formed properly and suddenly everything felt steadier.
And one non-negotiable: TIG welding requires pure argon shielding gas. Without it, you simply cannot weld.
It wasn’t just the welds that taught us lessons. Even short sessions left me with arc burn — that sunburn-like sting on bare skin. I didn’t think I’d been welding long enough for it to matter, but it got me all the same. Cover up, even if you’re “only” tacking.
After a day of practice, we wanted a real project to focus on. Just running lines gets old quickly, and we learn better when we have something tangible to show for it. So we decided to build a new kitchenette for the workshop.
Our old tea station was lost in the great storm of 2024 (Storm Darragh), and we wanted something sturdier, more permanent, and tailored to the space. Inspired by an IKEA unit we had seen, we sketched up a three-shelf design: fridge at the bottom, tea and biscuits in the middle, and a slim storage shelf on top.
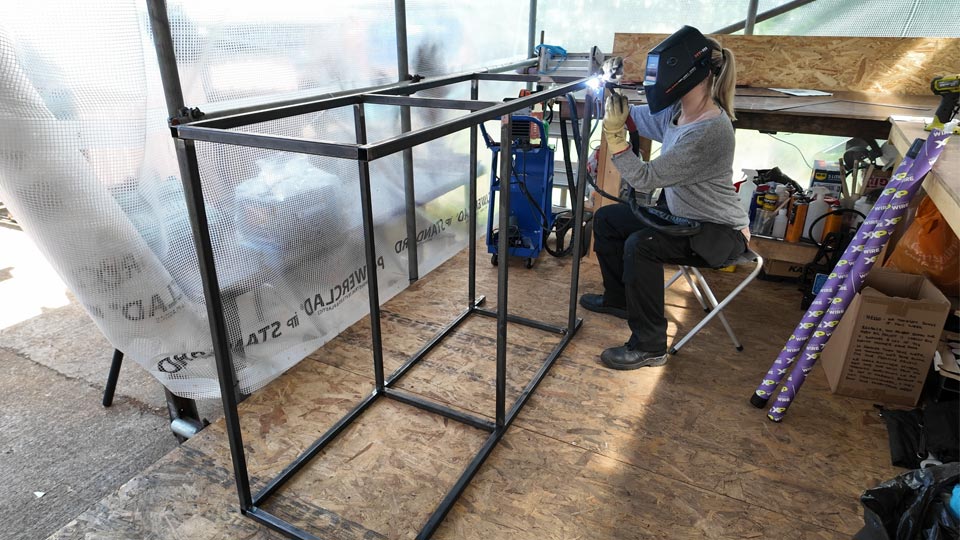
We built the frame from 25x25mm steel box section, 2mm thick, and used scrap plywood we had lying around for the shelves. The TIG welder came out again, this time on steel, and although the welds weren’t all exactly “stacked dimes”, the frame held firm.
Tacking the frame together was fiddly, especially without a perfectly flat workbench. We had to clamp things square as best we could, knowing some joints would need persuasion later.
Some of the box section ends blew out while tacking, leaving big holes. Filling those became its own mini-lesson: tiny dabs of filler, working around the gap until it closed up. Messy, but effective.
Once the frame was together we added plastic end caps to tidy the look along with adjustable feet, before finally dropping the shelves into place. The ply was warped in every possible direction, so it fought us all the way. One shelf had to be pulled flat with a forest of screws. Rustic shabby chic, let’s call it.
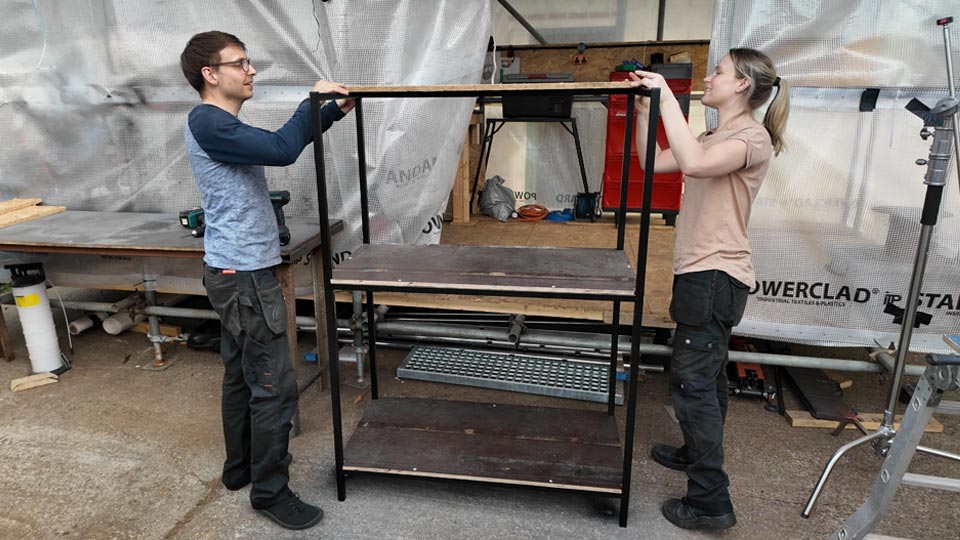
Still, when it was finally assembled, we stood back to take it all in. For a first TIG project, it felt solid, useful, and far better than anything flat-packed.
By the end of the build, a few things had clicked into place:
We blew holes, filled gaps, warped the frame slightly, and made plenty of mistakes, but by the last welds the beads were smoother, stronger, and actually resembled welds rather than splatter.
The kitchenette is a small project, but it gave us the confidence we needed before tackling the big aluminium jobs ahead. Next up are the chassis boxes, and this time our TIG practice won’t be hidden away on scraps.
