

For the last 18 months, we’ve been battling the elements while trying to restore and upgrade Moose, our 7.5-ton Mercedes 814. Progress has been slow, frustrating, and very weather dependent. But last month we finally found an indoor space to work in, and honestly, it’s changed everything.
While we finalise the design for our tiny home trailer, there’s one big priority: get Moose back to road legal so we can finally put him to work.
That means ticking off a long list of jobs, some boring, some fiddly, and some that really test our patience. If you’d rather watch than read, skip to the video here.
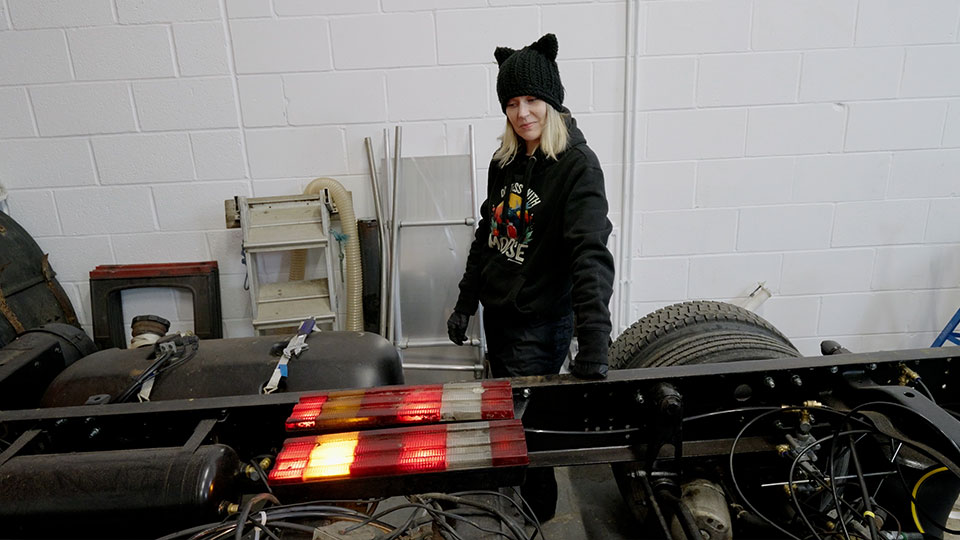
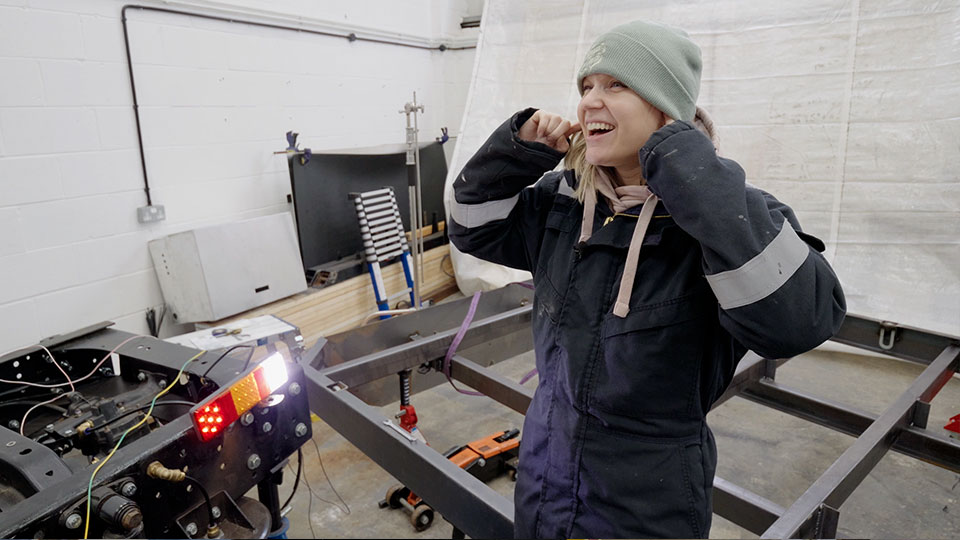
We decided to start with what should have been an easy win: the rear lights.
Moose still had his original light units attached. They were huge, a bit broken, and oddly charming in a retro truck way, but well past their best. We’d picked out smaller, neater LED replacements and planned to swap everything over based on the original wiring.
Within minutes, it all went sideways.
Moose’s old indicators were triggering when we pressed the brakes. Reverse was triggering the indicators. Fog lights were also triggering the indicators. Everything seemed to want to flash, except when it actually should.
After a bit of head scratching, Pete did some serious research. By which we mean he called his dad.
The likely culprit was a bad ground. And sure enough, after poking around, Pete found a suspicious brown wire with a crimp on the end, hanging loose but suspiciously close to a proper earthing point on the chassis.
He crimped a decent terminal on, clamped it to a bolt on the chassis, checked the voltage, and suddenly everything behaved.
Brake lights. Indicators. Hazards. Reverse. All working as they should. And now we could map out the old wiring correctly!
With the lights behaving, we turned our attention to the absolute mess of air suspension lines under the truck.
So far, we’ve shortened the chassis, moved the axle forwards, and replaced the leaf springs with airbags. Originally, our custom airbag system had automatic levelling, which is great in theory. In practice though, it complicates the braking system.
The original brake load sensor relies on changes in the distance between the chassis and the axle as weight is applied, using that movement to determine how much braking force is needed. With auto-levelling airbags, that distance is kept constant by the levelling valves, which means the sensor can no longer do its job properly.
We swapped out the original brake load sensor for one designed to work with airbags, but in doing so we ended up complicating the braking system far more than we’d expected.
We knew the DVSA would need to be informed of the alteration, but we didn’t anticipate how difficult the next step would be. Despite being given a list of approved companies by the DVSA, we couldn’t find anyone willing to take on a small, one-off project like ours. Because Moose is old, getting the correct braking data is tricky, and on top of that, the ballpark figure we were quoted for an individual brake test was eye-watering. Around £10,000 just to attempt some of the required tests. And that was assuming we could even find someone prepared to do it.
So we made a tough call.
We’re removing the automatic levelling system.
The airbags will stay, but they’ll be set to a fixed pressure and act more like traditional springs. We’ll still be able to manually raise and lower the truck if we want to, but the system won’t be constantly adjusting itself.
It’s a bit of a shame, but it massively simplifies the approval process and keeps the project moving. And right now, moving forward matters more than perfection.
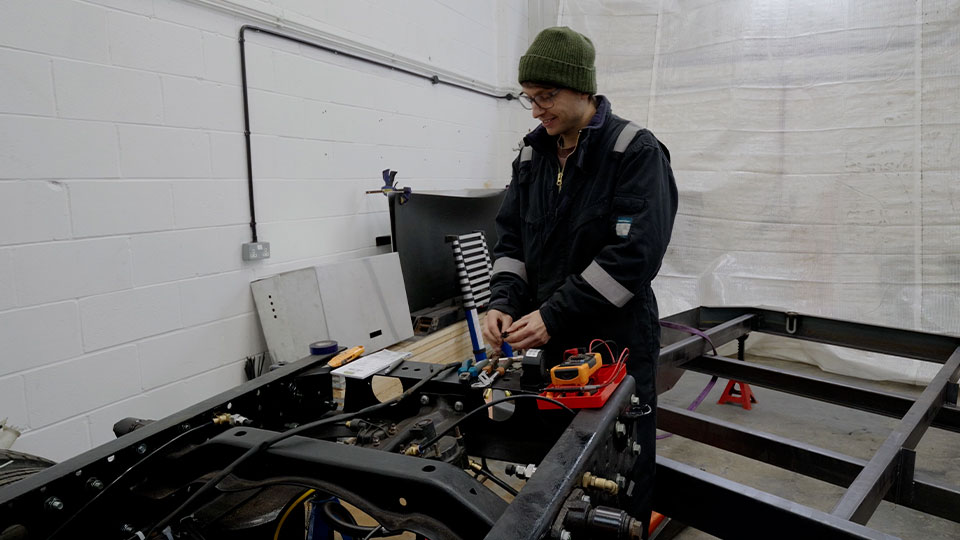
Next job was getting more cables into the cab. Which, of course, was never going to be simple.
Pete wanted to install a digital air pressure gauge so we can see the pressure in each airbag and the air tank. Not strictly essential, but very useful, and also very satisfying.
All the existing wiring goes through a tiny hole in the chassis, and there was absolutely no way we were feeding anything else through it without losing our minds. So Pete drilled a new hole, ran a bit of conduit through as a temporary solution, and promised we’d tidy it up properly later.
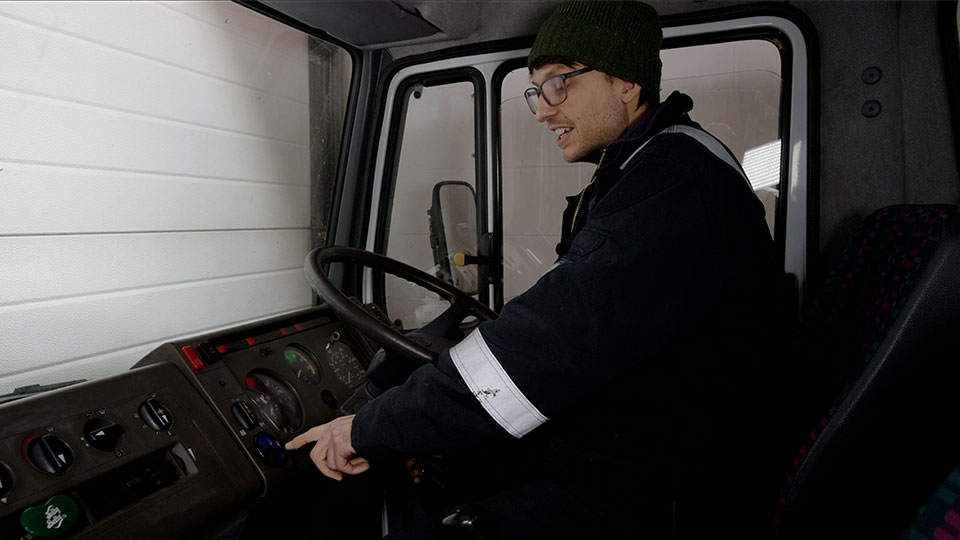
We cut a hole in the dash for the gauge, which smelled terrible and took far more effort than it should have, but once it was in, it actually looked great. A little modern screen sitting among a collection of ancient mystery switches.
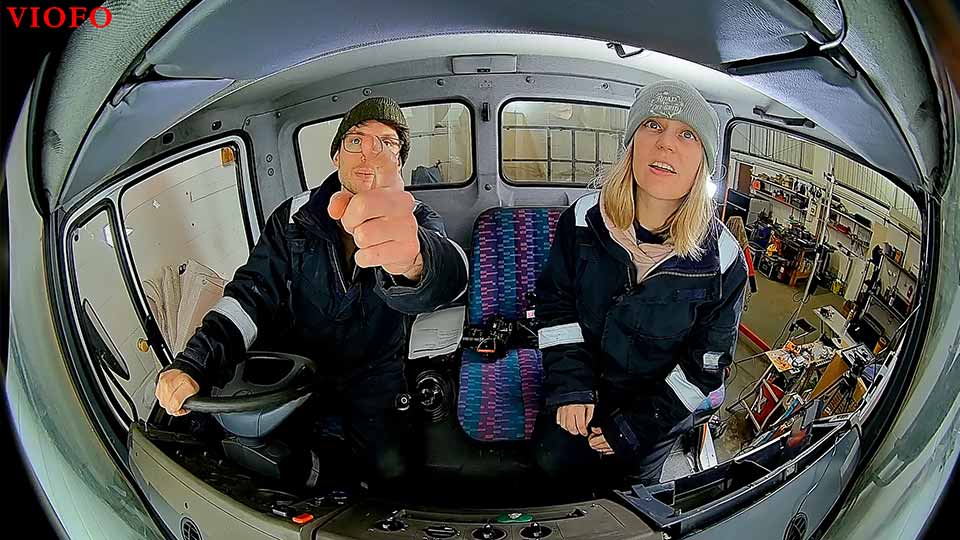
While we were in there, we also installed a dash cam: the VIOFO A329.
This isn’t just a standard forward-facing camera. It’s a multi-camera system with two extra inputs, which means we can run the main 4K front camera plus additional cameras wherever we need them. We’ve got an ultra-wide interior camera for filming ourselves inside the cab and for security, and waterproof exterior cameras that will be brilliant for reversing, towing, and eventually the trailer.
It runs happily on 24V, so Pete hardwired it into the fuse box using one of Moose’s old-school torpedo fuses.
There’s also a Bluetooth button that lets you save a chunk of footage instantly if something happens, which feels like a sensible thing to have on a truck this size.
If you’re interested, VIOFO have given us a discount code. Use RTOG329 for £15 off, and it helps support the channel too. More details…
Those extra mystery cables Pete kept talking about turned out to be for something he’d quietly designed on the side.
He’s built a solenoid-controlled air suspension setup that lets us raise and lower each side of the truck using buttons on the dash instead of the manual valve we installed previously. It uses four solenoids, pressure sensors feeding back to the gauge, and a laser-cut, bent bracket he designed himself.

Before plumbing it into the airbags, we tested it carefully. We’ve had some very intense airbag moments in the past, and nobody wanted a repeat of that.
This time, it was calm. Controlled. Almost… polite.
We carried on wiring the lights using multi-pin waterproof connectors so everything can be unplugged properly in the future and its fully protected from the weather.
And then the chaos returned.
With our fancy new LED’s connected, now reverse didn’t work. Indicators flashed together. Reverse was practically strobing!
Eventually, Pete realised the mistake. Both indicators had been wired in parallel to one signal wire, and the other indicator wire had been mistaken for reverse.
Once that was corrected, everything finally worked.
Tail lights. Fog lights. Brake lights. Indicators. Hazards. Marker lights. Even the reversing buzzer, which works a little too well 🙉.
Moose lit up like a Christmas tree, and we called it a win.
Last week, we removed Moose’s flatbed for cleaning and painting, and our neighbour very kindly came over with his forklift to lift the bed onto its side for us.
Absolute hero.
With the flatbed up on its side, we finally had full access to everything underneath, which made it the perfect time to prep and paint it properly.
So, of course, new tool time(!) – I got my brand new paint sprayer out.
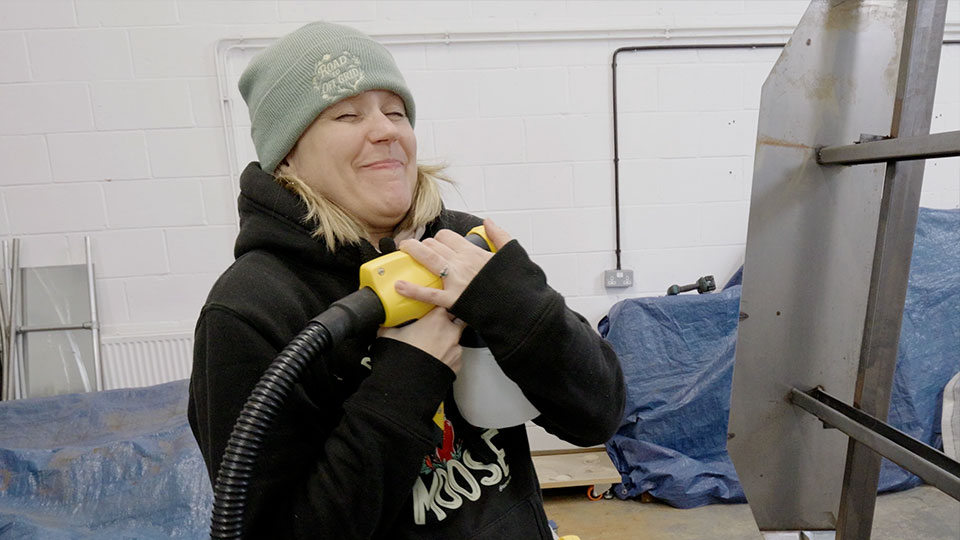
This was my first time using a paint sprayer, and I was spraying Rustbuster Armaguard Epoxy Mastic Paint, which is brilliant stuff and much easier to mix than epoxy paint we’ve used in the past. I worried about clogging the sprayer at first but with the right amount of thinners, the paint went on perfectly.
By the end, I’d got the technique dialled in. The finish improved massively as I went, and it turned out to be the perfect surface to practise on before moving on to the parts you’ll actually see!
With the wiring behaving, the air system simplified, and the flatbed prepped, it finally feels like we’re turning a corner.
Next up, we’ll finish painting the flatbed properly, mount all the lights permanently, and get it back on Moose. Step by step, we’re getting closer to having him road legal again.
It’s not the fast route, and it’s definitely not the easy route. But it’s starting to feel like the right one.
See you next time. 💚
While we were already running new wiring into the cab, we fitted a dash cam from VIOFO, the A329.
We wanted something that made sense for a big, slightly odd truck like Moose. Not just for recording the road ahead, but for security when we’re parked, and as a genuine driving aid once we’re towing and manoeuvring a much larger setup.
The A329 is a multi-camera system rather than just a single dash cam. The front camera records in 4K, and it has two additional camera inputs, which gives us loads of flexibility. At the moment we’re using an ultra-wide interior camera inside the cab, which is great for filming while we’re driving but also works as a security camera because it can see out through the windows. The extra exterior cameras are waterproof, so they can be mounted outside the truck or eventually on the trailer, which will be really useful for reversing, coupling up, and keeping an eye on what’s happening behind us.
One of the big reasons we chose this system is that it runs happily on 24 volts, so it can be hardwired straight into Moose’s fuse box without needing any converters. The system is always recording, but with the press of a button you can instantly save a chunk of footage to a protected folder on the memory card, so it won’t be overwritten.
If you’re interested, VIOFO have given us a discount code.
Using RTOG329 gets you £15 off, and it helps support the channel too.
