
For weeks this project has lived in CAD. Measurements. Ratios. Structural theory. Screenshots.
This was the week where it finally hit the workshop floor.
The fifth wheel tiny home is only ever going to be as good as the trailer underneath it. If we get this wrong, everything built on top of it inherits the mistake. So this stage feels different. Heavier. More permanent.
And slightly terrifying.
Jump straight to the video here.
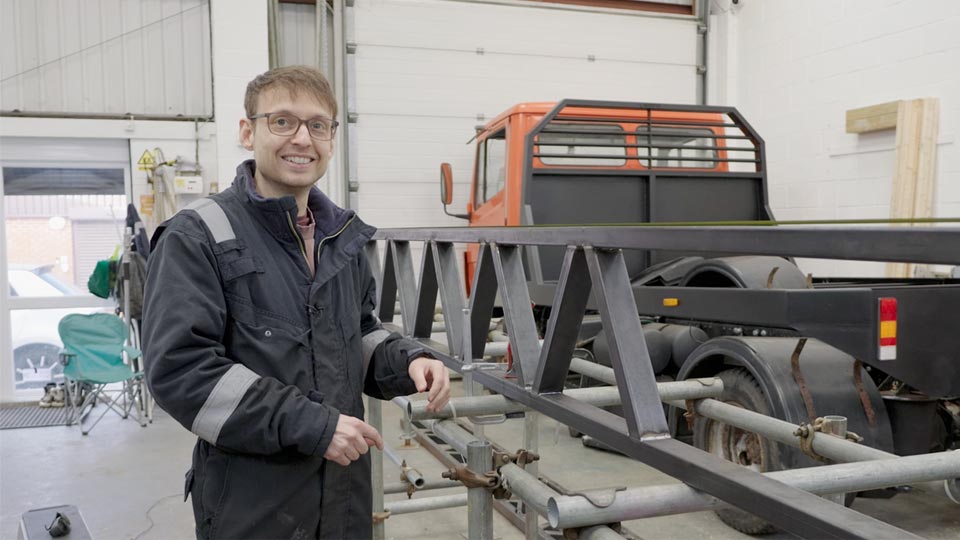
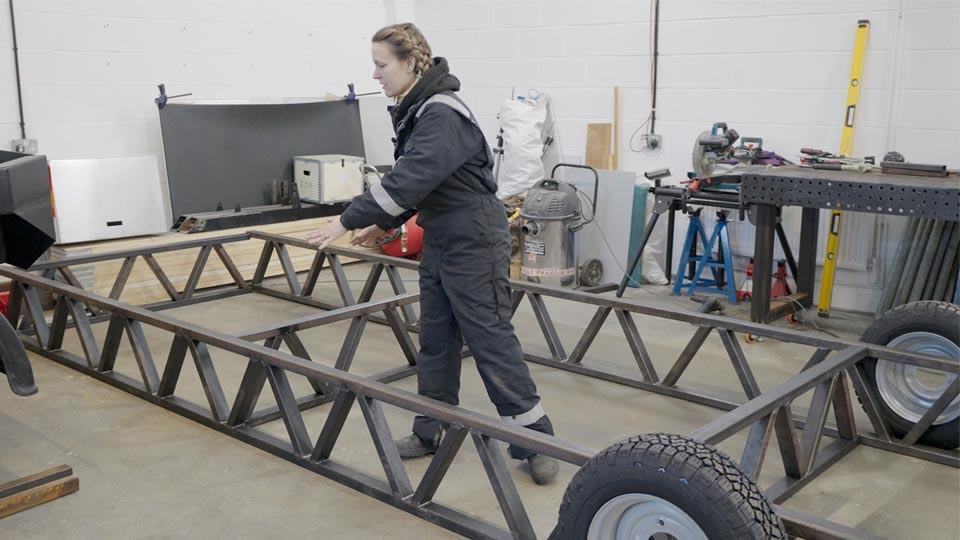
The first real milestone was finishing the two main chassis rails.
We’ve gone for a truss-style design for the rails. It keeps the weight down while still giving us the stiffness we need over that span. On paper, it made sense. In CAD, it looked good. But until you actually weld the thing together and lift it, you can’t really fathom it.
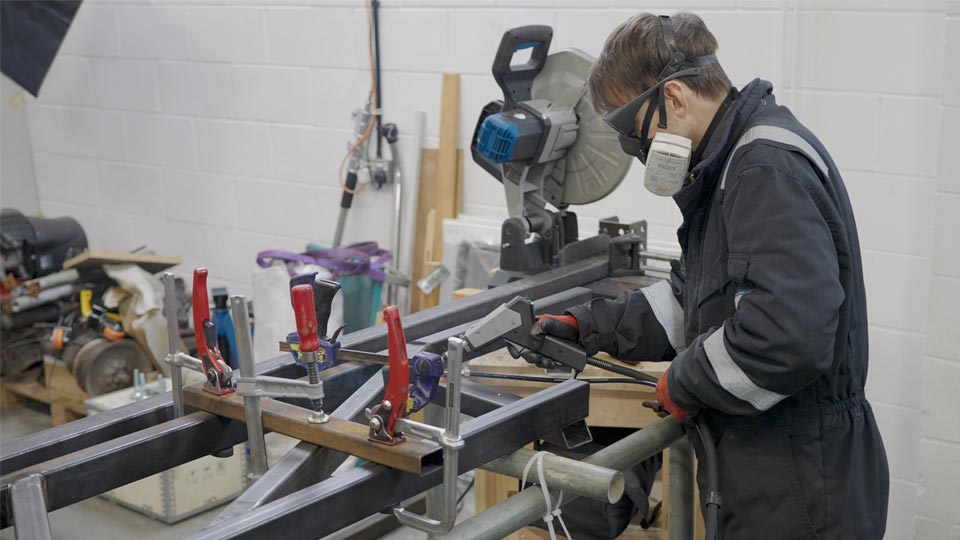
The chassis rails are being laser welded. Pete’s been getting to grips with it over the past few months, and there’s a definite learning curve compared to MIG.
Before we carried on building the rest of the structure, we wanted to prove something.
Laser welding is still fairly new in small workshop builds like this, and although it looks neat and tidy from the outside, what matters is what’s going on inside the joint. So we did a penetration test on a sample piece.
We welded two bits of box section together exactly the same way as the truss joints. Then we cut straight through the weld so we could see the cross section.
To make the weld profile visible, we sanded the cut face back through multiple grits until it was almost mirror smooth. After that, we acid etched it to reveal the structure of the weld. After about twenty minutes submerged and a proper neutralise with bicarbonate, the weld zone was clearly visible.
What we were looking for was proper penetration through the material and good fusion where the radius meets the flat faces.
The result looked strong. The weld had fully penetrated one section and carried most of the way into the other. The internal gap created by the corner radius was filled.

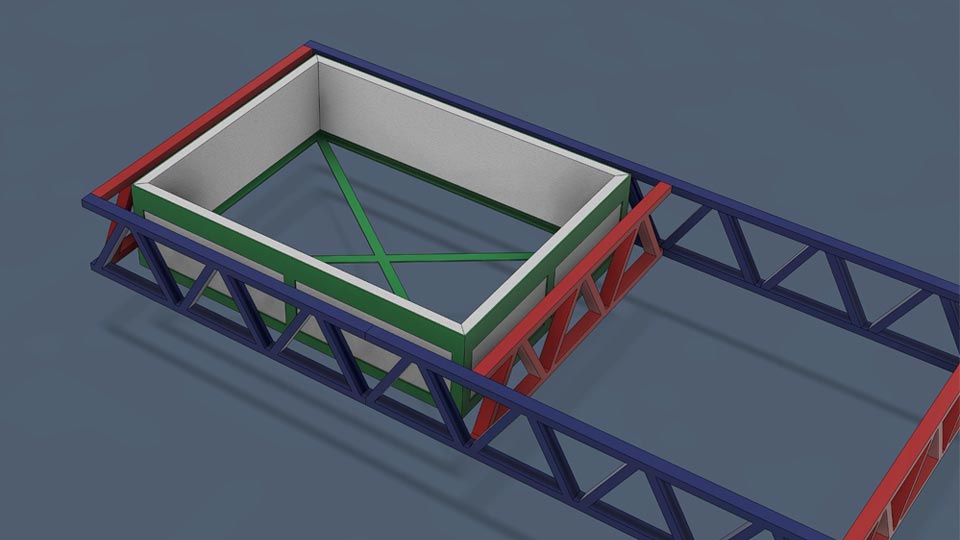
We decided we wanted a slight departure angle at the real of the chassis. Not totally necessary but it will give us room uphill (and it’ll look cool!)
Working out the angle meant a lot of measuring, marking, tilting, and the we realised our saw couldn’t cut the angle we wanted. So grudgingly, I marked the angles and Pete cut them with an angle grinder… and did a very neat job too!
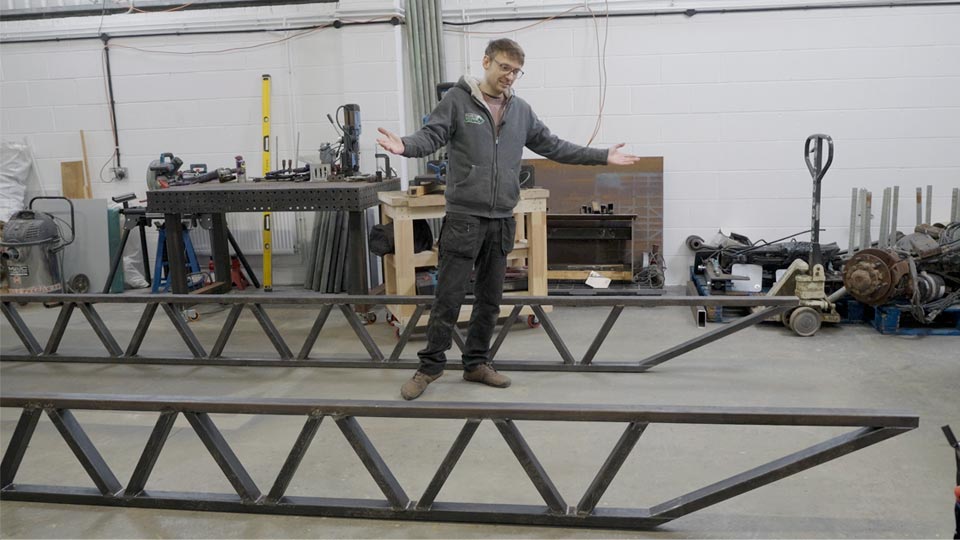
With the main rails complete, we moved onto the first crossmembers.
If you lift one of the rails on its own, it’s incredibly stiff vertically. No noticeable bowing. Exactly what we wanted. Side to side, though, it’s floppy. That’s normal. That’s what the crossmembers are for.
We made the crossmembers using the same truss logic as the main rails. Once the first one was tacked up and offered into place, the whole thing started to look like a real structure.
There’s still a lot more stiffening to come. The underfloor storage will eventually become part of the structure themselves, tying everything together and adding diagonal X-bracing. But even at this early stage, you can feel the difference once pieces start linking up.
It stops being theoretical.
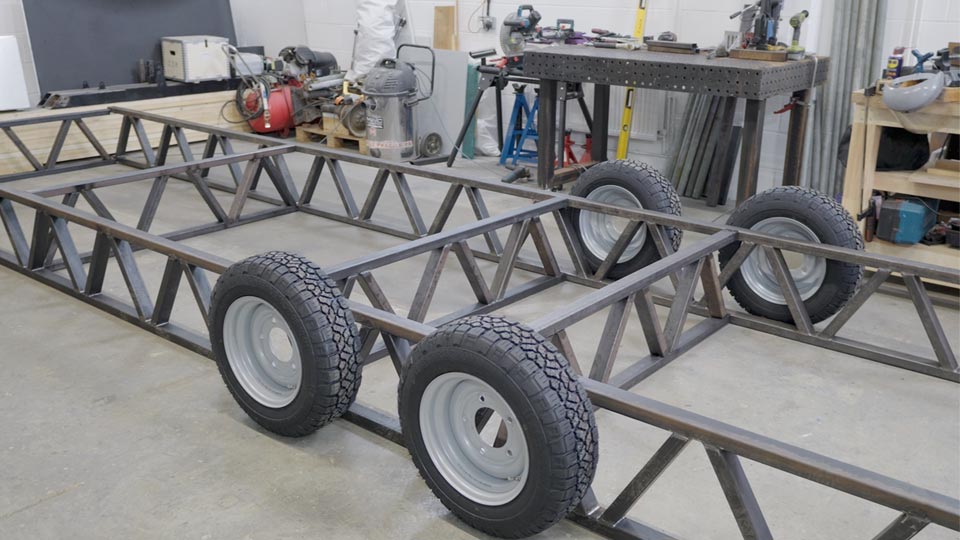
We laid out our chassis rail, crossmembers and two pairs of wheels and stepped inside.
On the floor it looks compact. Then you remember there’s another couple of metres at the front, slide-outs, overhang, height. The chassis is narrower than the final body will be. This is just the skeleton.
It’s very easy to forget how just big it’s going to be.
We’ve still got some major layout decisions ahead that will affect how this trailer behaves on the road and how the weight is balanced. Those choices will shape the next stage of fabrication.
For now, though, the focus was simple. Get the foundation right.
Next up, we’ll continue building out the crossmembers and move into the underfloor storage trays and water tanks. There are still big decisions ahead. But this was the moment the trailer stopped being lines on a screen and started being the thing that will carry our home.
And that feels like progress.
We finally launched our merch store!
We’ve made stainless steel keychains; replica Moose plaques and Road To Off Grid road signs and they’re available on our website now.
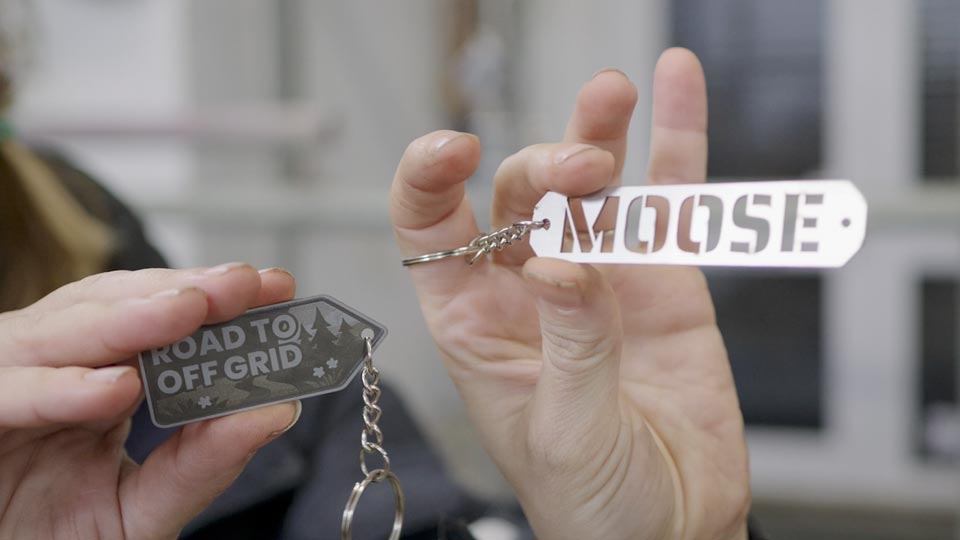
And if you’re one of our Patreon supporters, thank you. Your support genuinely makes this possible. We’re putting extended and early-access builds over there, including projects that don’t quite fit into the main channel episodes. We’re also sending out keychains to all our current patrons and the next 50 members to sign up to the 💚💚 tier and above.
