

Some weeks are about big ideas. Others are about laying the groundwork. This one was a bit of both. We finally started testing our DIY fibreglass camper habitat ideas – experimenting with resins and foam cores to see what might actually work for the build. We also made some serious kit for the workshop and tried to figure out why Moose’s clutch feels like stepping on a brick.
If you’d rather watch than read, the full video is below. Let us know what you think in the comments!
Our original idea for the camper box has already changed a few times. This time, we’re going with polyurethane foam boards, reinforced with fibreglass and GRP, built much like you’d build a boat. The thinking is simple: strong, watertight, and easier to repair than aluminium.
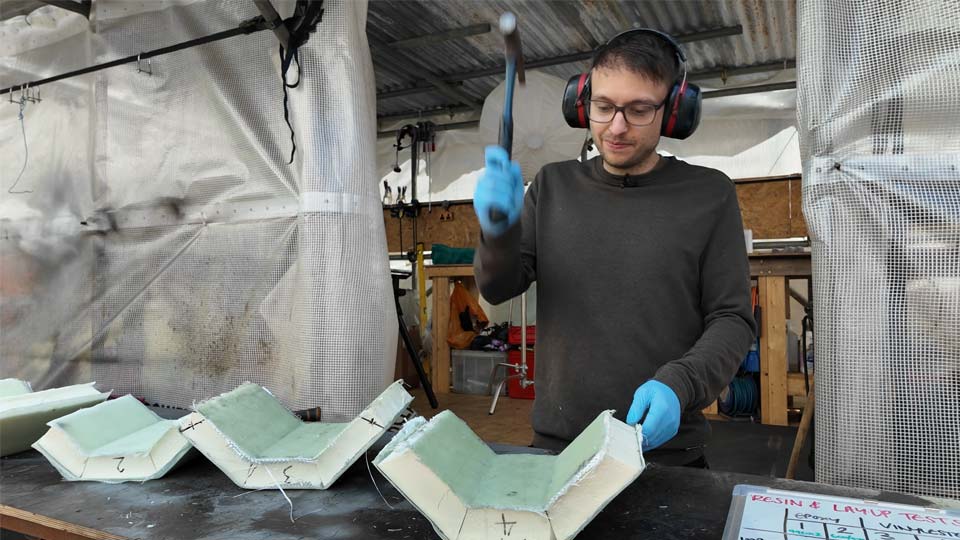
We cut 50mm insulation foam into shapes that mimic the chamfered side profile we want. Pete’s chamfer, as it’s become known, gives the whole box a more rugged look even though this truck won’t be heading off to the Sahara. Then we tested two resins, epoxy and vinylester, with a mix of fibreglass weights, twill, plain weave, and peel ply to see what would actually work.
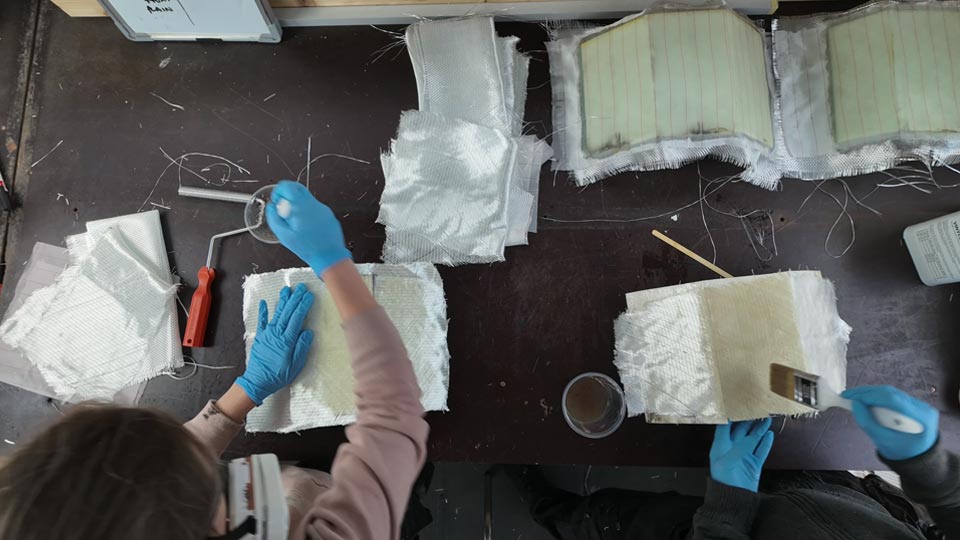
The first laminations felt like a milestone. It’s early days, but these small scale tests gave us our first real sense of how fibreglass and polyurethane foam might work together as the shell of our DIY habitat.
The tests weren’t perfect (our technique could use refining) but some patterns emerged:
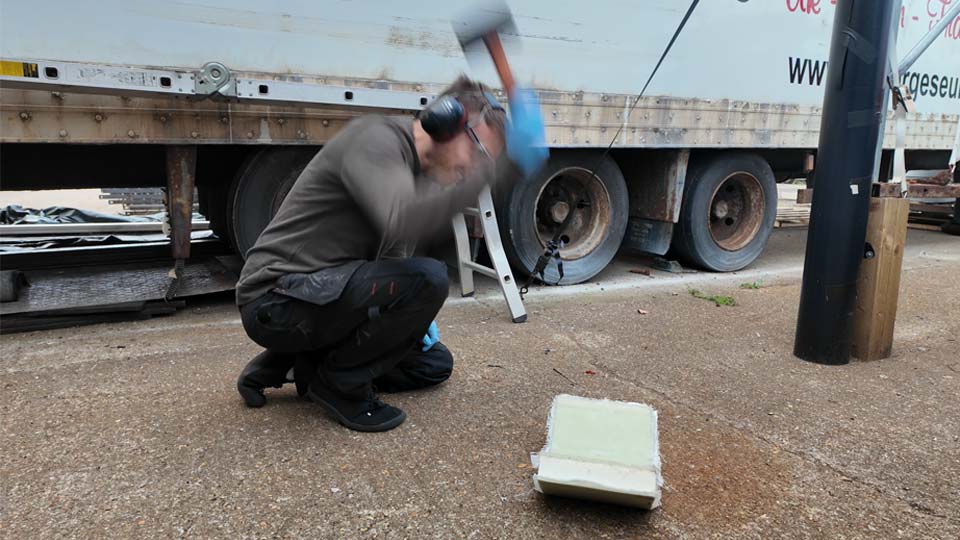
Impact tests with hammers barely made a dent, which was reassuring. The weakest point wasn’t the resin at all, it was the foam. Whichever resin we choose, the structure itself should be more than tough enough for daily life in a fibreglass camper habitat.
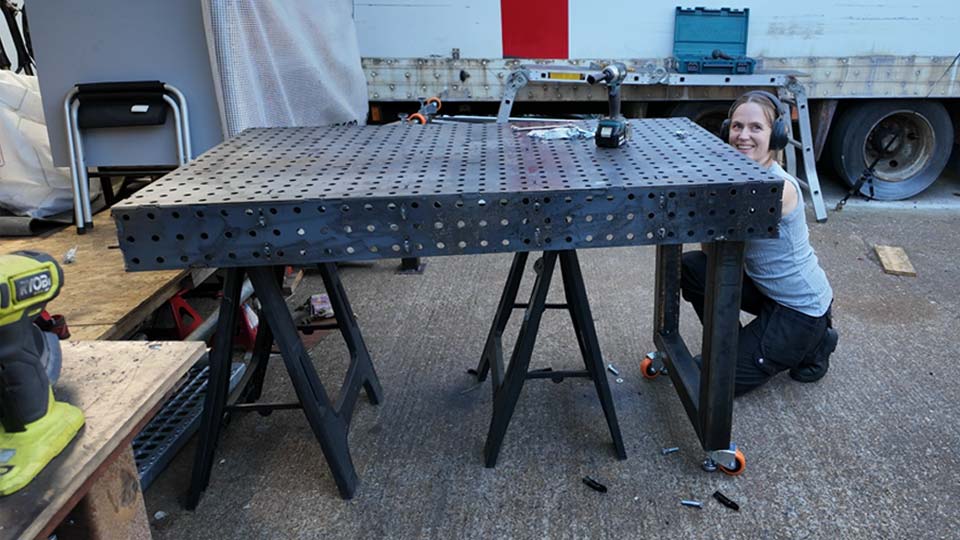
While the resin was curing, we switched focus to the workshop. Pete’s always wanted a welding fixture table, and this week we built one from a set of laser-cut plans. The design slots together like a puzzle, but with 6mm steel plates it still needed every clamp we own to keep it straight while welding.
Shout out to VinyB of 57Design for creating the plans for this fixture table (and selling them at a very reasonable price!). He has the CAD for any table size here, and he shows you exactly how to build one here!
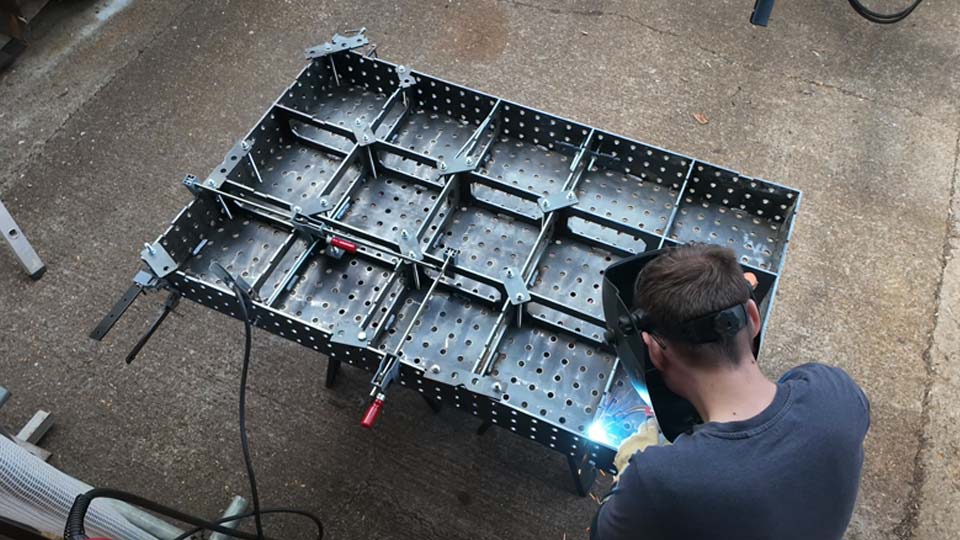
We learned quickly that MIG welding is a lot easier than TIG and my first attempts went from wobbly to half-decent surprisingly fast. By the end, we had a sturdy table with overkill legs, chunky casters, and enough flat surface to make fabricating aluminium storage boxes a whole lot easier.
Not bad for a couple of amateurs.
Moose, our 7.5-tonne Mercedes, has always had a heavy clutch, but it’s now at the point where you almost have to stand on the pedal. The plan is to swap the hydraulic clutch cylinder for an air-assisted booster, using the truck’s onboard air system to do most of the work.
While investigating, one bolt snapped in the gearbox housing – our first snapped bolt of the whole build. Welding on a nut and trying to twist it free didn’t quite work out, so that’s a future problem to solve. For now, we reassembled the system with one good bolt and confirmed what we already knew: Moose needs the air assist and a new clutch. The difference will be night and day.
By the end of all this, our “scientific” results boiled down to:
It also cemented our decision to build the habitat entirely from fibreglass and composites. No wood, no rot, and hopefully a box that’s as strong as it looks.
This path isn’t the easiest, but it feels right. The workshop now has a proper welding table, we’ve got a direction for the fibreglass build, and Moose is due an upgrade to make him a lot more driveable.
We’ll need more tools (a table saw is next on the list) and plenty of PPE to survive the resin fumes, but we’re moving forward. And if all else fails, maybe we really will end up with a habitat that floats.
💚
