
It’s been a while since we last built anything substantial, but after weeks of waiting, tinkering, and practising, the materials finally arrived and we could get stuck into the next big stage of our truck camper project.
This project was all about learning to weld aluminium and tackling a major mechanical job that we couldn’t put off any longer – replacing the entire clutch while we still had clear access.
If you’d rather see all the welding trials and that clutch swap in action, the full video is below. We’d love to hear what you think of this stage of the build in the comments.
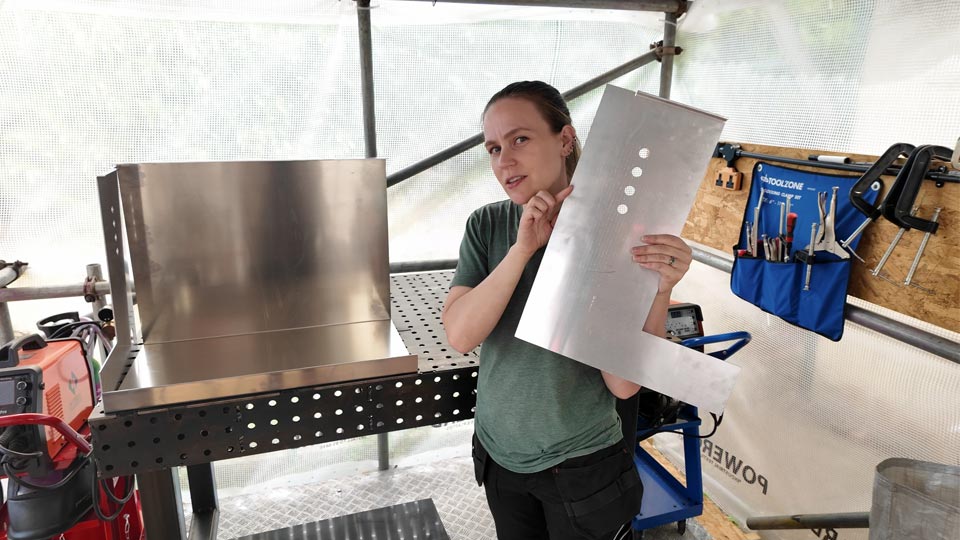
We’ve been building up to this moment for a while. Our hydraulic levelling system needs a custom aluminium enclosure, so we designed a proof-of-concept box and sent our aluminium off to be pre-cut and bent, ready for welding. This was my first real attempt at aluminium TIG welding, and I quickly discovered that it’s a completely different challenge compared to steel.
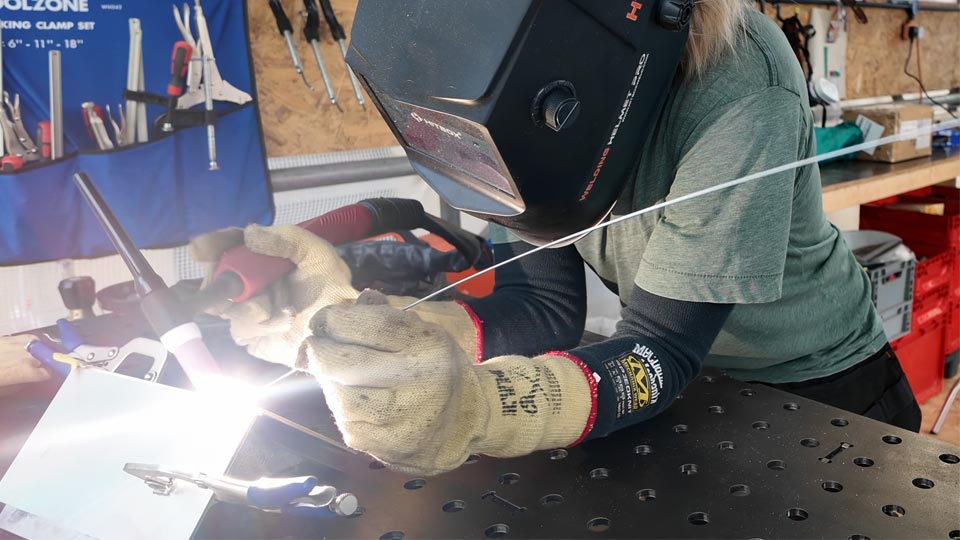
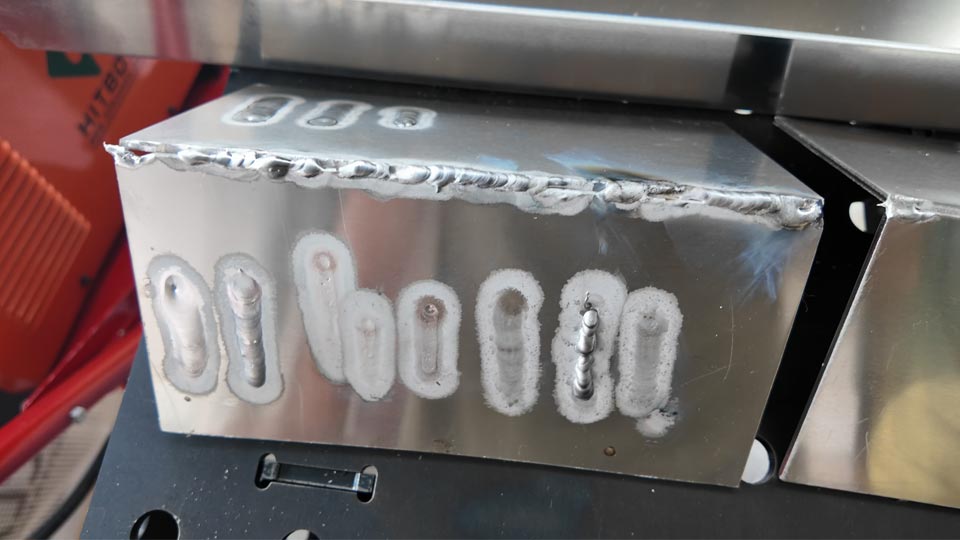
Before I started welding, I spent a decent amount of time on preparation. I set up a clean, dedicated work area, made sure all the surfaces were scrubbed free of oxide with a stainless steel brush, and dialled in the TIG welder’s settings through trial runs on scrap pieces. Aluminium heats and cools so quickly that I had to practise timing the puddle formation and keeping a steady filler feed. Some early attempts left me with uneven seams and holes, but by adjusting my technique – torch angle, filler positioning, and travel speed – I began to see solid, smooth welds forming.
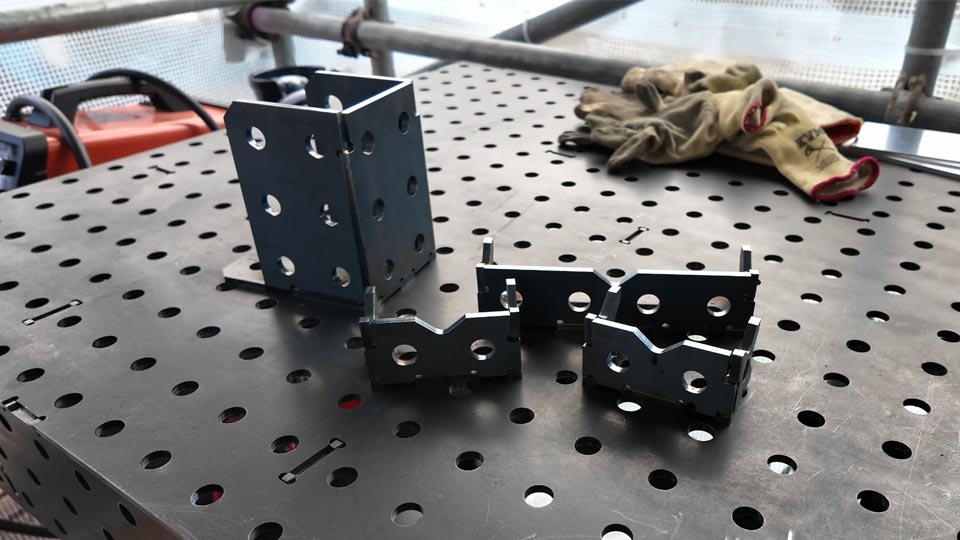
Pete also made some right-angle fixtures to help clamp the panels together while I worked. It made a big difference, keeping everything steady while I focused on my welds.
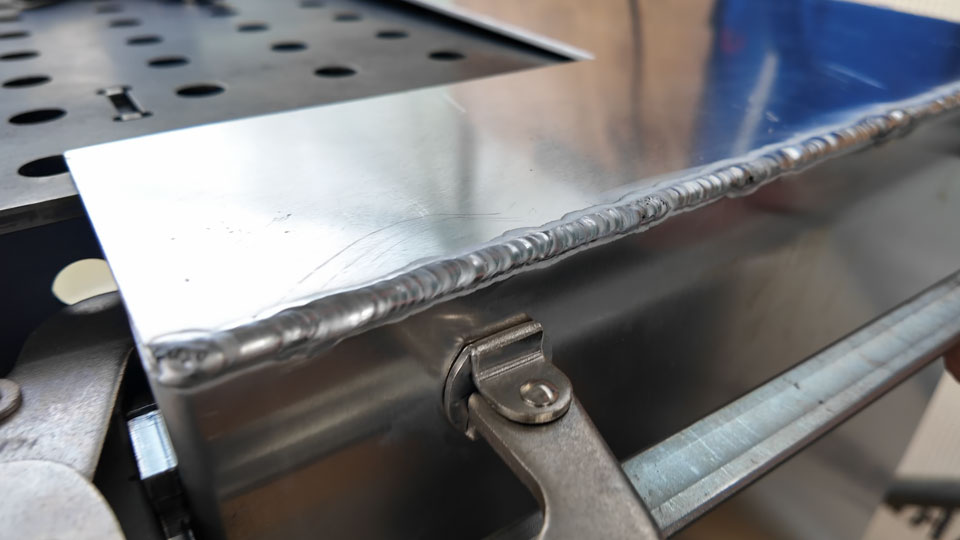
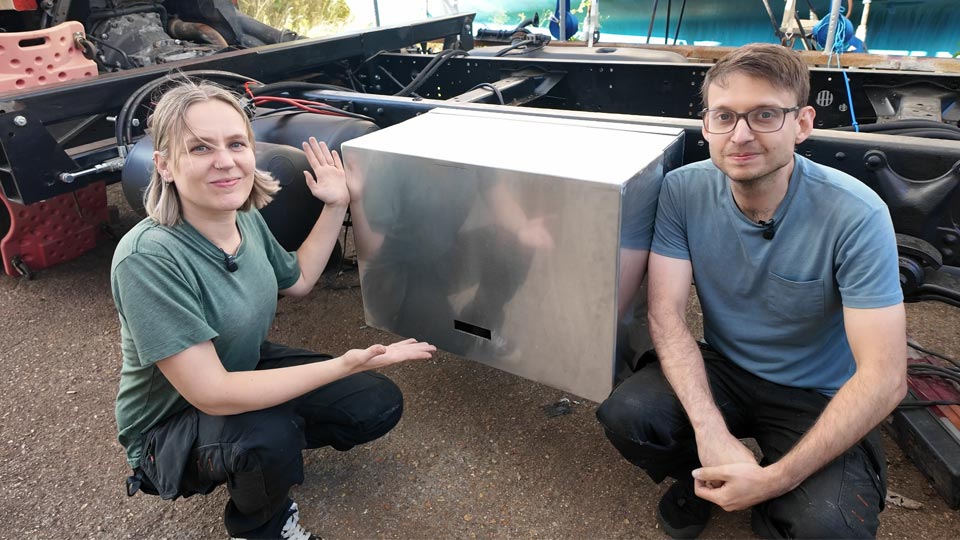
When it came to the real panels, I took my time. It was slow work at first but incredibly rewarding. By the end, I was confidently running a good 40cm of decent dimes in one pass. Pete ground down the welds on the visible lid edges for a clean finish, while I left my first welds on the hidden side as a little reminder of where I began.
The first box is designed for the hydraulic system, with four ports on each side for hydraulic lines. We’ve also started mapping out a much longer aluminium storage box for tools and gear, and we’re even considering replacing the current plastic fuel tank with a matching aluminium version.
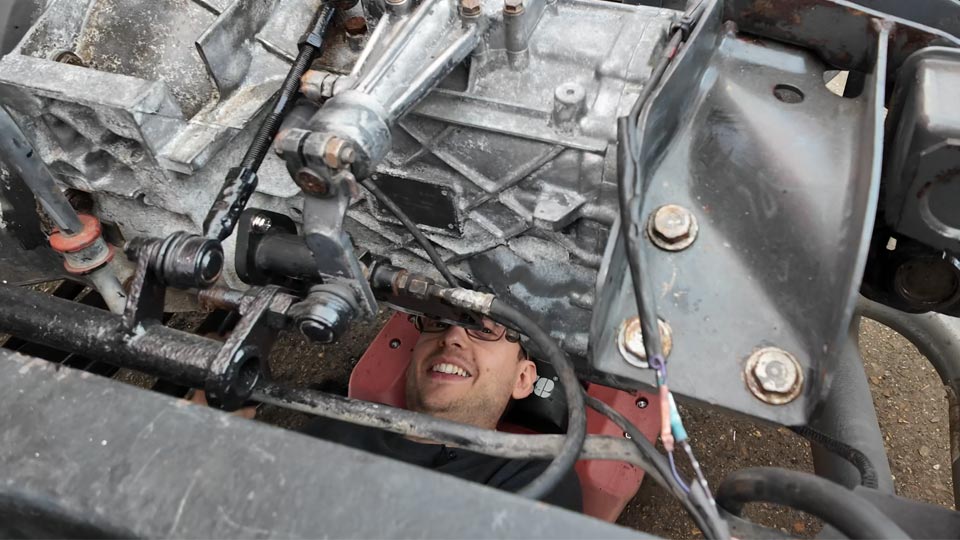
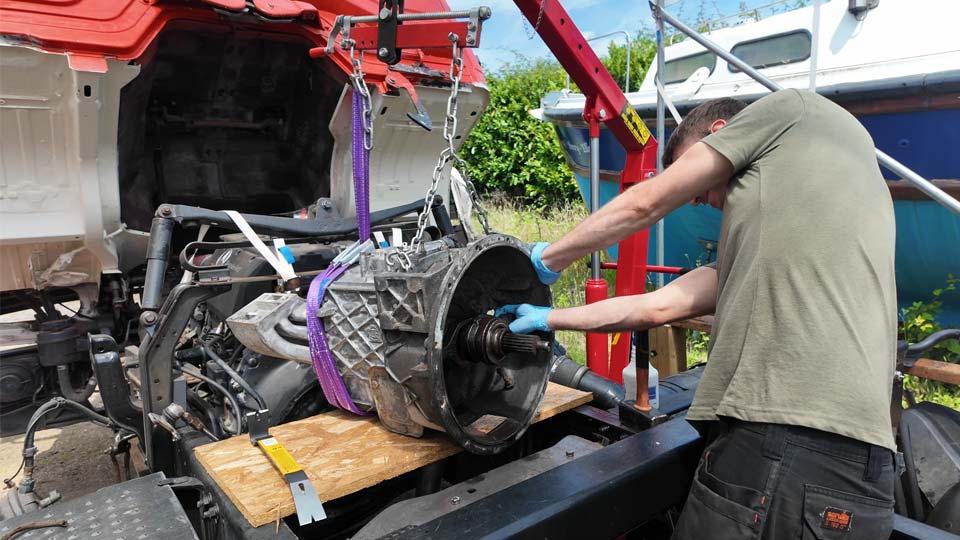
The other major task this week was replacing Moose’s clutch. We couldn’t put this off because once the habitat floor is installed, access to the gearbox will be almost impossible. We had a complete clutch kit ready and used our new crane to handle the gearbox safely.
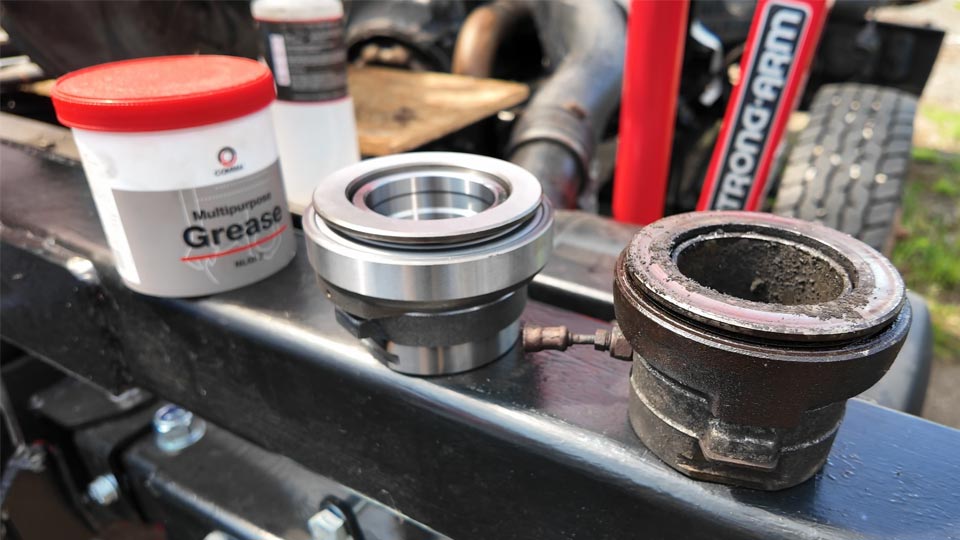
The job started with removing the inspection hatch, which ejected a crusty old grease supply hose, no longer attached to the bearing it was supposed to grease. This pointed to the release bearing being the most likely cause of our heavy clutch.
Work began on unbolting the bell housing and disconnecting the driveshaft before setting up the crane to support the gearbox. It turned into a long job – a solid 3 days in total of carefully manoeuvring the heavy gearbox and tackling unexpected issues like a snapped bolt in the bell housing that slowed everything down. When we pulled the old parts out, the release bearing was in awful shape – noisy, rough, and well past its best. It was satisfying to know that swapping it out would make a huge difference.
With the old clutch and bearing removed, we installed the new clutch and pressure plate, using an alignment tool to ensure everything was perfectly positioned. Refitting the gearbox required patience, a few rounds of adjusting, and careful lifting with the crane. Once everything was back together, we tested the clutch pedal – the difference was immediate, with a lighter and more responsive feel. Phew!
Between the aluminium welding and the clutch replacement, this project was a mix of skill-building and ticking off critical tasks. Practising TIG welding took as much time as working on the actual box, but it paid off in confidence and better weld quality. Tackling the clutch at the same time made sense because both jobs are foundational – once the camper build advances, revisiting these areas would be a nightmare.
These two tasks were challenging but they pushed us forward. Now we’ve got a smooth, reliable clutch and the beginnings of a custom aluminium system that we can build on.
The next step is to finish the prototype box and test-fit the hydraulic system inside. I’ll continue welding practice while we start on the longer storage box. With every seam, I’m refining the process and aiming for neat, strong welds that don’t need much grinding at all.
Meanwhile, we’re preparing for the moment when the habitat floor finally goes on. Once that happens, the truck will start transforming into a real tiny home.
If you’re thinking about doing something similar, our advice is to dedicate time to practice and plan the heavy mechanical work before the build moves past this stage.
Would you take on a clutch replacement or aluminium welding for a DIY truck build? Watch the full project video below and let us know your thoughts in the comments.
