
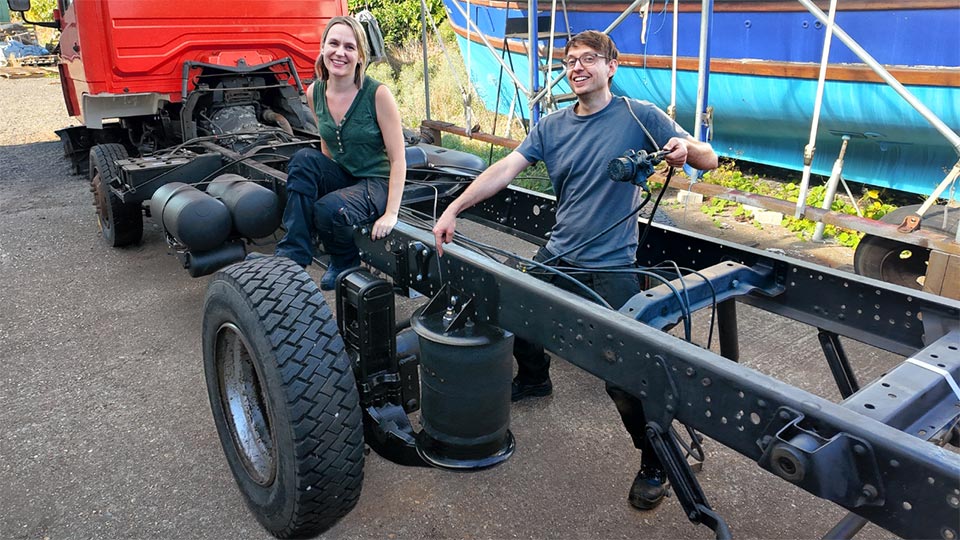
Welcome back to our mini-artic tiny house build, where we’re converting our old 7.5-tonne Mercedes 814, Moose, into a capable fifth wheel tower. This time we’re finishing the long-awaited air suspension swap. After weeks of drilling, fabricating, and wrangling heavy parts, it was finally time to get Moose riding on his new suspension and see if our scrapyard experiment would actually work.
If you’d rather watch the build in action, the full video is below. We’d love to hear your thoughts in the comments, especially if you’ve tackled an air suspension upgrade yourself.
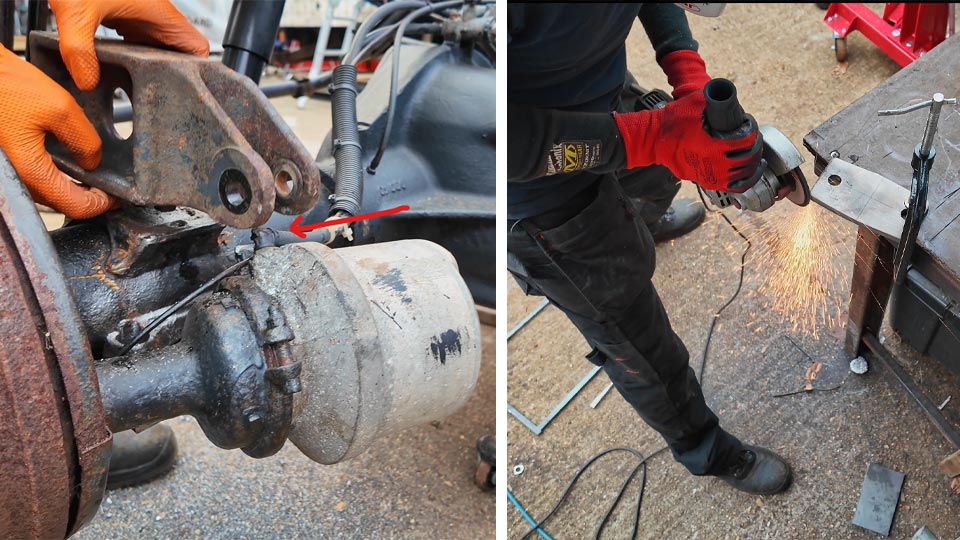
With all the donor parts cleaned up, the next challenge was fitting them to Moose’s existing axle. We’d already started fabricating adapter plates from thick 15mm steel bar, drilled to accept new U-bolts. But clearance issues quickly appeared. The anti-roll bar mount fouled on existing pipework, forcing us to make a second spacer plate to raise it slightly.
After a few hours of cutting and drilling, the new plates slotted neatly into place. For the first time, the U-bolts actually went through cleanly, a huge relief after so much trial and error.
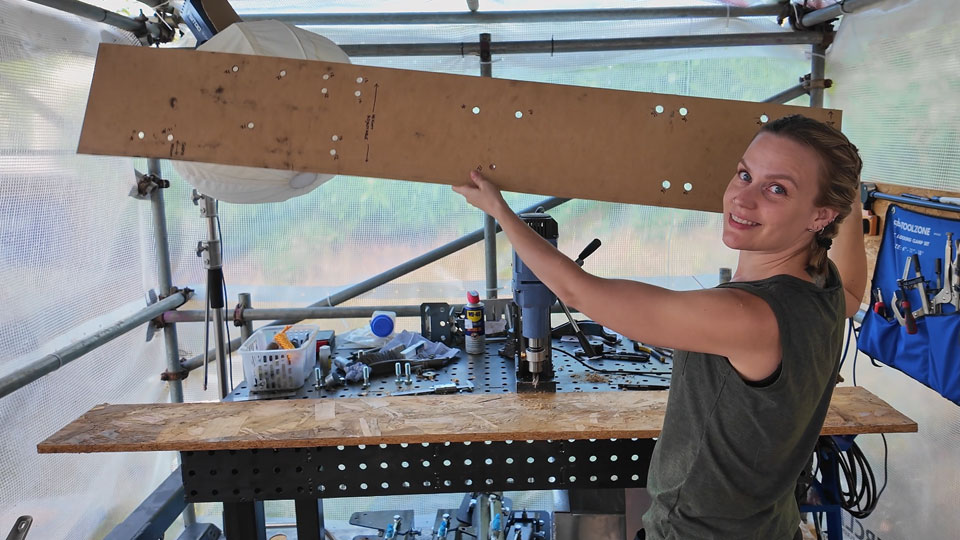
One of the hardest parts was transferring the complex pattern of holes from the donor chassis onto Moose. To keep things accurate, we clamped 3mm hardboard to the donor rails, marked the holes on the board, and created templates for each side by drilling out the holes. The template acted as a perfectly precise guide for the mag drill, and it was double-sided! So, thankfully we only had to make the one.
We cleared space on Moose’s chassis, by removing the old riveted leaf-spring brackets. Each rivet head was ground flat, drilled, and hammered through. It was slow, dirty work, but eventually the chassis rails were completely clear and ready for drilling holes for the new suspension brackets.
The trailing arm hangers needed to bolt through a crossmember for strength, so we slid one of Moose’s existing crossmembers into position. By sheer luck, the chassis already had two perfectly spaced holes that lined up exactly with the new placement. That meant we could line up our hardboard template and those holes would start us off in a straight line down the chassis. The appearance of a few more chassis holes through our template, confirmed that we were still level as we worked our way along.
We clamped our template to the chassis rail, sprayed some silver paint through it for visibility, and then using a mag drill cutter and its centre pin, lined up each hole and hammered a nice big dent into the middle of each paint mark. When we took the template down we had perfect silver circles with the exact centre marked in the metal, ready for drilling.
After, the new holes were drilled, we began bolting on our brackets using high-strength friction grip bolts. The test fit went better than expected. Every hole lined up, and the tolerances were not only tight but very accurate.
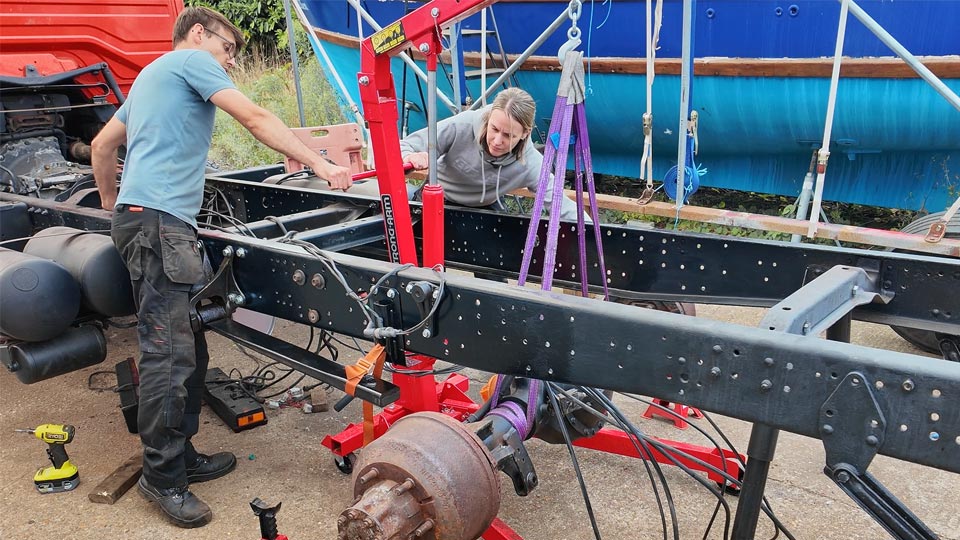
Next came the heavy lifting: moving the axle itself. With jacks, cranes and plenty of pushing and pulling, we shifted it into its new position. The measurements showed a new wheelbase of 3290mm.
Our original target had been 3150mm, the shortest allowed in Mercedes’ guidelines. We knew that was unlikely because of an obstructing crossmember, and sure enough, we couldn’t quite get that short. Even so, 3290mm is still a huge improvement over the original and well within the manufacturer’s specs. Moose will be much more compact and manoeuvrable, just what we wanted for towing a fifth wheel tiny home and using as a run-around when we’ve dropped off the trailer.
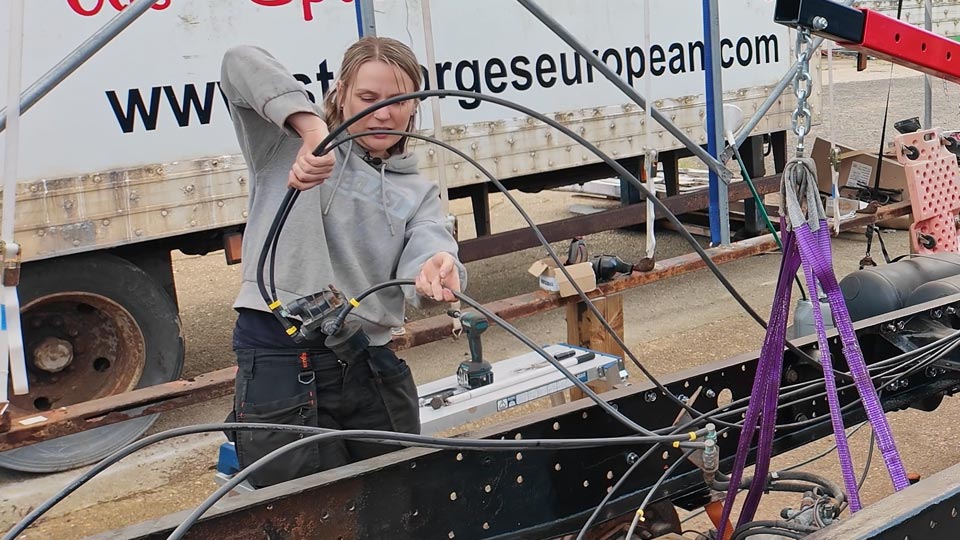
With the suspension bolted up, it was time to understand the air system itself. By running Moose and experimenting with his original air valves, we figured out which parts controlled the handbrake, which controlled the service brakes, and where the brake load sensor came into play. This gave us the confidence to plan in the new suspension valves and future plumbing layout.
In the middle of all this, Pete passed both his hazard perception and theory tests for his HGV licence. Rather than go straight for the full C+E, he’s starting with the C1+E, which is cheaper and still allows him to tow our tiny home legally. He can always upgrade later once he has more experience on the road… if he ever needs to, that is!
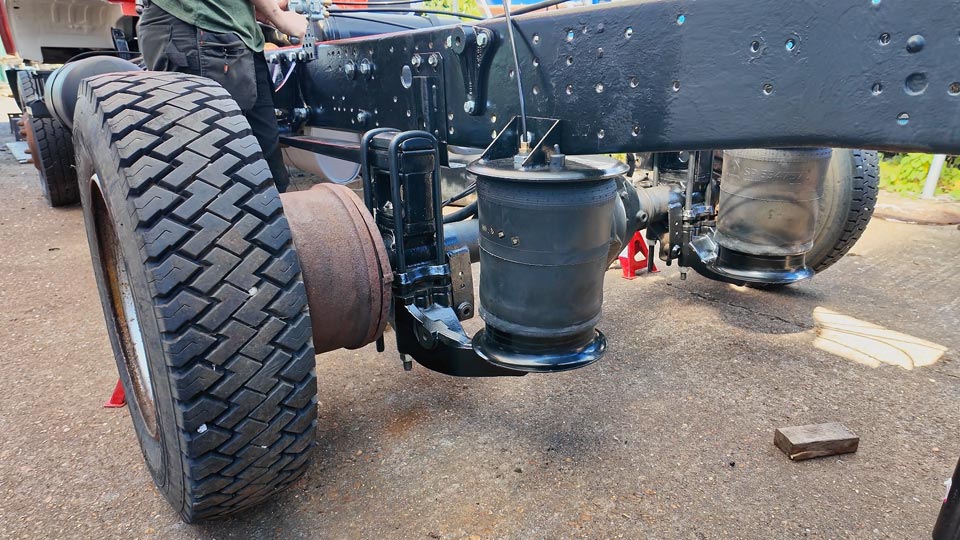
With the axle in its new position and the trailing arms, brackets and airbags all mounted and in place, we refitted Moose’s rear wheels and lowered Moose down to the ground with his new suspension for the first time. Thankfully, the geometry of all the donor parts still looked aligned on our old axle and all of its adapters and spacers. It was ready for some air!
To keep things simple to start, we only installed our secondary air tank and a basic raise-lower valve. That meant we could manually inflate and deflate the suspension to check geometry and function, without complicating things with the more advanced brake load sensor and levelling valves just yet.
The first attempt was a bit dramatic. The airbags filled far too quickly quickly, it seemed like Moose was going to jump right off of his new bags!

After switching to smaller 8mm hoses, the system behaved much better, letting us raise and lower the rear end with more control. For the first time, Moose could sit low or rise up smoothly on command.
Standing back, watching a 7.5-tonne truck lift and lower itself on air, was a mix of relief and pride. The system worked. Our scrapyard suspension swap wasn’t just theory anymore. Moose was officially shaking his caboose.
The job isn’t done yet. We still need to add shocks, mount the anti-roll bar, finalise the plumbing with proper levelling valves and the new brake load sensor, and shorten the prop shaft. Oh, and chop 2.2 metres off Moose’s rear chassis. But this milestone proves the concept.
We set out to see if we could pull off a DIY air suspension swap, with plenty of perseverance, stubbornness, and a few stressful moments along the way. The answer is yes.
Over to you: would you ever take on a job like this, or do you think we’re mad? Scroll down to watch the full build video and let us know in the comments what you think of Moose’s new suspension.
