
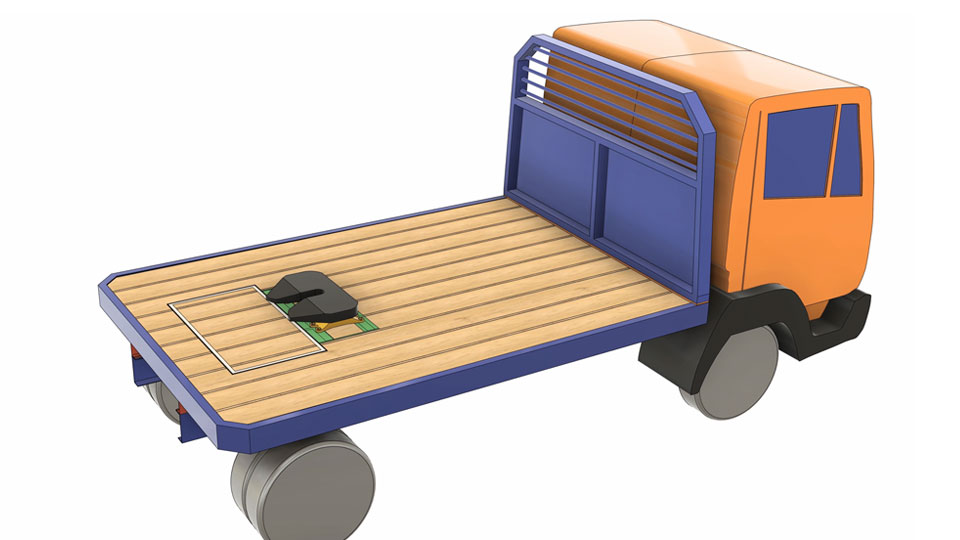
We’ve been working hard on the next big step in our truck modifications. With the air suspension fitted and the chassis shortened, it’s finally time to build a completely custom truck flatbed and prepare the mounting for our fifth wheel. If you’re new here, Moose is our 7.5-tonne Mercedes that we’re turning into a tow vehicle for a future tiny home. The plan is off grid living with proper self-sufficiency, and this flatbed is the foundation that makes it possible.
If you’d rather watch than read, the full episode is below.
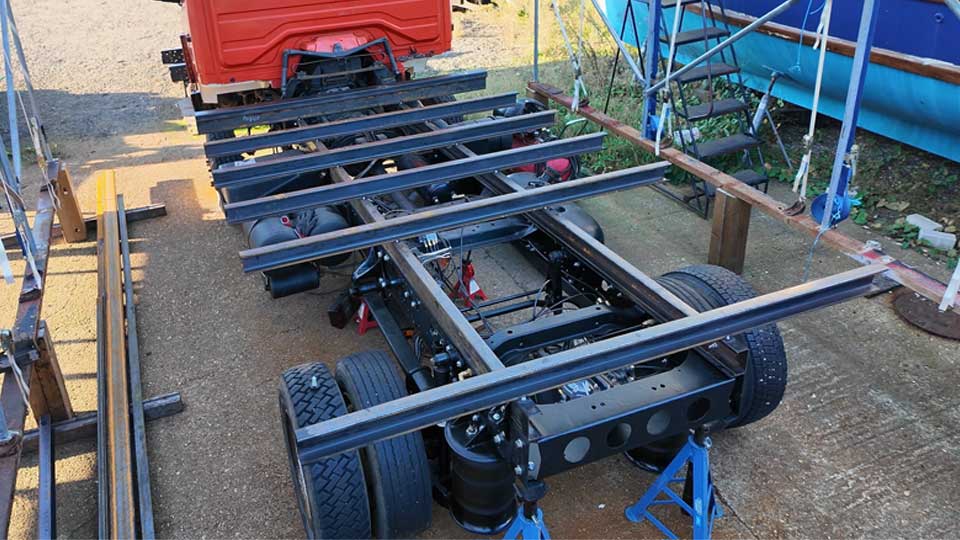
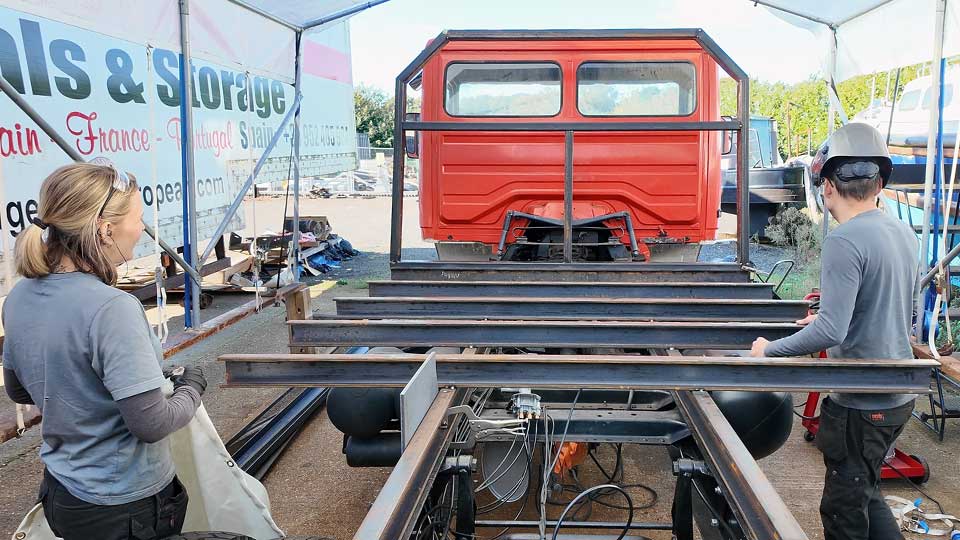
First job was a dry fit. We laid out the long runners that sit along the chassis rails, then set the crossmembers in place to check spacing and overhang. The centre section will carry the fifth wheel coupling, so that area gets the beefy steel. We’re planning a timber deck on top and decided to go with scaffolding boards. They’re tough, already treated and, crucially, far cheaper than anything else we looked at.
We positioned the body mounts by working around the existing hole pattern in the chassis. It means each bracket sits at a slightly different height, but it avoids more drilling into a frame that already has plenty of holes.
With the runners clamped, we squared the crossmembers. There was a fair bit of mental maths to keep the overhang equal both sides. We protected the new airbags with welding blankets, then started tacking.
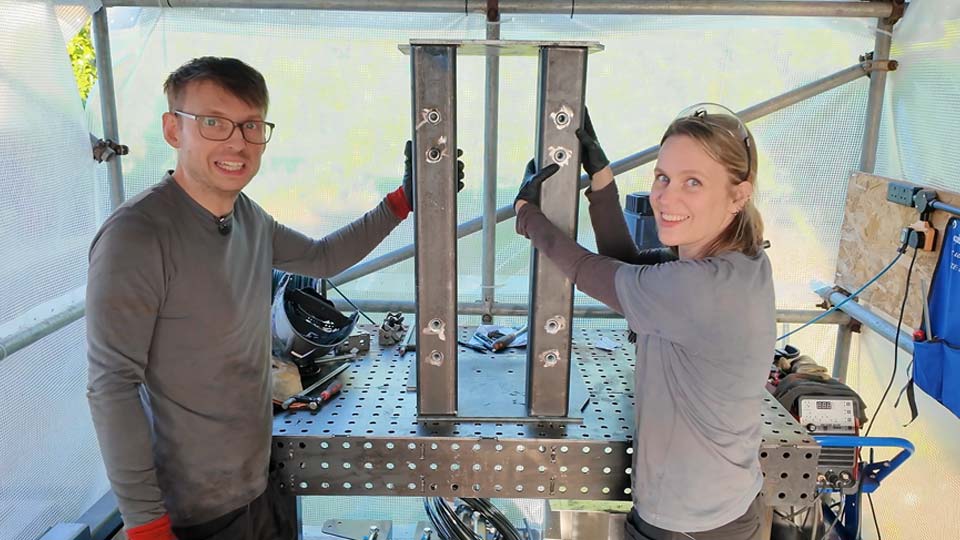
The front crossmember is special. It has to support a chunky headboard behind the cab, so we shaped two lengths of 100x50mm box section into a T, and went for full-fat welds. The wind picked up mid-way and a few beads went bubbly, so there was some grinding and re-doing to keep things tidy. That’s the joy of welding outside!
One of the trickiest parts of the flatbed was fabricating the front headboard. It’s the heavy frame that sits directly behind the cab to protect the window and tie the whole bed together. We mocked up the angles with scrap offcuts first, but nothing matched the drawings exactly once we tried it on the truck. It turned into a long evening of trial and error – tack, measure, cut, repeat – until the geometry finally worked. The shape follows Moose’s cab lines, which gives it a chunky, purposeful look. By the time the last section was tacked in place, we’d lost every shred of patience, but it was pretty satisfying to see a proper structure rising up behind the cab.
Our laser-cut 10 mm plates turned up and they are massive. We’d spent ages templating the bolt pattern to match existing holes, and it paid off. High tensile bolts, high strength washers, and all the holes lined up first time. Very satisfying. There are two extra fixings that will tie the plate into the runners, so well mark and drill those accurately once everything is fixed in its final position.
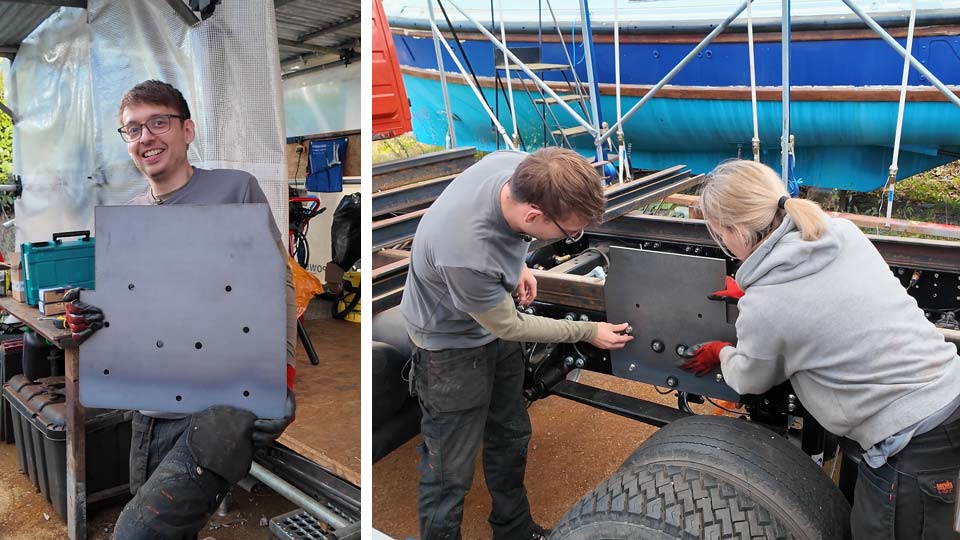
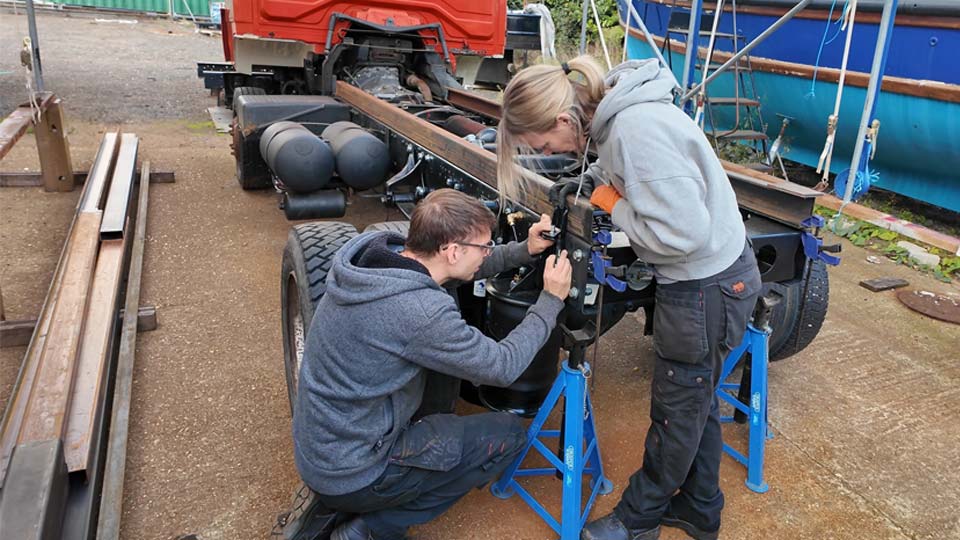
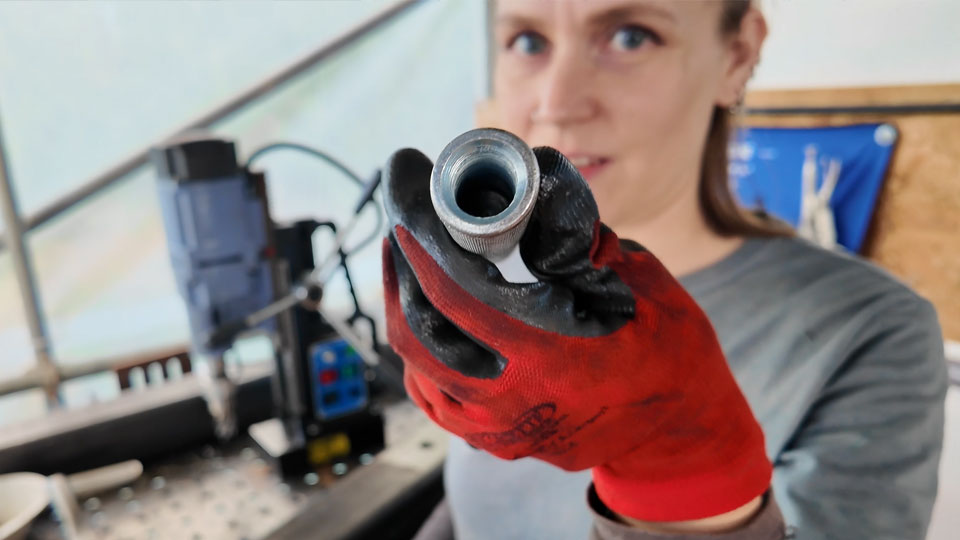
To mount the fifth wheel feet, we used M16 internally threaded inserts. We removed the zinc coating where we needed to weld, tacked everything to confirm alignment, then started tying the bed together with angle braces so the whole structure acts like one big grid.
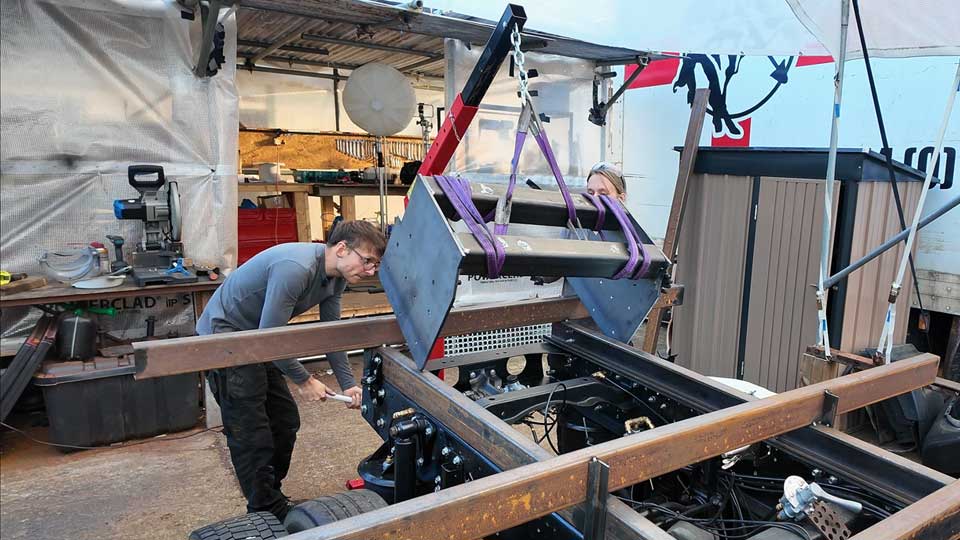
The central plate assembly is no featherweight. We flipped it on the bench, corrected a small weld-induced pinch with a bit of creative clamping, then brought in the crane to offer it onto the truck. Close fit by design, so we didn’t hammer it fully home yet – there’s still more welding to do before final torque.
Time for the fun bit. We dropped the fifth wheel onto the studs to check the bolt pattern and heights. Everything lined up and you can finally see how the custom flatbed and coupling will sit together. It’s a little tall right now because the plate isn’t fully seated, but once it’s down the 100×100 deck rails will finish flush with the top of the boards. Moose is looking wider and stumpier with the bed on, and we kind of love it.

Plenty still to do before we call this stage done:
That’s the next episode’s mission. If we pull it off, Moose will be ready to meet his tiny home.
Huge thanks to F.H. Brundle for helping us out with steel for this flatbed project. Good pricing, quick delivery and people who actually know their stuff when you ring up. Much appreciated.
Right at the end of this week, Pete passed his C1+E test. That means he can legally drive Moose and tow up to 3.5 tonnes on a trailer, which is perfect for our current limits and one more step toward the fifth wheel tiny home dream.
See you next time when we try to bring all of this together. 💚
