
We’re deep into our truck’s custom flatbed now, the bit that makes Moose useful whether he’s towing our future fifth wheel tiny home or hauling materials. This week we finish the bulkhead, fit the side rails, lay the scaffolding boards, and mock up a rear bumper. Moose is finally starting to look like the truck we imagined.
A quick thank you before we start: F.H. Brundle helped us out again with the steel for this stage of the build. They’ve been brilliant to deal with. If you every need any steel or aluminium in any shape or form, take a look here: fhbrundle.co.uk.
If you’d rather watch than read, skip straight to the video.
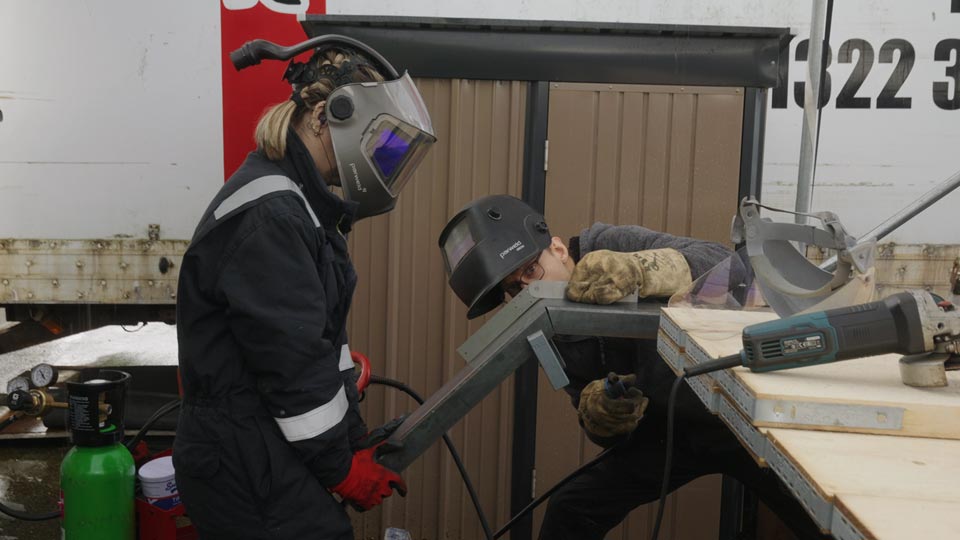
We already had the skeleton frame for the bulkhead, so we started by filling in the space. 2 large square sheets of steel for the bottom two thirds, and across the top, 4 horizontal lengths of steel tubing. Pete cut a centre plate from 8mm flat bar, I drilled neat pass-through holes, and we added the round tubes that tie the frame together. Most of the welding was vertical or overhead, which is never pretty, but it’s solid and paint will tidy the cosmetics.
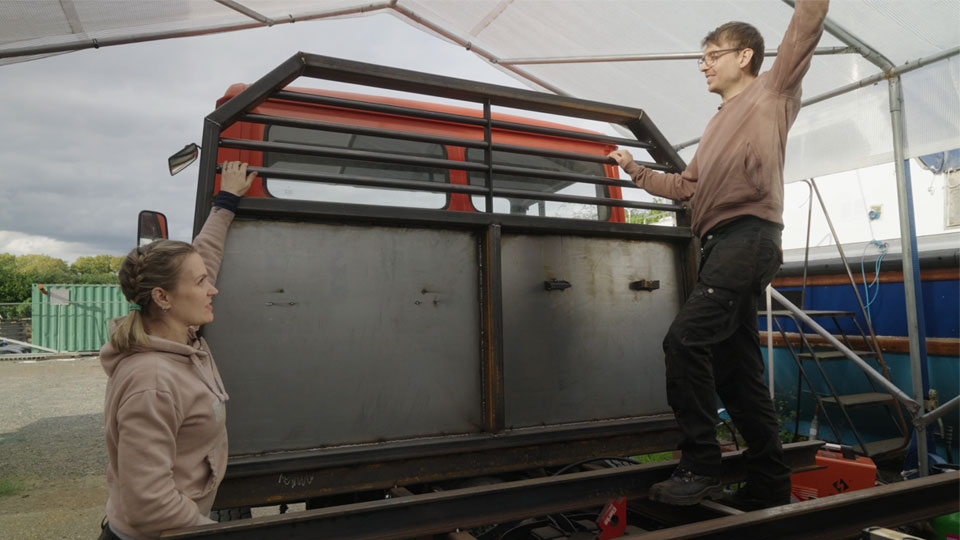
We’ll be adding a length of box-section to one side so we can mount a spare wheel up front on six studs.
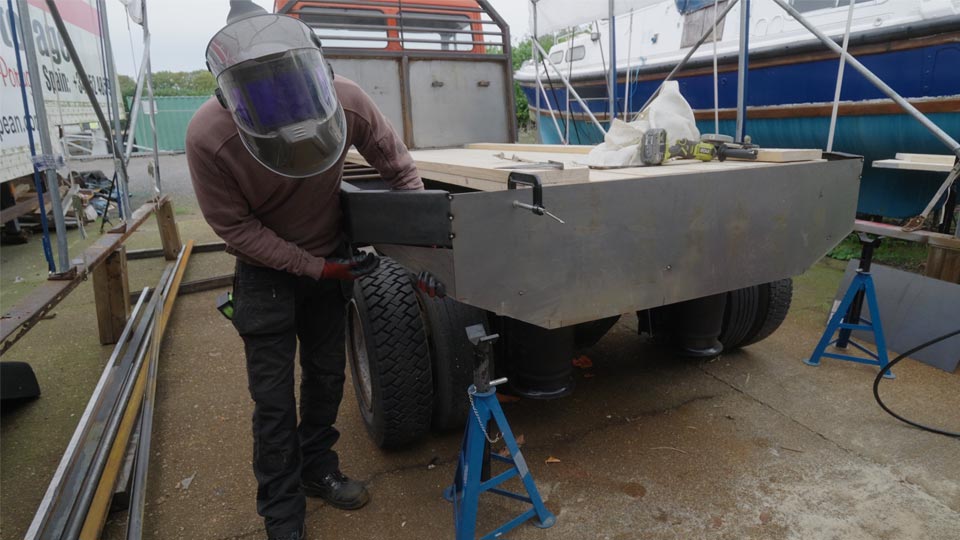
Our main welder blew up mid-week. Progress continued with the little baby welder. Also, sharp steel and tired hands meant I sliced a finger, even through gloves. We welded temporary lifting handles to the bottom plates after that. Lesson learned.
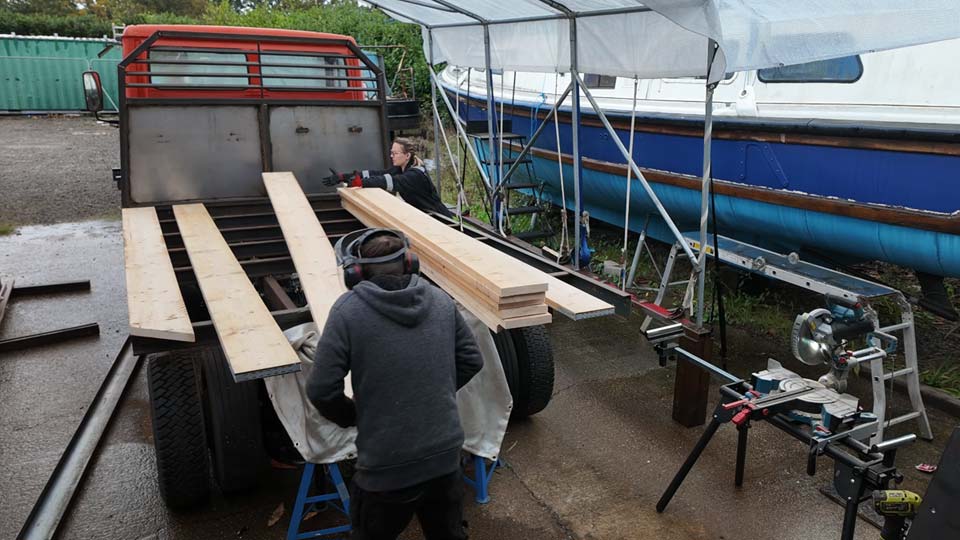
Next came the perimeter. We had exactly the right amount of C-channel, so no mistakes allowed. With careful measuring we notched V-cuts at the rear corners and bent the rails to create chamfers that echo the bulkhead angles.
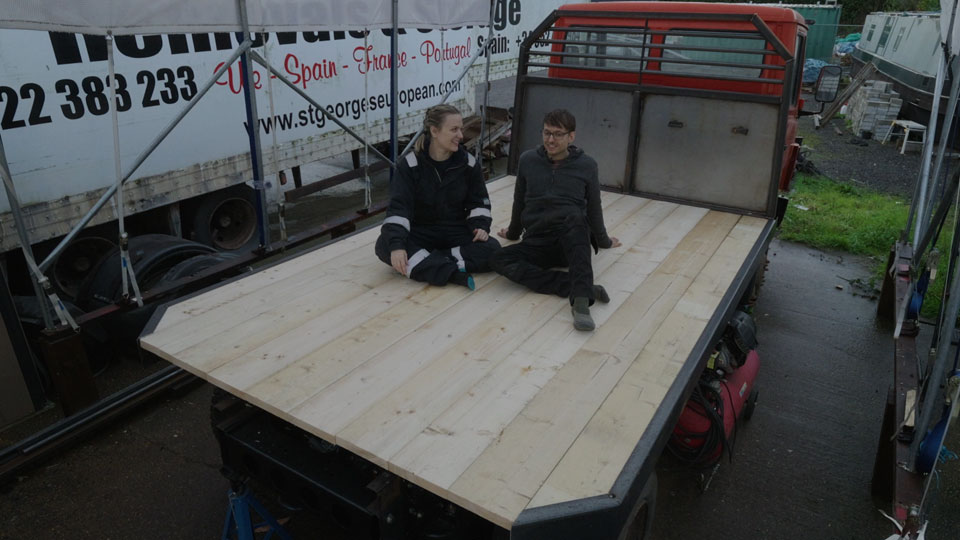
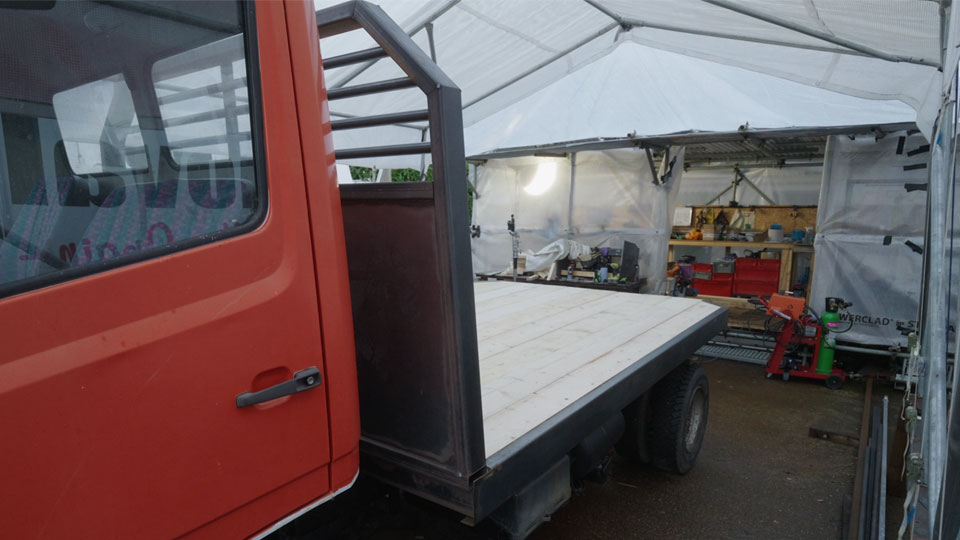
The scaffolding boards arrived and immediately made everything feel more truck-like. We’d planned the width so ten boards fit across with no ripping, then test-fitted the lot. A couple are a bit proud in the middle, so we’ll plane or sand where needed and seal the timber properly: end-grain treatment plus polyurethane underneath for weather protection. We’ll also cut neatly around the fifth wheel mounting and the front storage box once their final positions are locked.
With the boards and side rails mounted, Moose’s silhouette is looking real tidy. The flatbed hides all his air and fuel tank gubbins, so he’s looking just like a real truck again.
For the bumper we cut a sheet of 3mm steel to width, tacked it in place and literally drew the angles on the truck until it felt right. Triangles blend the bumper into the side rails, keeping a strong line to the rear wheels and future mud guards.
A quick note on design rules: UK lighting regs say the rear lights need to be within 400 mm of the outer edge, so we made sure we stayed within those limits when thinking about the length of the chamfer. By the time we ran out of welding wire, the whole back end finally looked like it belonged together.
Chunky, tidy and a bit “Mad Moose”. The bulkhead bars, the chamfered rails and the planked deck give Moose the stance we’ve been picturing since CAD. He’s stumpy in the best way and finally looks like a finished truck bed rather than a collection of parts.
…so not much 😅
You’ve probably seen us using our old GATORTAPE® for months. It’s our favourite because the front window lets you grab inside measurements accurately and transfer them straight to the cut. Gatortape sent us their new version (now with a magnet and belt clip) and two extra to give away.
Visit giveaway.roadtooffgrid.com and enter the giveaway for a chance to win a GATORTAPE® 2.0.
Read all about the GATORTAPE® 2.0 here.
