
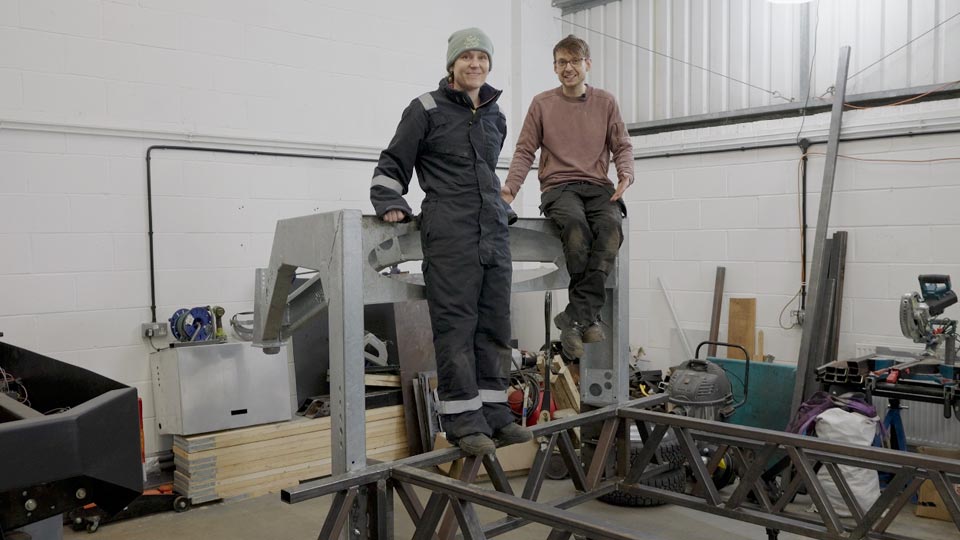
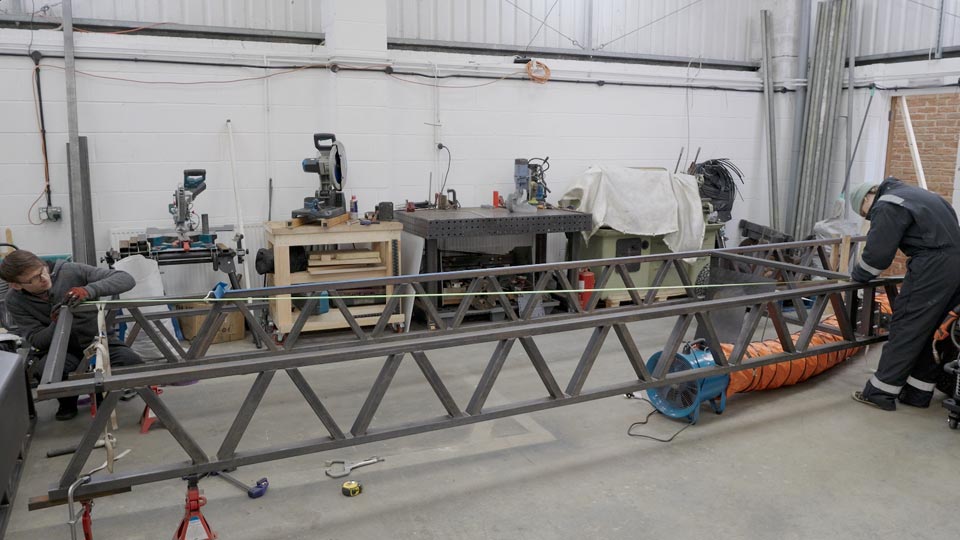
We’re building a totally custom trailer to tow our future tiny home, and this week was about getting the structure properly connected, squared up, and ready for the next stage. We’d already finished designing the independent air suspension, so the job now was to work out the neck, its brackets, the crossmembers, and the suspension mounts that hold the whole thing together.
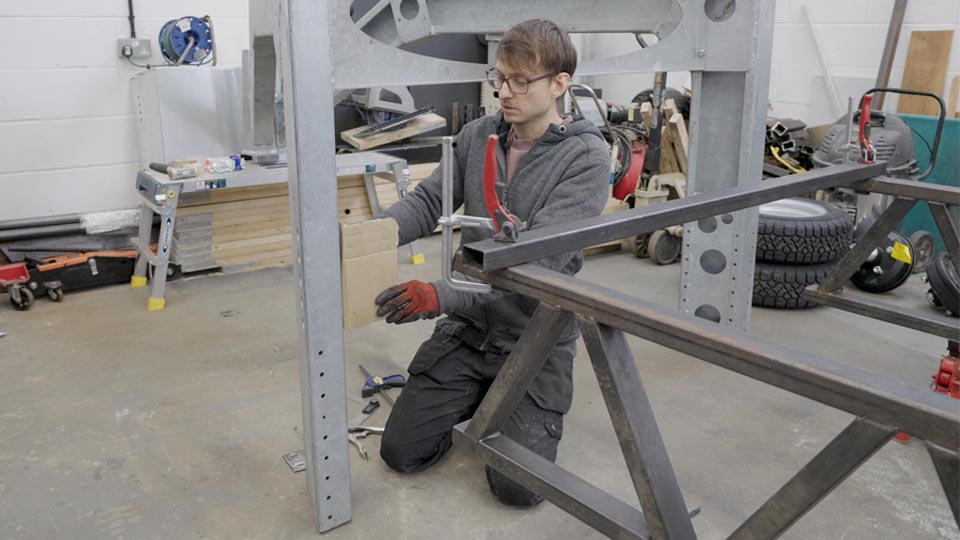
The neck that couples the trailer to the vehicle had already been assembled in earlier work, but it still needed a proper way to attach to the trailer frame. It was wider than the frame, so we had to work out a wide crossmember and bracket that would bolt everything together cleanly. That meant measuring angles, checking hole positions, and using cardboard to map out the basic shape before cutting metal.
If you’d rather watch than read, jump straight to the video here.
The bracket started as a rough idea and turned into a test piece first. We measured the angle at 113 degrees, worked out the matching 67 degree angle, and then checked the hole positions before committing to anything bigger.
Once the test piece matched up, the larger version followed the same shape. The whole point was to keep the bolt holes in the right place and make sure the neck could be attached securely without building the full part too early. That saved time and stopped us chasing mistakes through the whole bracket.
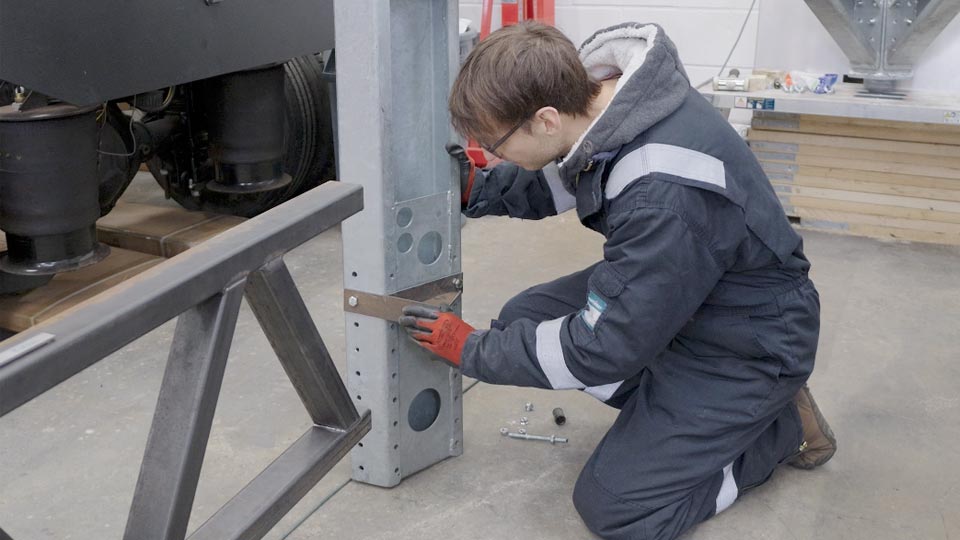
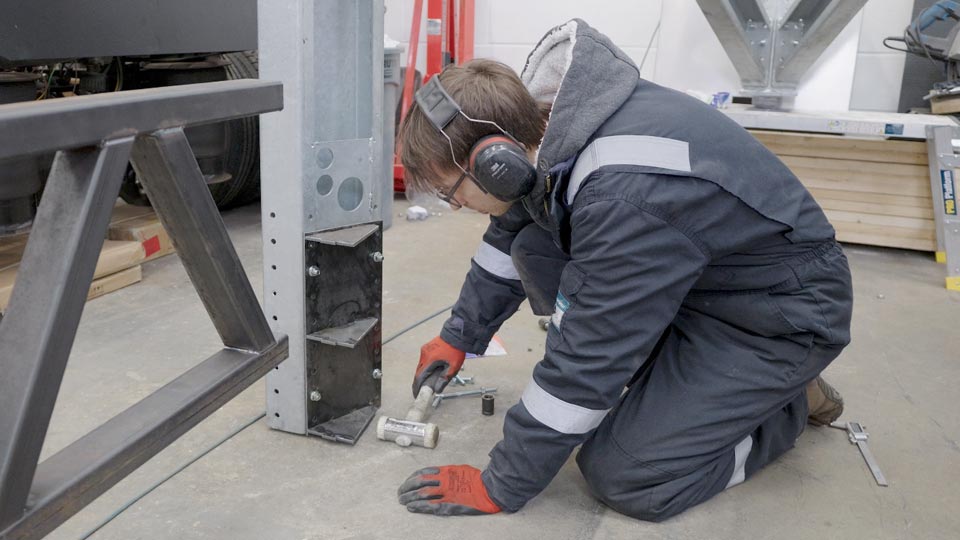
After the bracket was made, we checked it against the trailer frame and made sure the bolt holes lined up on the other side. We started with the bolt holes because that was the part that had to be right before anything else could move forward.
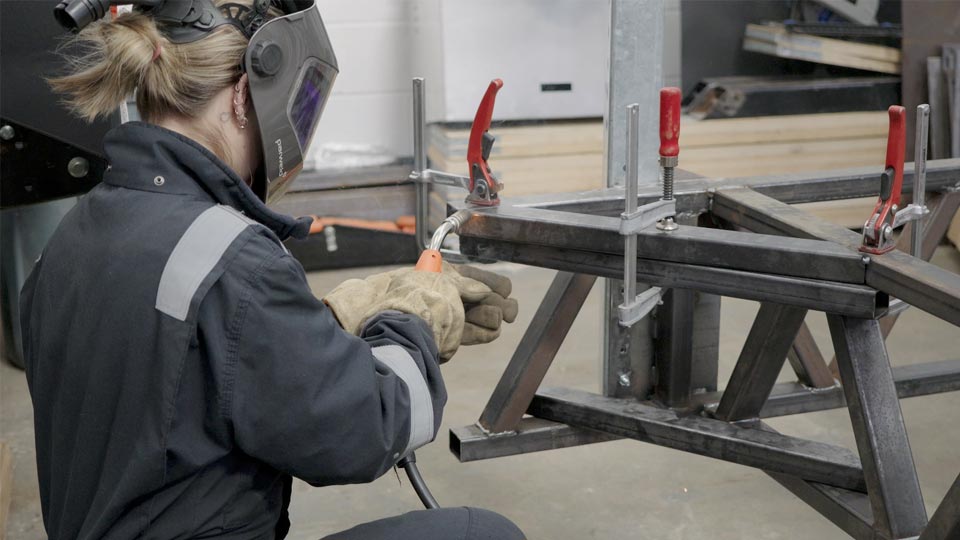
Once that lined up, the bracket could be bolted in place and tacked together so it could not shift. The crossmember was then added into the same structure so it could be welded as one piece on the bench rather than trying to fight gravity on the trailer itself.
A big part of the week was getting the chassis rails back into square. The diagonals were not matching, so we used ratchet straps and clamps to pull the frame into line and keep checking measurements until both sides matched.
One diagonal measured 4614mm, and once the other side matched that, we knew the frame was square enough to weld. There was still a bit of tension in the structure, but that was part of the process and helped hold everything where it needed to be while the welds went in.
The frame then got welded up properly so it would stay where we wanted it. That part of the job was all about holding the geometry while the steel was still accessible, because once the rest of the build goes on, it gets a lot harder to correct anything.
The next stage was adding the crossmembers and trussed sections that stiffen the trailer. We built a full-width crossmember for the end of the trailer and planned more structure further along to support the rest of the build.
The welding order mattered here. Some of the joints were better tacked in place first, then removed and welded properly on a flat surface so the welds could be done in a better position. That let us keep the structure accurate while still making the joints strong.
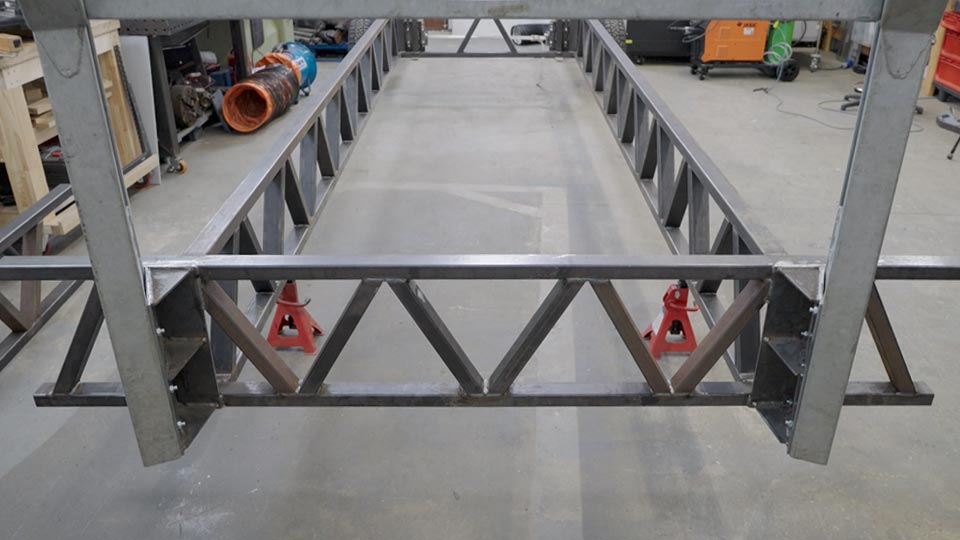
By the time the front section was welded through, the whole trailer was feeling much more solid. The bolting plate, the crossmember, and the front brackets were all doing their jobs together, and the structure had moved from loose parts to a proper frame.
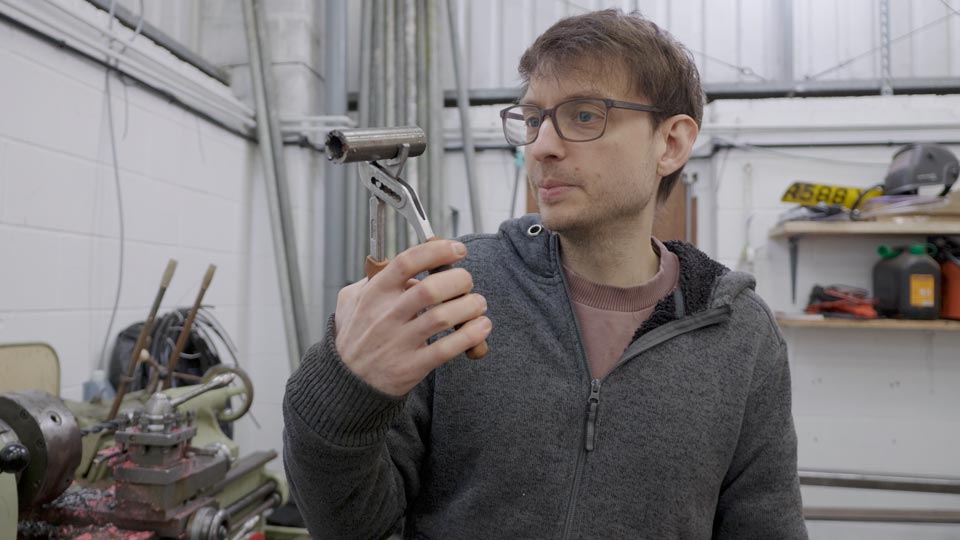
Once the main frame work was done, we moved back to the suspension side and started making more bushings on the lathe. The first polyurethane attempt had not gone well, so this time the process had to be adjusted.
The new cutting approach still took a bit of experimenting, but it was a much better way to get the bushings turned cleanly. The lathe speed was increased, and the tool choice was changed so the material would cut instead of tearing apart.
That let us keep moving on with the suspension arms and mounting points. The next job after that was getting the other suspension pieces in place, which meant more bushings and more checking that the mounting plates sat square on the chassis.
We also spent time checking how the neck sits in relation to the rest of the trailer. The height matters because it affects both the coupling and the headroom inside the bedroom area later on.
The neck can be adjusted up and down through different bolt positions, so there is a bit of room to tune the final height. But every extra bit of height in the neck changes the overall trailer height, and the goal is still to keep the full build under three metres tall.
Wheel size plays into that too. Bigger wheels would help with ground clearance, but they would also make the whole trailer taller. So the next decisions will need to balance clearance, height, and the space we want inside the finished build.
By the end of the week, the trailer was bolted, tacked, welded, and squared enough to keep pushing on. The neck was in place, the crossmembers were fitted, the chassis had been pulled back into line, and the suspension work had moved forward far enough to show how the rest of the build will sit.
The trailer still has to come apart again for paint and for the high tensile bolts, but the hard part this week was proving that the shape works. That gives us a proper base to keep building on, and it means the next stage can move forward with a lot more confidence.
This episode was kindly sponsored by Huel – Click here to check them out.
Use code ROG10 for the following discounts;
🇬🇧 UK: £10 off £60+
🇺🇸 US:15% off $50+
Minimum spend required. New customers only.
