
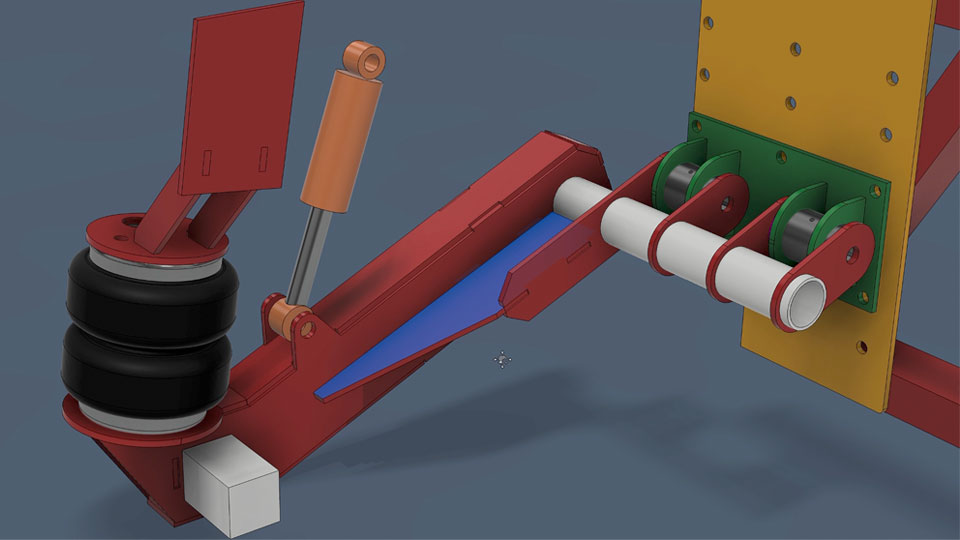
This week, we hit pause on the trailer frame and disappeared into a full-on suspension rabbit hole. We’ve realised that if we want a stiff chassis, composite-panel habitat, loads of under-floor storage and no awkward wheel arches in the living space, we can’t just bolt on a standard axle and hope for the best. So Pete has designed a custom independent airbag setup that squeezes long‑travel, adjustable suspension into the narrow gap between the chassis rails and where the side of the tiny home will eventually live.
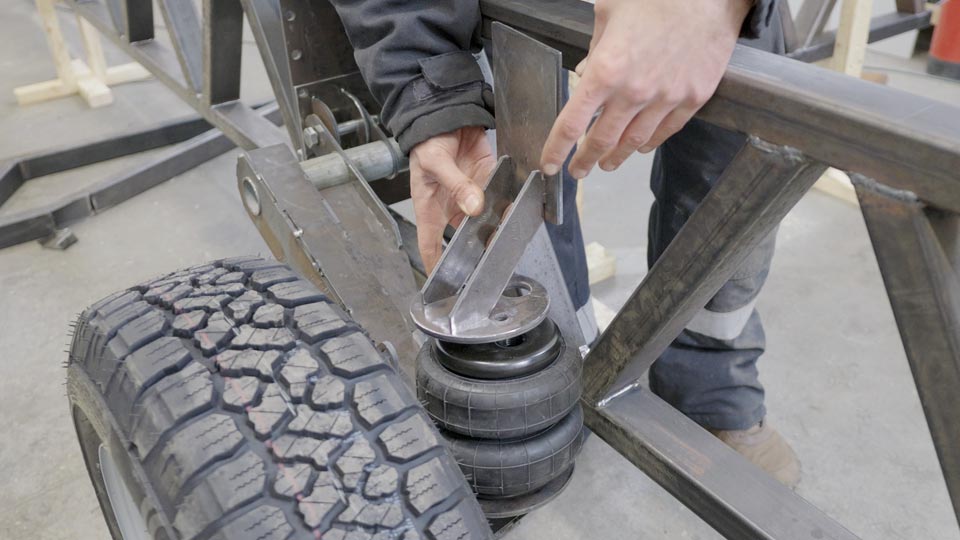
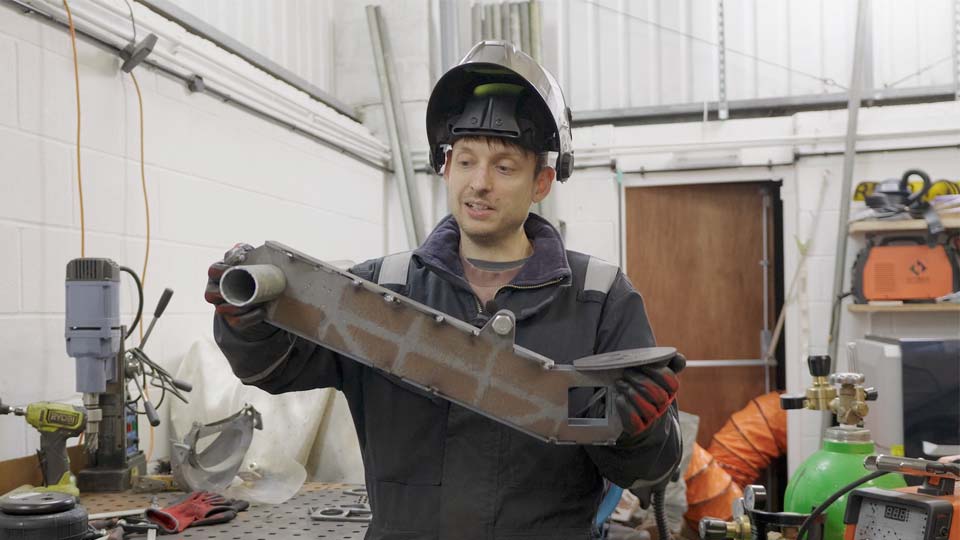
The heart of it is a single‑sided swing arm with an airbag and shock absorber, inspired by the kind of off‑road trailer suspension you see in Australia, but tweaked to suit our layout and weight. The swing arm pivots on heavy‑duty bushings that tie into a braced cross member, creating a big, stiff triangle that fights any side‑to‑side movement at the wheels. All of that is about protecting the future habitat from flex, and making sure the trailer tows nicely whether we’re crawling up muddy tracks or rolling down the motorway.
Rather than start from random bits of box section, Pete’s turned the whole suspension arm into “flat‑pack” steel. Each piece is laser‑cut with tabs and slots so it clicks together like a puzzle, then gets TIG‑tacked and laser‑welded into a single, very solid component. That means every arm should come out the same, rather than relying on our ability to measure, mark and drill identical parts over and over again.
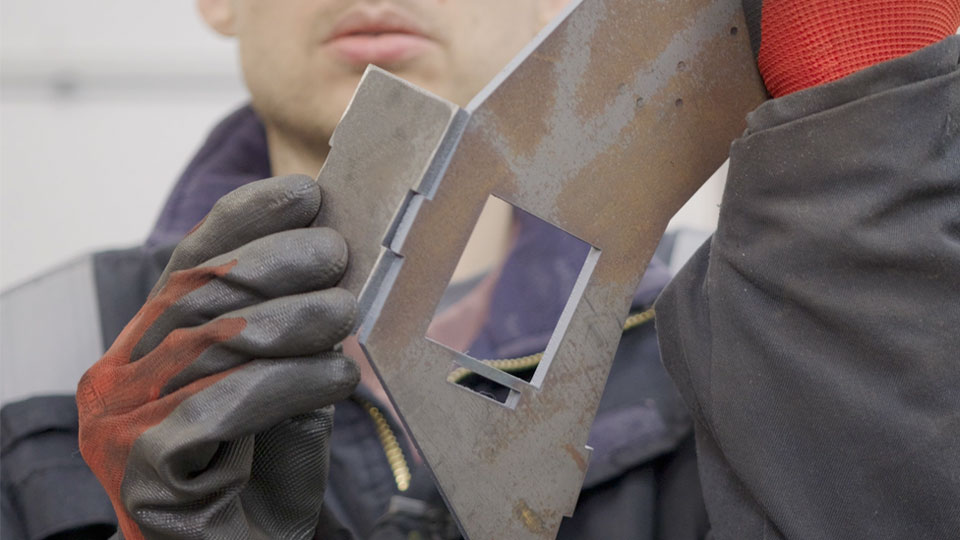
There are still plenty of hiccups. The original plan to use leftover scaffolding tube for the main pivot quickly dies once we discover how inconsistent, bendy and out‑of‑round it is, so there’s a rethink around better-quality tube. The laser welder turns out to be a bit bulky to snake between clamps, so the welding plan becomes a mix of TIG for tacking and laser for the long, straight seams.
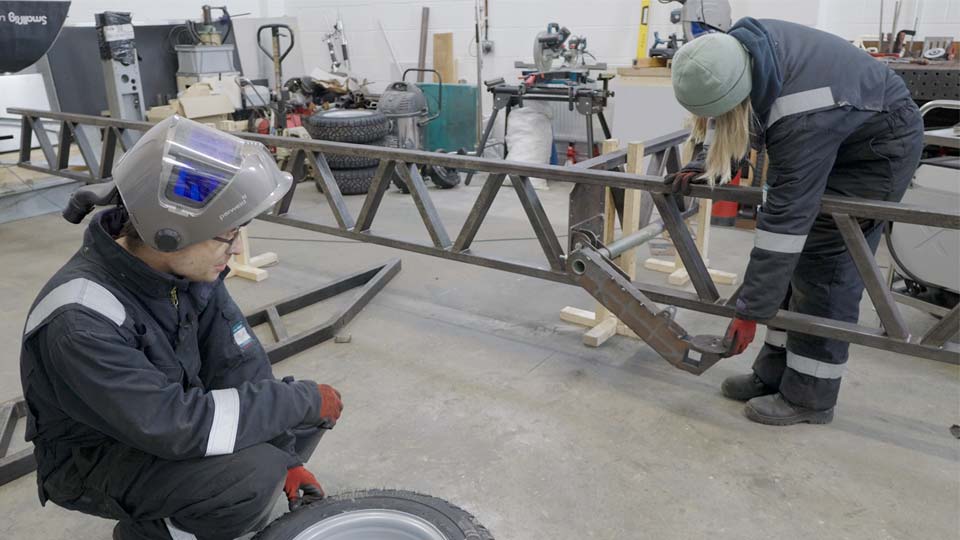
Once the first arm is tacked together, we build some very high‑tech “chassis rail holding devices” out of leftover CLS to lift the trailer to its ride height. With the rails in the air, we can finally offer up wheels, axles and suspension to see where everything actually wants to live. A big fabricated plate ties the arm into the chassis and cross member, and Pete adds some extra bolt holes so we can adjust the mounting point later if we ever want more or less ground clearance.
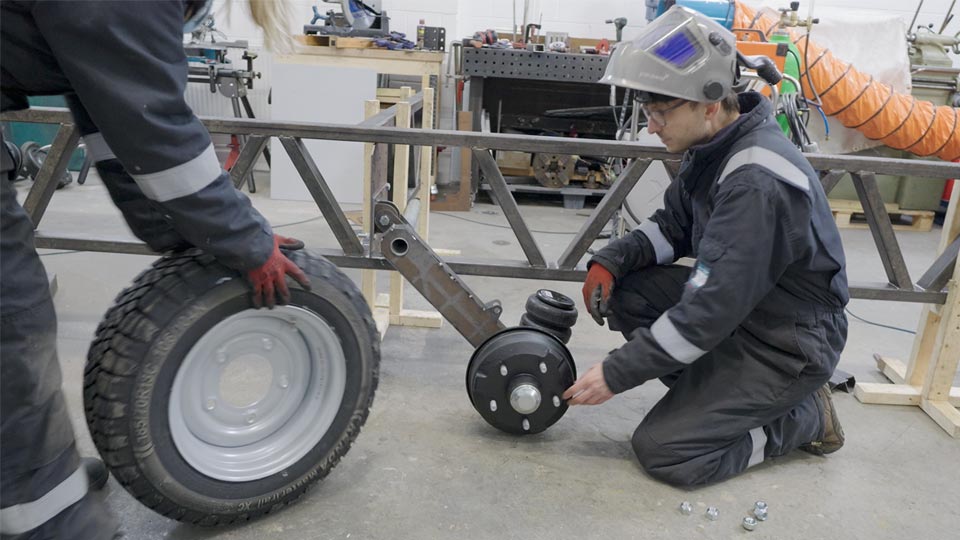
A trip back to Trailer Tek gets us freshly painted stub axles to match the wheels we picked up earlier. And this is where the project shifts from “CAD dream” to “real steel”: bolting the new axles into the arm, placing the airbag, and seeing, for the first time, what our rolling gear will actually look like under the trailer.
The new neck for the front of the trailer arrived this week and we couldn’t wait to assemble it… even though we definitely don’t have the space for it yet. Our earlier trailer design used a more traditional lorry‑style fifth wheel, but we’ve now switched to a ball‑type coupling that behaves more like an American gooseneck. The idea is to let the trailer articulate in more directions so the truck and tiny home aren’t fighting against every bump and twist in the road.
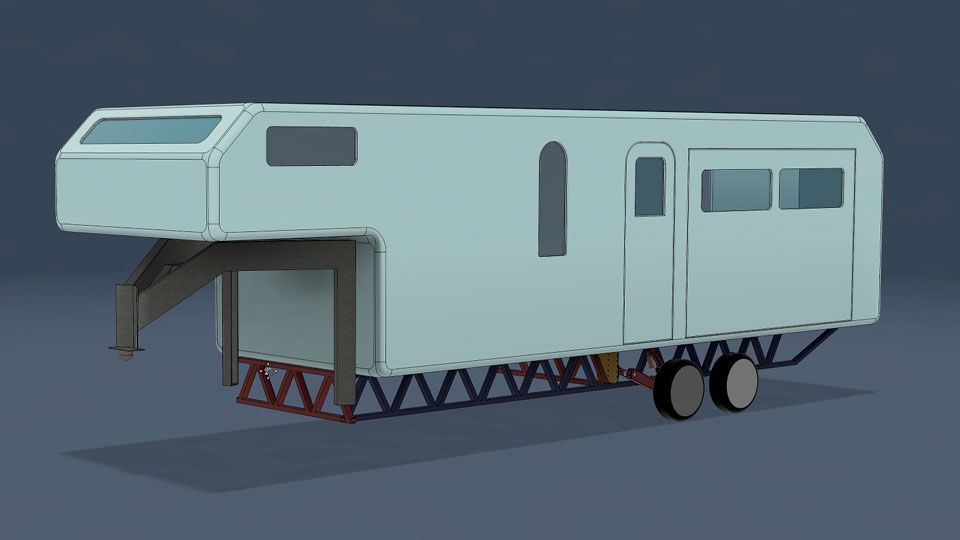
The neck structure bolts to a plate across the front of the chassis rails, and forms a steel skeleton that carries the towing loads, instead of asking the composite panels to do that work. The “pin box” style couplings on other trailers like American fifth-wheel RVs, have an issue where the “nose” can sometimes crack or delaminate because it’s only strength comes from the composite panels of the habitat. The whole front section of our trailer is being built around the idea that the steel takes the abuse, and the tiny home just gets to be a tiny home.
We took a little trip to Watford to pick up something Pete has wanted since he was a kid: a Colchester Student lathe, the same model his dad used when he was growing up. It comes with drawers of mystery tooling, a pile of accessories and a giant three‑phase motor that we then spend an evening trying to coax into life with an old inverter and a VFD. It almost worked but it needs either a new 240V motor or we need three-phase power installed… we’re opting for the latter.
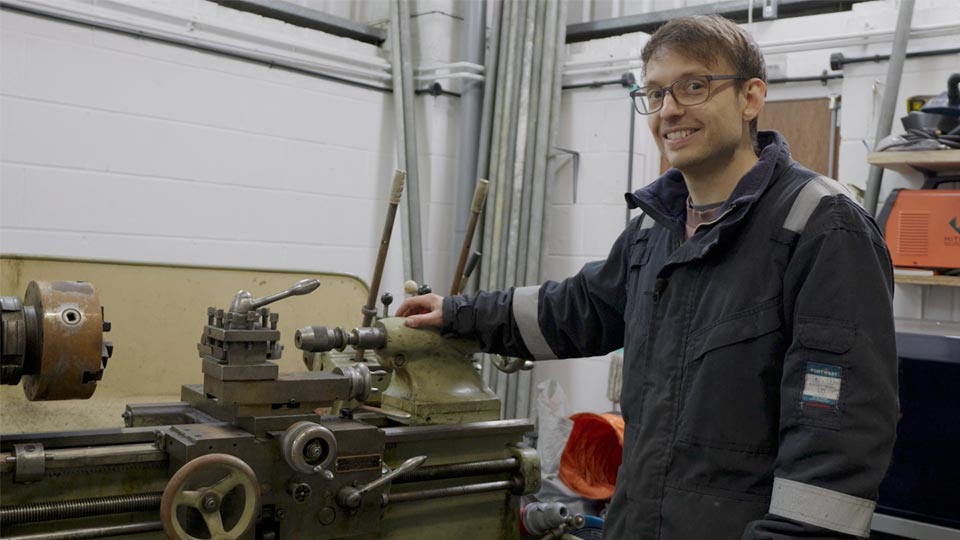
The lathe isn’t just for fun, though. The plan is to turn our own polyurethane suspension bushings but – that’ll have to wait until next time 😁
We’ve been doing some long days in the workshop lately, and by the time we get back to the house, neither of us is particularly excited about chopping vegetables.
Huel have been saving tea time with their ready‑to‑drink meals: proper balanced meals in a bottle (not just a snack) with a mix of protein, carbs, fats and a stack of 26 vitamins and minerals.
Huel Lite keeps things lighter on the calories, Huel Black packs in more protein for those steel‑lugging days, and their Hot & Savoury pots live in the workshop for the moments when the build runs over and we still need something warm and decent to eat.
If you’d like to give Huel a try, new customers can get £10 off when you spend £60 or more using our link and code ROG10.
Supporting our sponsors genuinely helps keep this project going, and we wouldn’t recommend anything we don’t actually use ourselves.
Thanks for supporting the brands that support the build! 💚
