

“We’re building our dream tiny home.”
But here’s the problem; a dream is easy to say out loud. Turning it into something you can tow for thousands of miles, park up in the middle of nowhere, and still live in comfortably is a whole other thing.
We’ve got two big requirements that pull in opposite directions. We want it to feel like a proper house, not a constant compromise. Proper comfort, proper layout, space that works day to day. At the same time, it needs to be light enough to make sense on the road, strong enough to handle rough tracks, and tough enough to survive years of vibration, weather, and being dragged around places we probably shouldn’t be taking a tiny home.
So this episode is the moment we stop talking about it and start building it.
Before we can think about walls, systems, or interiors, we need a trailer chassis that makes all of that possible. Pete’s had a concept drawing for ages. Big space, big slide-outs, loads of potential. But the bit that really matters is the part you don’t see in the render.
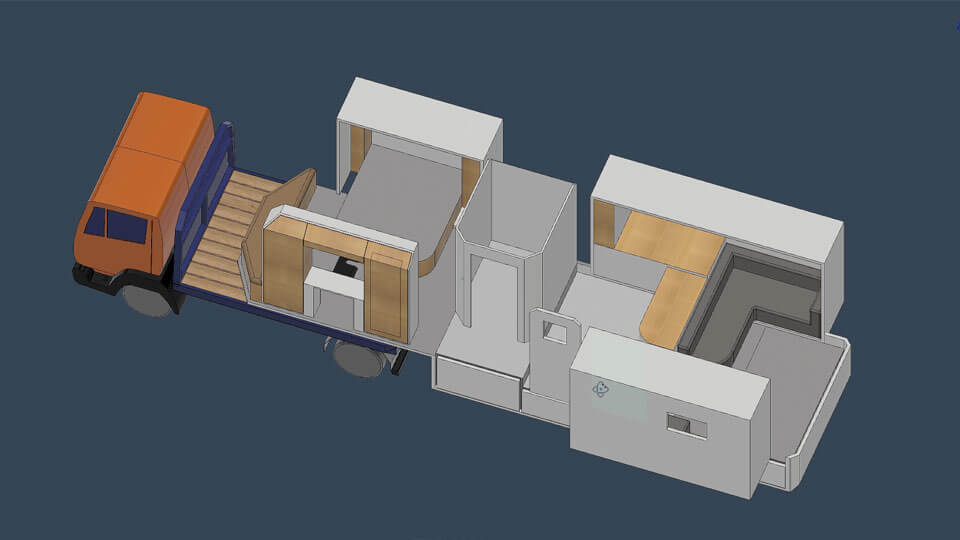
The undercarriage is where the whole project either becomes viable… or becomes a heavy, flexy headache that cracks, twists, and eats up the weight budget before we’ve even built the home.
That’s why we started here. Not with something pretty, but with structure.
Pete’s brain went straight to trusses, partly because they look cool, and partly because they work. He’s got old two-point trussing from his music industry days, where it was used for lighting rigs and stage builds. The same logic shows up in space frames and motorbike frames too: triangles do a lot of work without needing loads of material.
The simple version is this: with a truss, you can guide forces through members that are in tension and compression, which steel is very happy doing. With a basic open channel shape, you get more bending and twisting, and that twisting is what chews through bolt holes, welds, and mounting points over time. If the frame racks, everything attached to it suffers.
The theory was strong. So we did what we keep learning to do on these builds: test a small version before committing to a full-size nightmare.
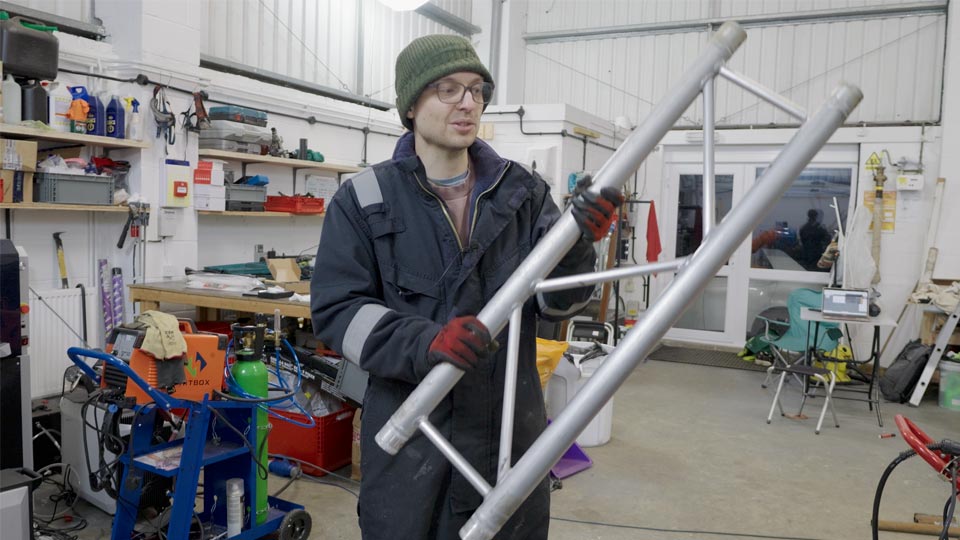
The tube truss mock-up was our reality check.
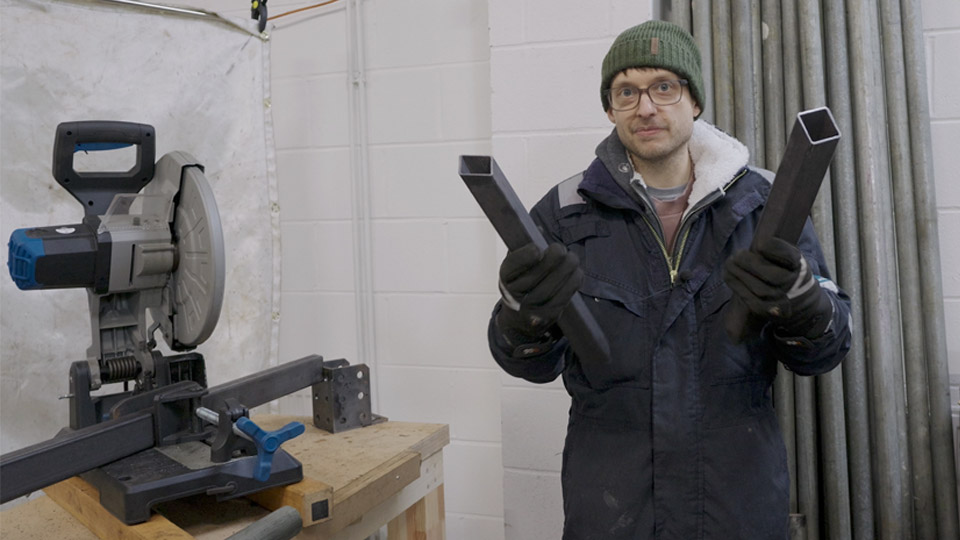
It did look great. It also immediately showed the practical problems: round tube rolls away when you look at it funny, clamping it is fiddly, and welding into tight corners gets awkward fast. Even with the laser welder, you’re trying to follow curves while you can’t quite see what you’re doing, and every tiny misalignment makes the next piece harder to fit.
Pete summed it up perfectly later: it’s easier when things are straight. Box section doesn’t try to escape across the bench. You can clamp it cleanly, line it up flush, and repeat the process without inventing new swear words.
So tube, in full-size form, started to feel like it would demand a mountain of jigs and fixtures. Not impossible, just time-hungry and annoying.
After the mock-up, we needed a clean comparison to compare our options. Pete set up some simple simulations in Fusion 360. Nothing fancy, and he’s upfront about the limitations. It’s not a perfect representation of the real world, but it’s useful for comparing shapes and sizes in the same conditions.
He models a three metre length truss in 60 mm tube, locks the ends, and adds a 750 kg load across the top. First pass looks at displacement: how much it bends. The result shows less than a millimetre, but again, it’s a comparison tool, not gospel.
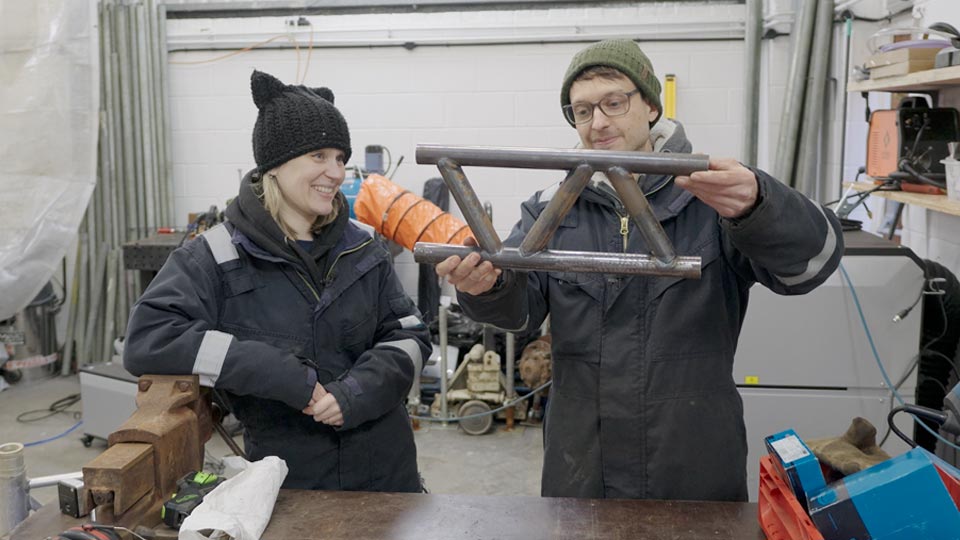
Then he swaps in box section: 60 x 40 mm rectangular, 3 mm wall thickness. Similar displacement, and the Von Mises stress plot looks comfortably inside a safe range. The interesting bit is when he shows the C-channel under load. The twisting is obvious, and that twist is what creates the long-term fatigue problems we’re trying to avoid.

So the design direction is decided: a truss-style structure still makes sense, but built from box section.
Once shape is chosen, the next argument starts: what material.
Aluminium is tempting because of weight. You can save a lot. The trade-off is cost, and the welding reality. Pete talks about heat affected zones and the fact that this trailer will involve loads of welds. More welds means more locations where the material properties have changed, and more spots that need to be trusted for years of travel.
For the money and peace of mind, steel wins for now. It’s heavier, but it’s predictable, strong, and easier for us to work with confidently at this stage.
The chassis rails are around seven metres long, and welding something that long on a wonky floor is a shortcut to permanent regret. So we repurpose our old scaffolding workshop into a long workbench system, with adjustable feet so we can level it properly.
With the bench set, Pete builds a cutting jig so the chop saw sits level with the work surface. The idea is simple: pull the steel through, cut, repeat. No measuring every single piece from scratch. That’s how you keep consistency across dozens of parts.
And the numbers get silly fast…
26 angled lengths for the truss with 52 diagonal cuts per side. 104 cuts total. 416 welds. 8.3 metres of welding.
Hayley’s doing quality control as the cuts progress, checking lengths and angles. Then, naturally, the saw starts drifting and we discover one of the clamp bolts has loosened, damaged the threads, and needs fixing. It’s a small setback, but exactly the kind that can quietly ruin a batch of parts if you don’t catch it early.
Once it’s fixed, the jig pays off. The angles end up within 0.3 degrees of each other, which is genuinely very satisfying.
Next comes assembly. Spacers hold the top and bottom chords at a set distance so everything stays parallel and we have a fighting chance against warping once we start welding.
Then it becomes a process game. Find a clamping solution that actually works. Tack everything. Build a rhythm. Keep going. Don’t rush it and don’t let it drift.
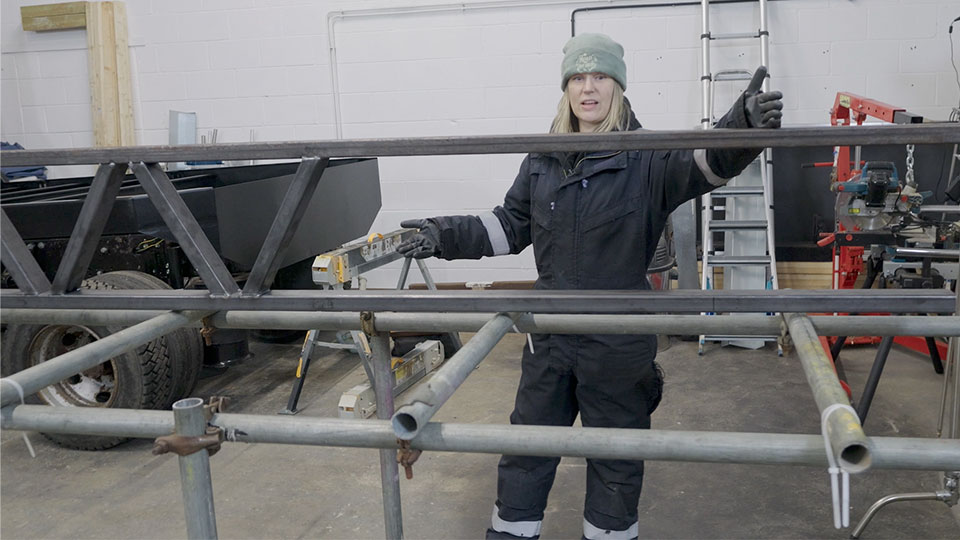
After hours of tacking and clamping, we finally do the grand reveal. Sliding it out, half laughing, half nervous because it’s huge and we’re tired. And then it’s there. A truss. A big, chunky, extremely stiff looking chassis rail that genuinely resembles a miniature old-fashioned train bridge.
We talk through why the rail depth is useful, because it isn’t just structure. It’s space.
The axles will sit underneath, so the lower portion is clearance. That means a big section of the rail can be used for storage: tanks, batteries, and all the “house guts” that usually fight for room inside the living space. This is part of how we keep the interior clean and keep wheel arches out of the body, which matters a lot if you want slide-outs exactly where you want them.
We also stop the rail early because the trailer needs a better departure angle, so it doesn’t scrape its backside the moment we hit a slope.
It’s structural work, but it’s also layout work. Everything affects everything.
Pete priced up C-shaped chassis rail stock similar to what’s on the truck. One length would have been over £300. The steel used for this truss rail comes out closer to £80, and it weighs much less for the same, or even better stiffness.
He estimates one rail at roughly 110 kg, so 220 kg for the pair, plus cross members. The aim is a full frame, including axles and everything, under 500 kg. Still heavier than a caravan, but built for the kind of travelling we want to do: long distances, gravel roads, and rural places.
By the end, we’re exhausted, covered in grime, and genuinely buzzing, because this is the first big step that turns the tiny home from a plan into a physical object.
We’ve got one rail. We need another. Better get cracking!
There’s a moment in this episode where Pete makes a genuinely daft mistake. Not because the job was too hard, but because he was hungry.
That’s something we’re both very guilty of in the workshop. We’ll get completely absorbed in a build, hours slip by, and then we start getting clumsy, impatient, and wondering why everything suddenly feels harder than it should. Nine times out of ten, it’s because we haven’t eaten.
That’s where Huel comes in, and why we were genuinely super happy to have them sponsor our episode.
We’ve been using Huel long before any sponsorship and their Hot & Savoury pots have become a bit of a staple for us, especially during long, cold days in the workshop. They’re a complete meal, with carbs, protein, fibre, fats, plus vitamins and minerals, and they’re designed by registered nutritionists. You just add hot water and they’re ready in about five minutes.
If you’re new to Huel, new customers can get £10 off when you spend £60 or more using our link and code ROG10.
Supporting our sponsors genuinely helps keep this project going, and we wouldn’t recommend anything we don’t actually use ourselves.
Thanks for supporting the brands that support the build! 💚
